
Guest Bathroom Update – Round 1……GO!!!!!!!!!!!!!!!!

Now it’s time to get to hard fun stuff!! We’re coming up on a year in our house, which means that our house has settled, our drywall is soon to be fixed, and it’s time for the big projects I’ve been salivating over. I know a lot of people might say that we’re crazy for taking on these large updates to a brand new house, but the truth is that brand new often means “builder basic”. We could have spent a lot more money up front to get more upgrades, but we’d (OK “I’d”) rather do it myself and get exactly what I want for a lot less money…..plus I genuinely LIKE tackling DIY projects.
So – to kick off our Phase 1 projects, I’m starting with the boys/guest bathroom. Why?
1 – The bathrooms are the only rooms we’re not going to be adding hardwood floors in
2 – Little boys + white tile and grout = GROSSSSSSSSSSSSSSSSSSSSSSSSS….luckily the tile was a free upgrade so we didn’t pay extra for it, but right now I’m missing the linoleum floors in the old house
The first step to this bathroom upgrade –
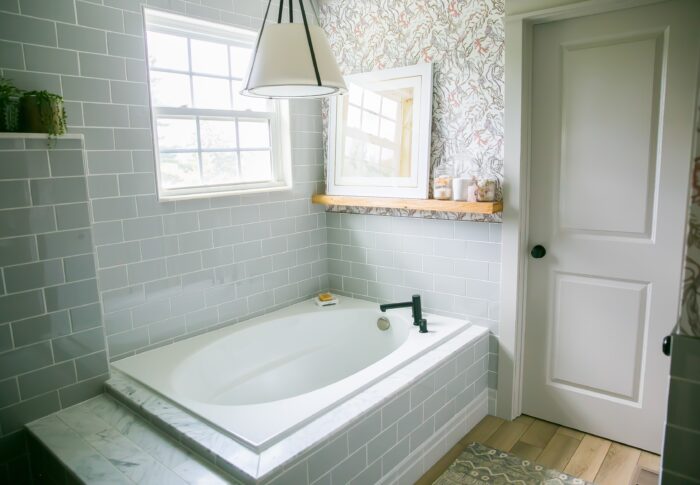
Update the Vanity

The builders grade honey oak is soooo not our style, but it’s foolish to just replace something in such good condition. After some Pinterest surfing, I found quite a few How To’s on staining the wood to a dark brown color with Oil Based Stain. I gotta say – I am SUPER happy with how this turned out, and really proud of myself (the under $50* price tag for the whole project, including the hardware, was pretty nice too!)
The tutorials that I followed seemed to turn out a lot darker than mine, but I actually like that you can still see the wood grain and there’s some variation in the color. The Oil Stain is extremely messy, but not really that hard to work with and I would totally recommend it to anyone looking to tackle something similar. Just know – you gotta be really patient. The coats take a very long time to dry so if you like projects with instant gratification, this one is not for you.
Oh and just because I’m crazy, I decided to paint the inside of the drawers and cabinets too – still waiting to see how these will hold up over time.

So Step 1 down, but still a lot to go…..here’s a checklist of what we still have planned so you can play along at home:
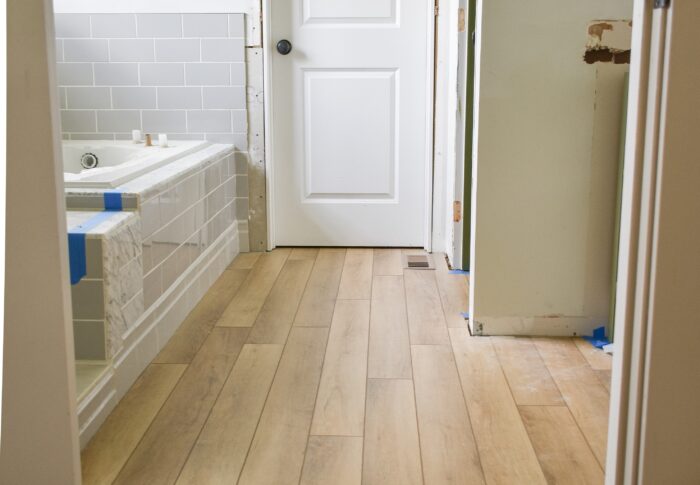
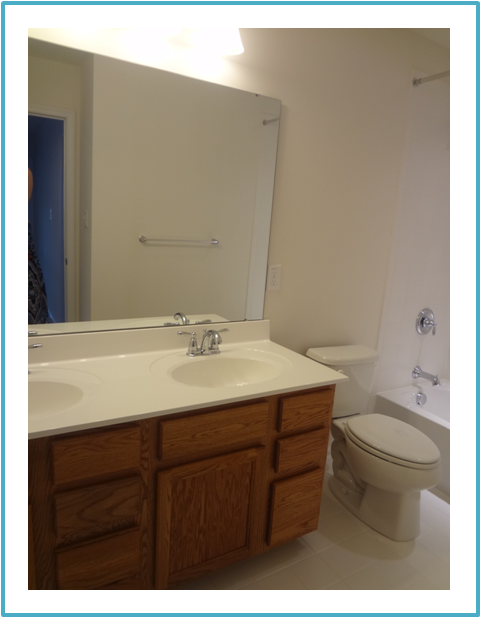 |
| Before Pic |
- Stain the Vanity and add Hardware
- Remove and Replace the Shower Tile / Add Shower Niche
- Replace Shower Fixtures
- New Shower Rod and Curtain
- Remove and Replace Floor Tile
- Add Beadboard and Trim
- Replace Door Trim
- Paint
- Replace Sink Fixtures
- Replace Light Fixture
- Add Medicine Cabinets
- Add Shelves / Hooks / and Accessories
Sound doable?? Only time will tell
**I feel like Jon would want me to disclose that that bill was slightly a bit higher if you consider the ER bill from when I fell in the garage looking for a roll of brown paper….I just consider that part of the fun of being married to a klutz.
On a totally unrelated note, here’s a fun pic of GOB who was taking a bath while I was taking pics

Comments
You're not a klutz babe. Well done.