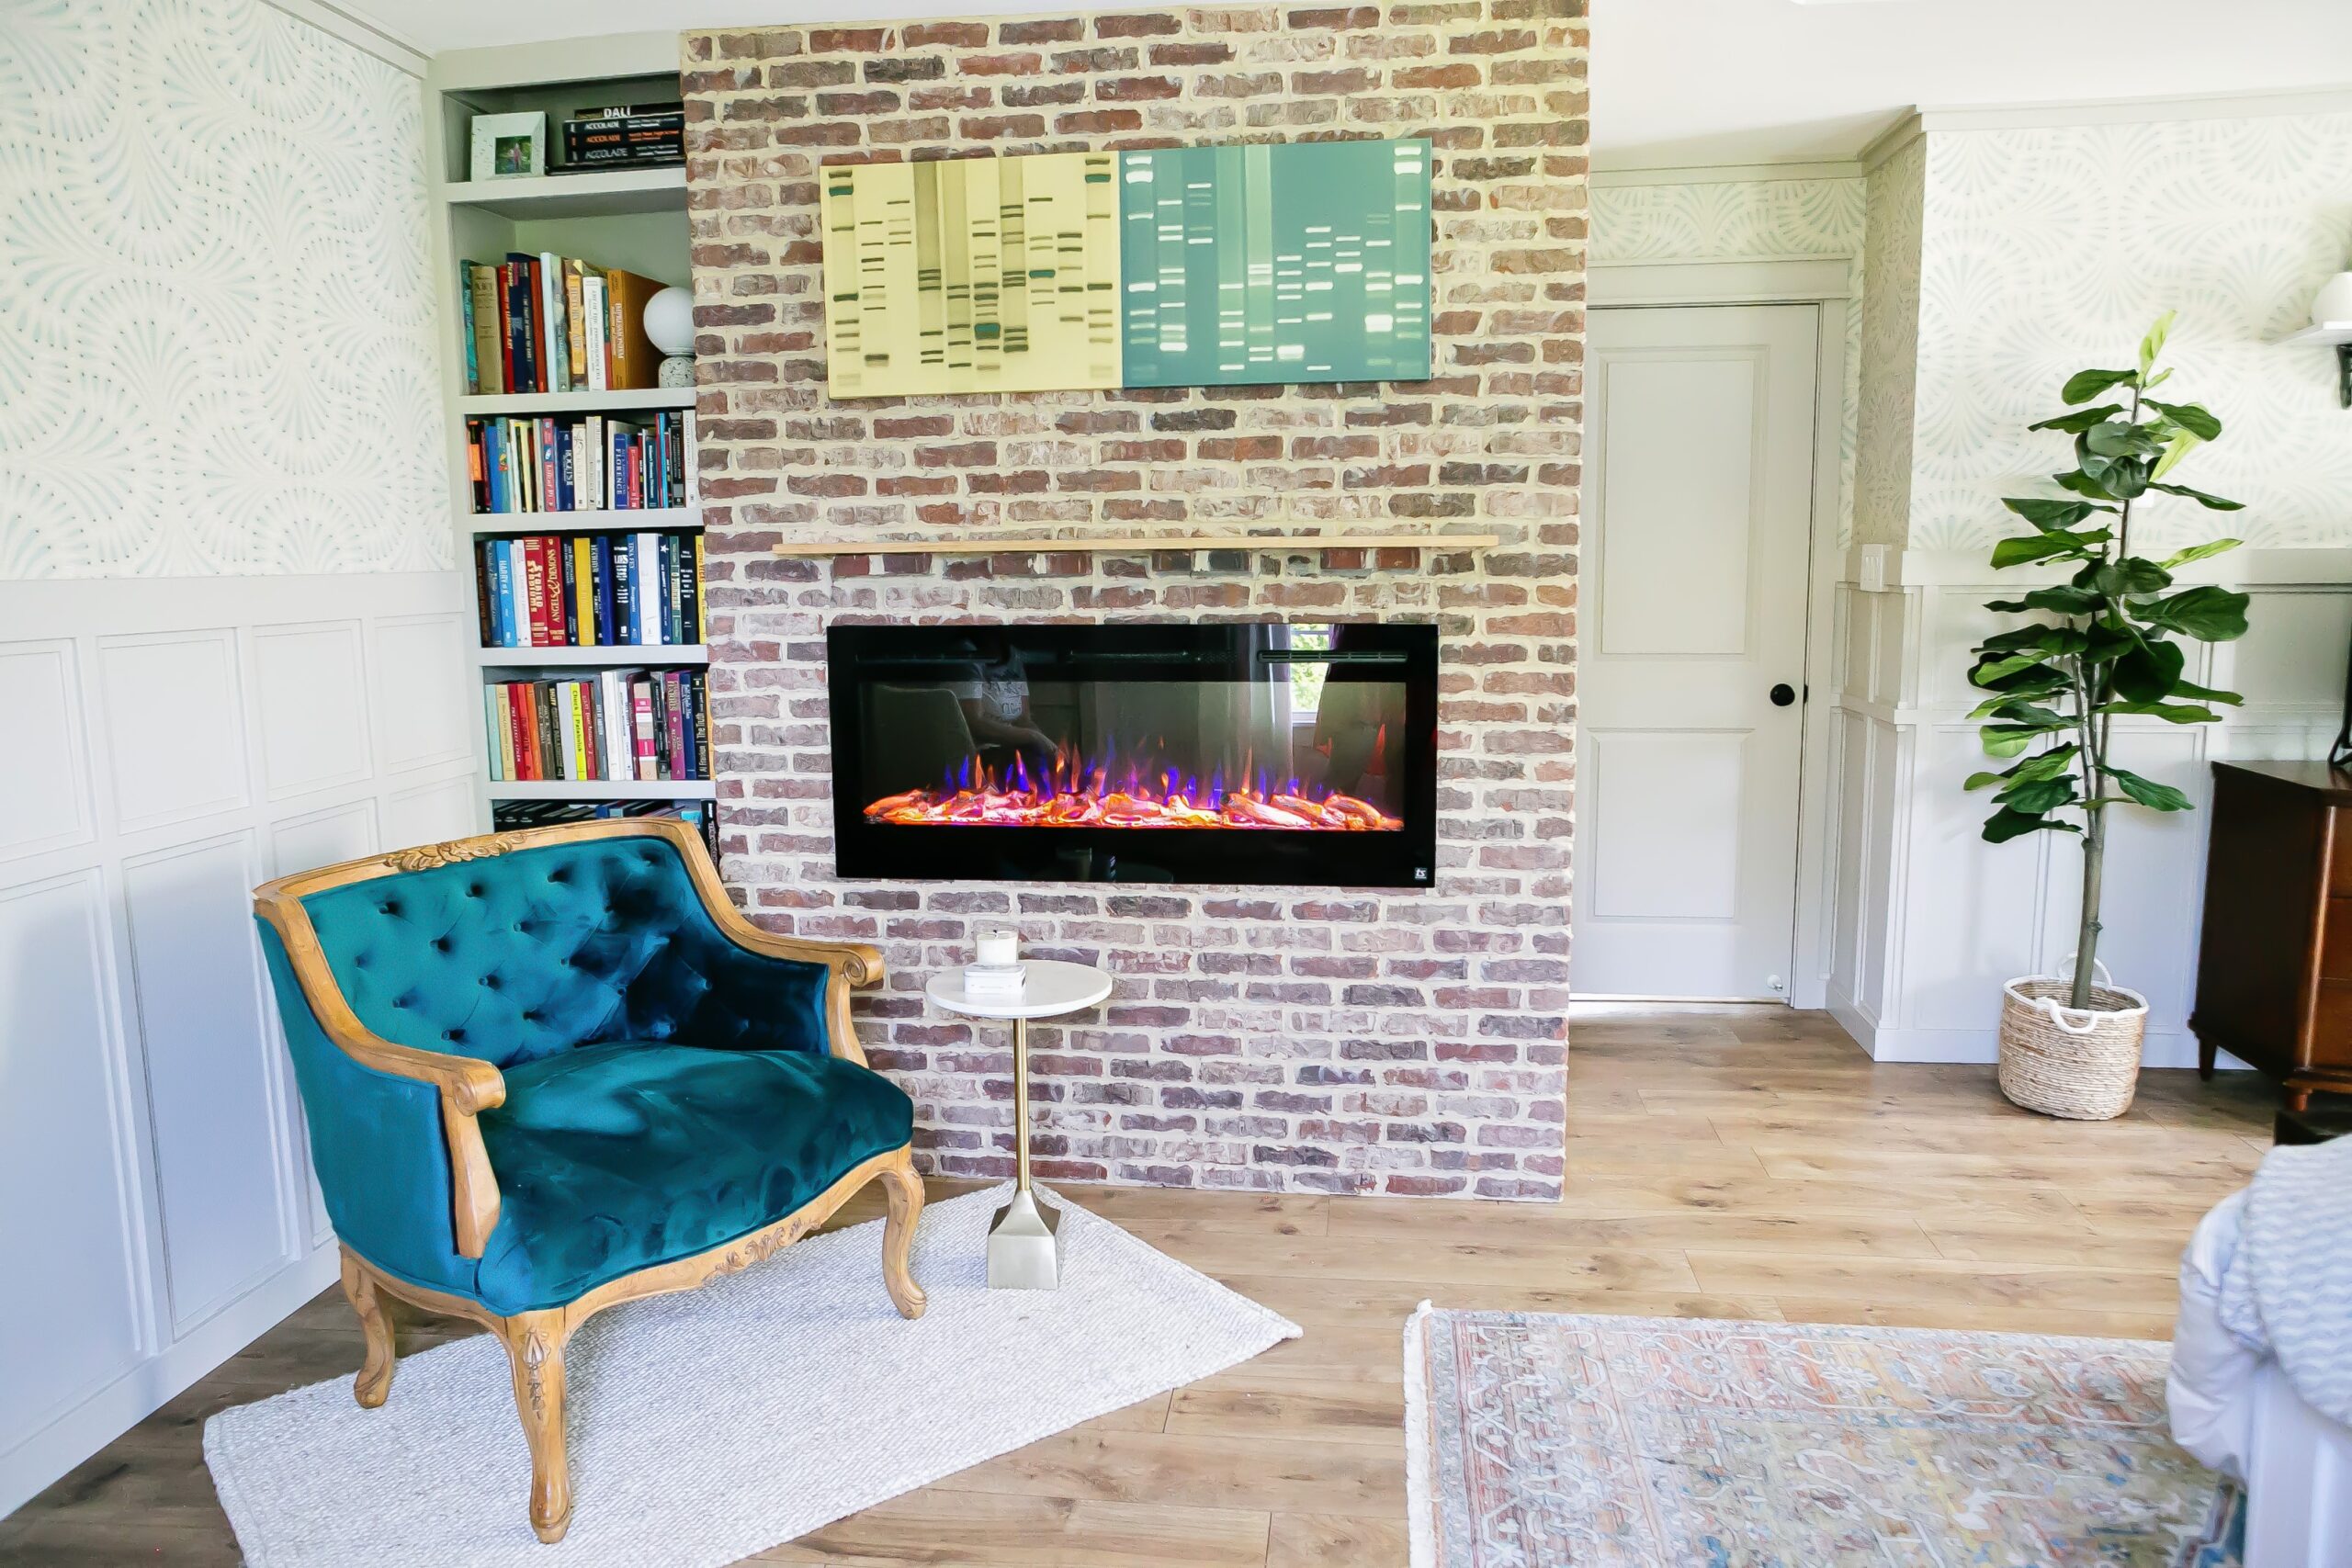
How to Build a DIY Electric Brick Fireplace
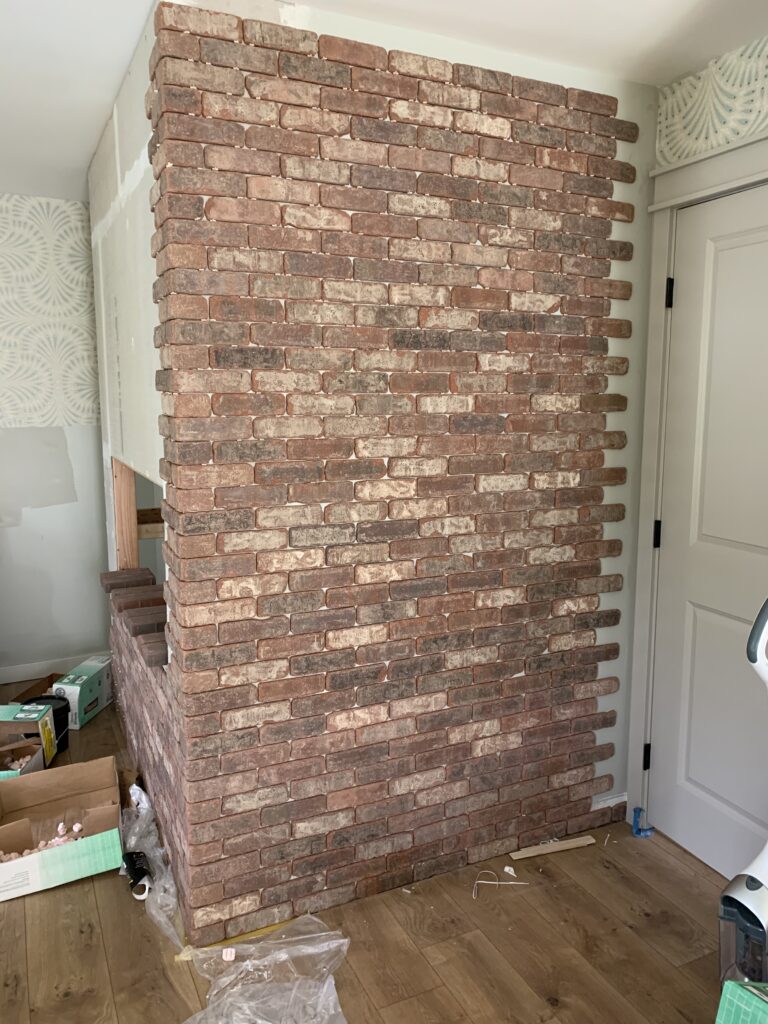
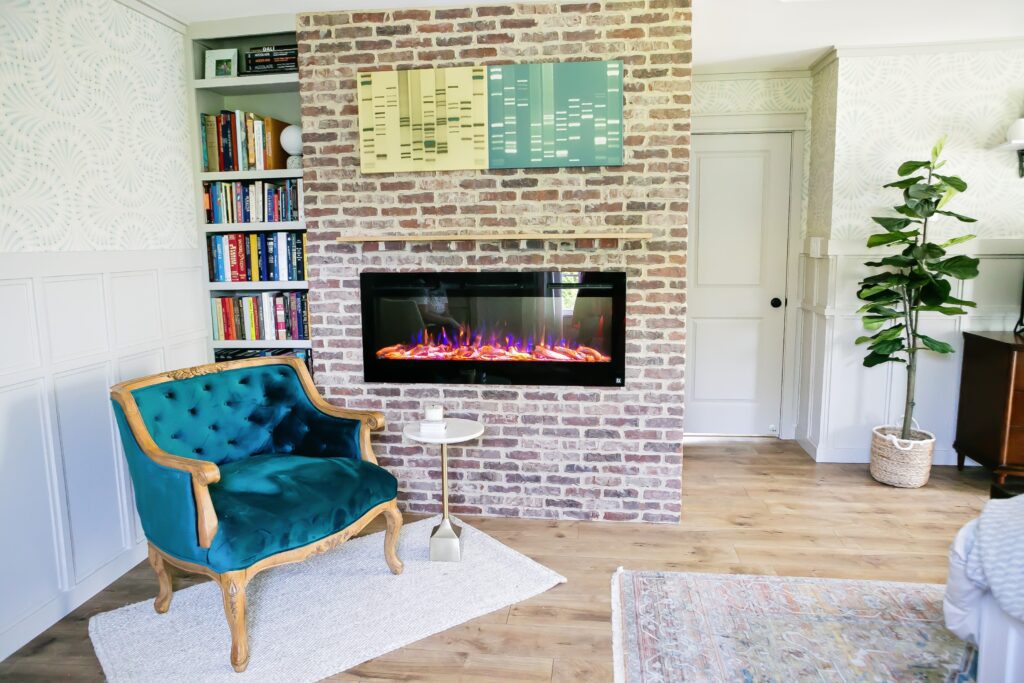
I always dreamed of having a cozy fireplace in my master bedroom and was set on building a faux one (similar to the ones in my front room and guest bedroom) until I read how Chris Loves Julia used a front-venting electric fireplace for their own bedroom. But instead of keeping it small, I decided to build a giant wrap-around brick fireplace to fill up a formally dead corner of the room. While you might not want to go as big as I did, you should be able to easily adapt these steps to fit a smaller space in your own home.

NOTE: Before you start make sure that you read the clearance requirements for the size fireplace that you are using and adjust the measurements as needed to fit your space
Supplies Used:
- Touchstone Electric Fireplace (mine is the 50″ version)
- 2x4s to build frame
- Wood Screws
- Kreg Jig and Pocket Hole Screws (optional but helpful)
- 1/4 Duroc
- Backer Board Seam Tape
- Mortar
- Old Mill Thin Bricks (if you are building around a corner you will also need corner pieces)
- Pre-Mix Sanded Grout and Caulk
- Grout Bag
- Brick Rivers

Step 1 – Build your Frame
Since I planned on building a bookshelf on the opposite side of the fireplace, I extended my wall 12″, but you can build a shallower frame. Make sure you pick a spot that has an electric outlet to plug in your fireplace OR you will need to add an outlet.
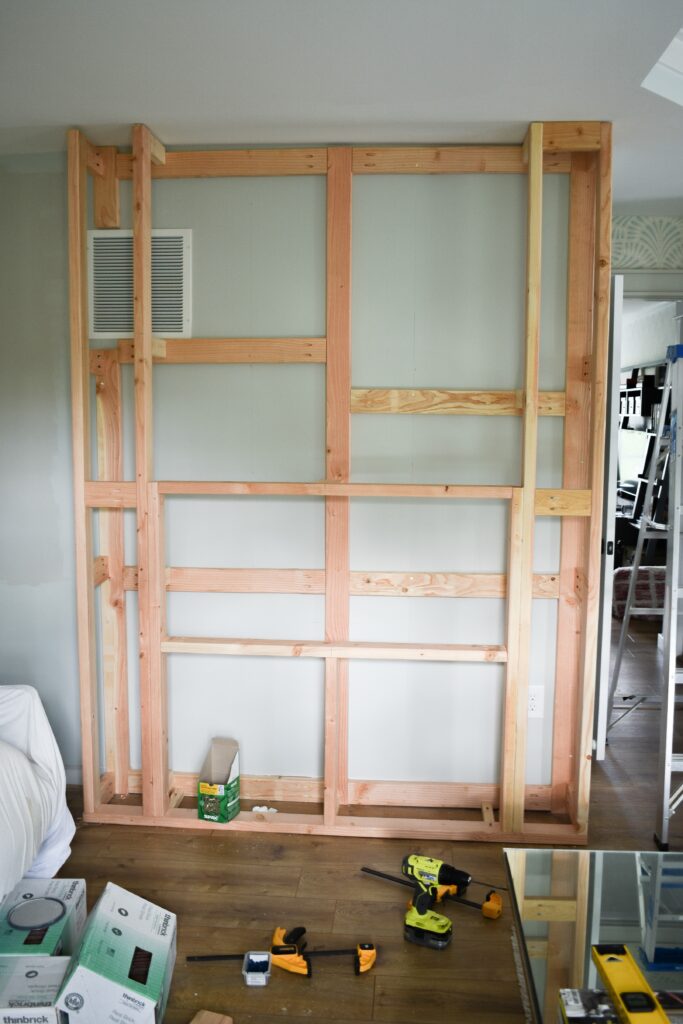
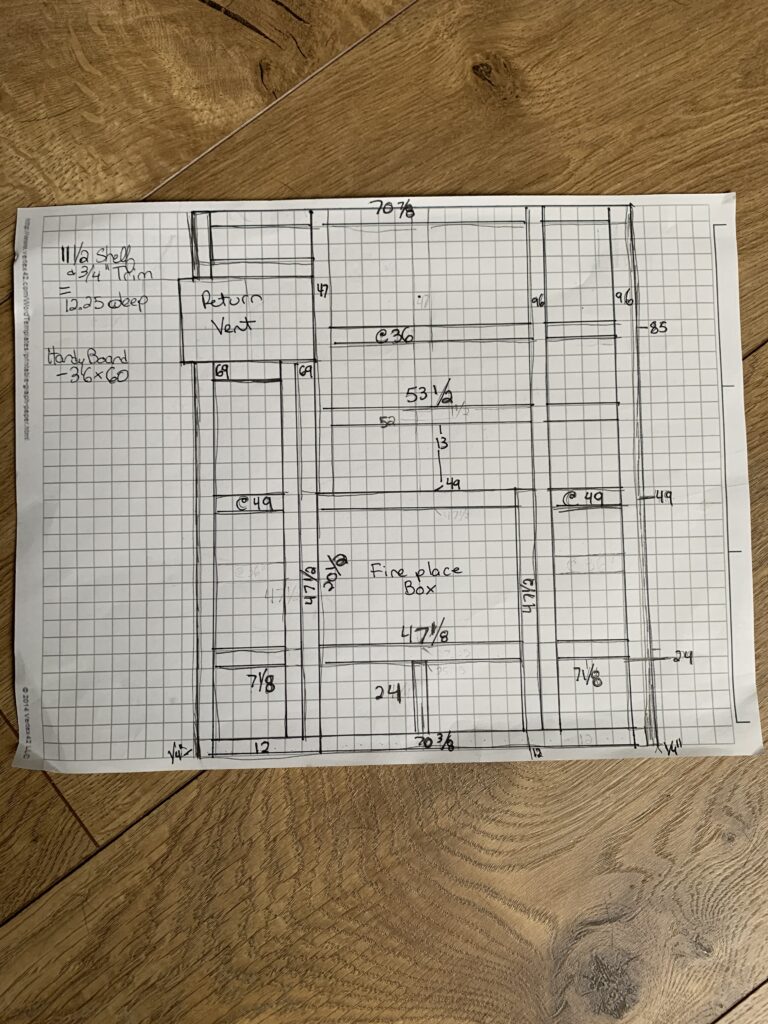
Using the size specifications from my fireplace instructions, I used graph paper to measure out the dimensions needed for the frame and then built the pieces out of 2x4s. I had the added challenge of working around my ugly return vent, but besides that the frame is a pretty basic box with a opening just big enough for the fireplace. At this stage It’s a good idea to do a test fit of your fireplace before going forward to make sure it fits.
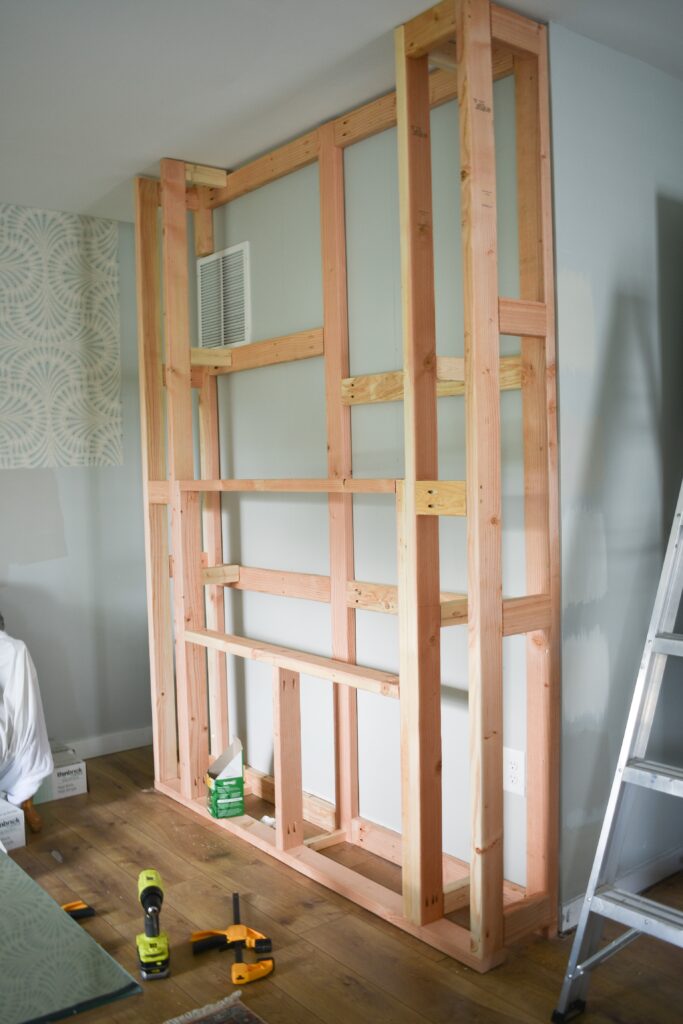
If you are building off of an existing wall make sure you take into account that there will be an extra 1/4″ added on top of the frame for the cement board and plan your dimensions accordingly.
Step 2 – Prep for the Brickwork
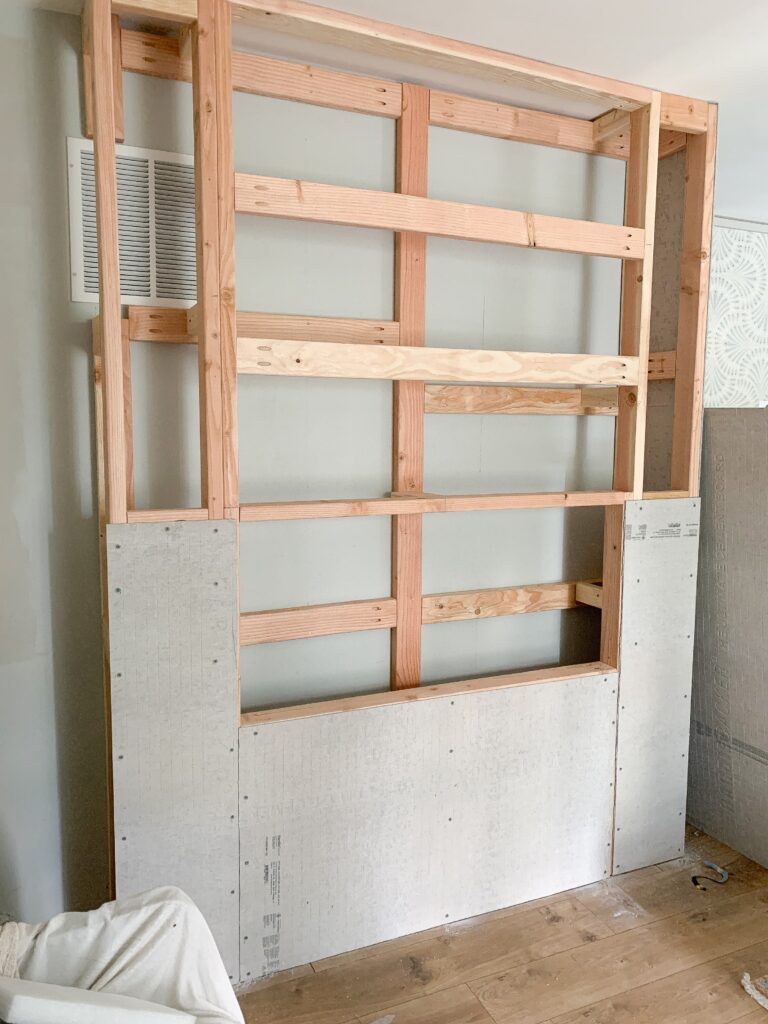
Before you add the brick, you will need to cover the entire frame with 1/4″ cement board. It’s important to make sure that the boards are supported at each seam so ensure that there is a piece of 2×4 that you can screw the edge of each board into.
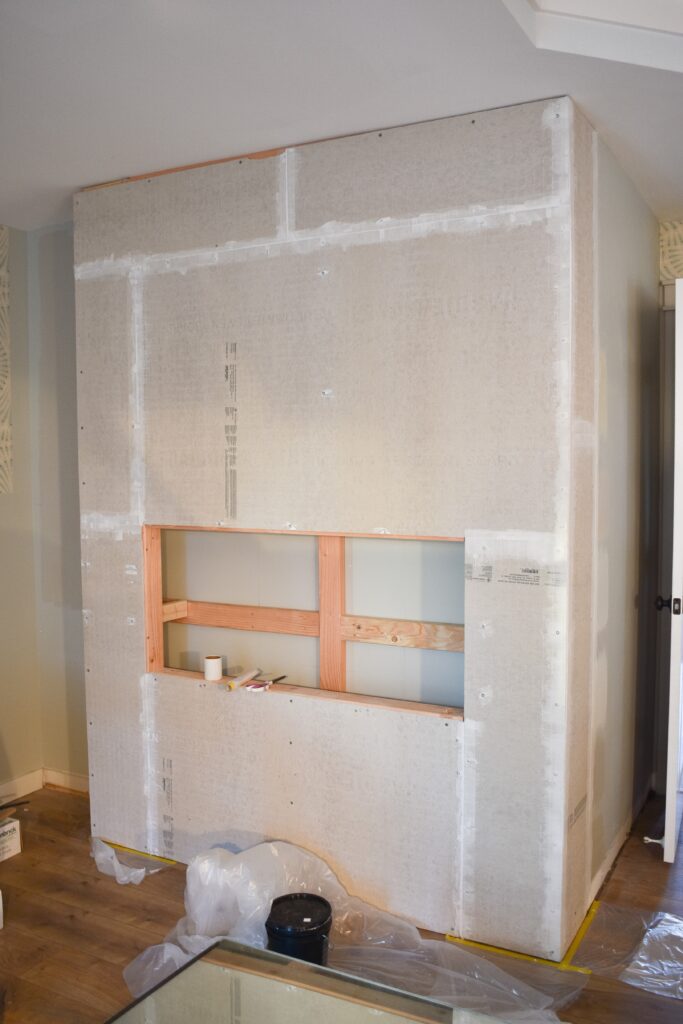
After the cement board is installed, use mesh tape to seal each seam (you can apply it with pre-mixed thinset or the same mortar you will be using to adhere the bricks.
Step 3 – Attach the Bricks
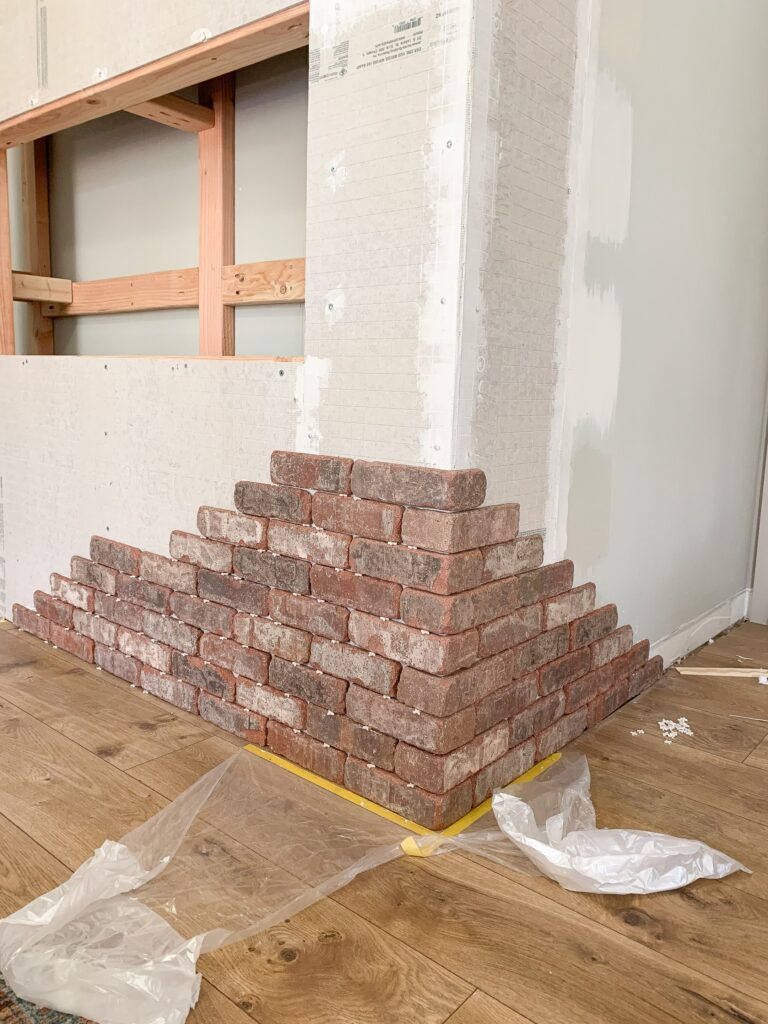
The bricks I used come in both flat and corner pieces and you install them similar to any other tile. I mixed up small batches of mortar and butter backed each piece so I could install them individually.
I started with the lowest corner and worked my way out and up – making sure to keep each row level and using 1/4″ tile spacers.
Step 4 – Build the Mantel
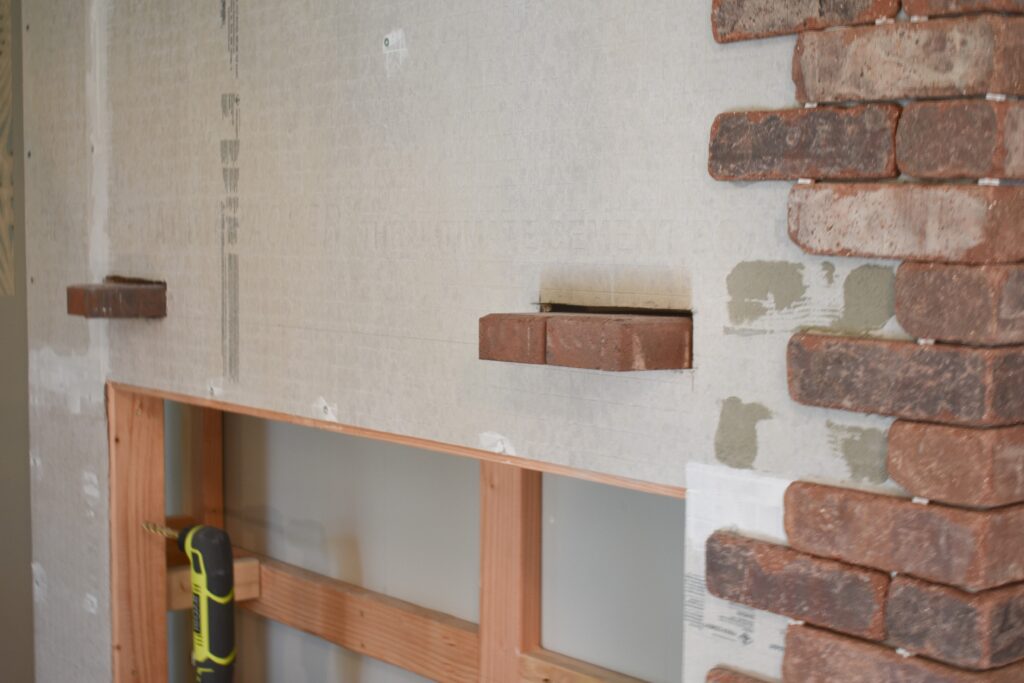
Since I decided that I didn’t want a chunky floating mantel (I only really want it to hold some Christmas stockings), I devised a way to create one out of bricks. I used my oscillating saw to cut out openings wide enough to install some paver bricks that act as a shelf for the mantel.
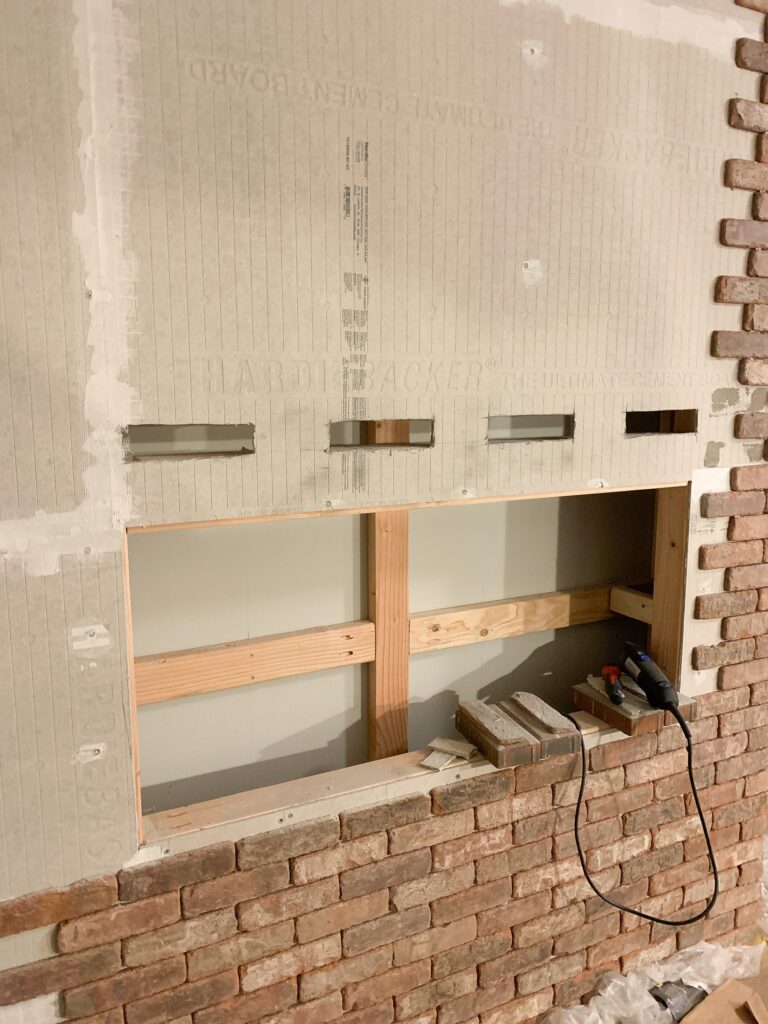
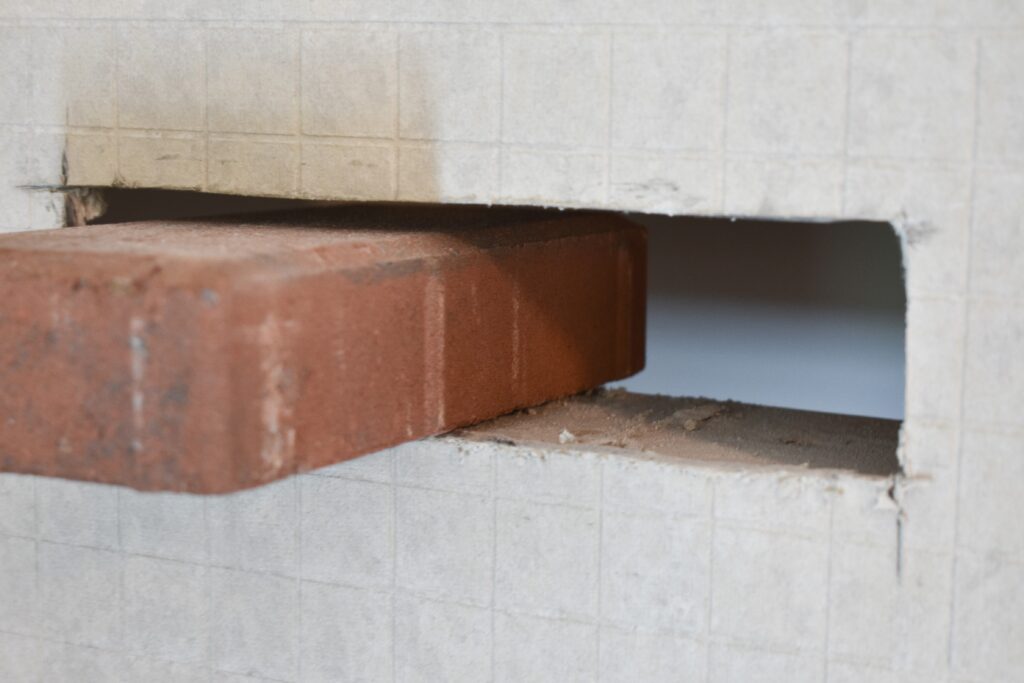
The back of the bricks rest on a 2×4 that I installed horizontally when I built the frame out.
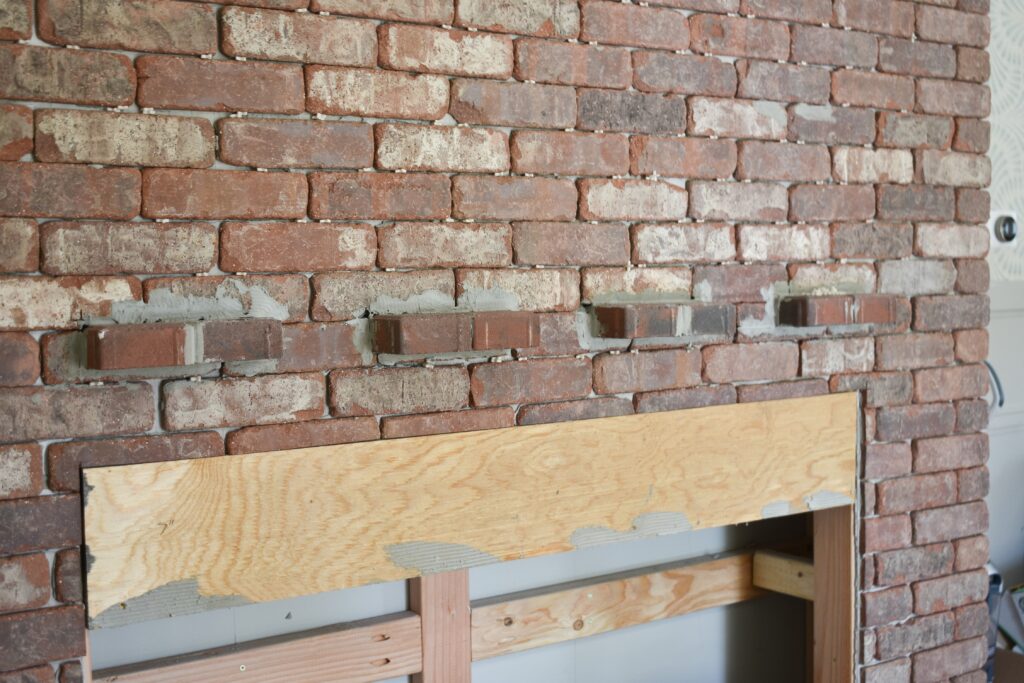
I tried a few different techniques to attach the paver bricks but what worked best was using the mortar to hold each pair of bricks together, and then hold them in place with the surrounding bricks. Once the grout was dried I attached a piece of 1×5 to the top to finish it off.
Step 6 – Grout the Brick
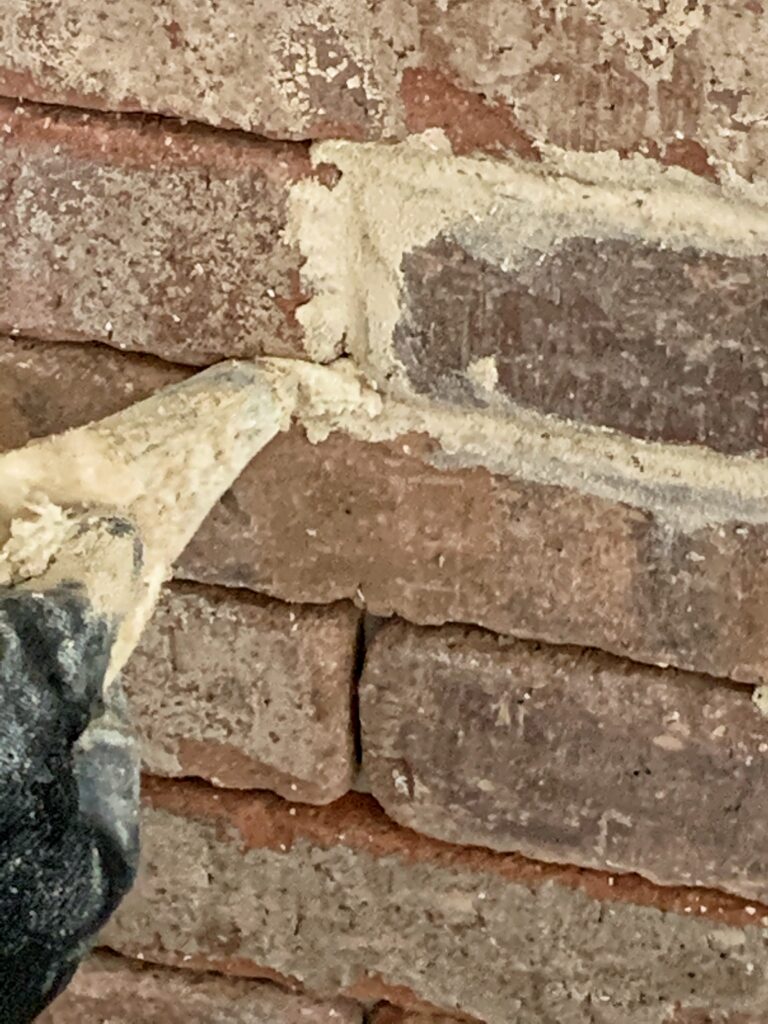
Grouting the brick is kind of like frosting a cake. Fill a grouting bag with pre-mixed sanded grout and pipe it between the bricks. You can use a tool to smooth the grout, but I find that using my fingers (protected by a thick pair of tiling gloves) works better. For the ceiling and floor spaces I use matching sanded caulk for better control. The good thing about brick is that the imperfections is what give it the charm of old found brick.
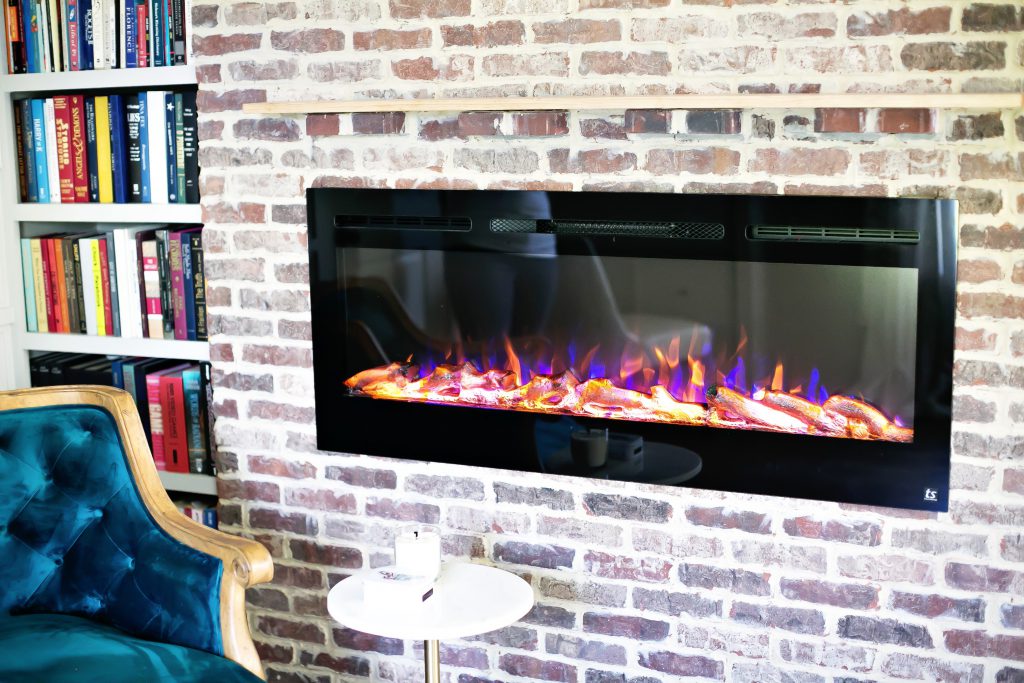
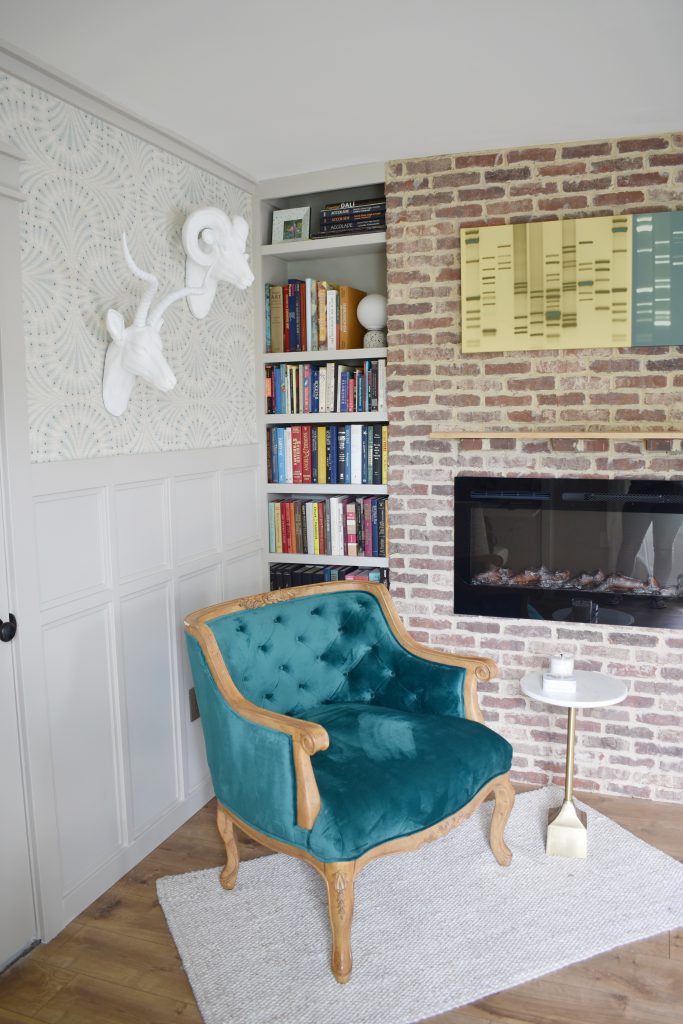
Once the grout is dry you can install the fireplace; use a drill bit made for masonry to pre-drill the holes in the brick. The great thing about this electric fireplace is that you can have the flames on without the heat for a cozy evening glow.
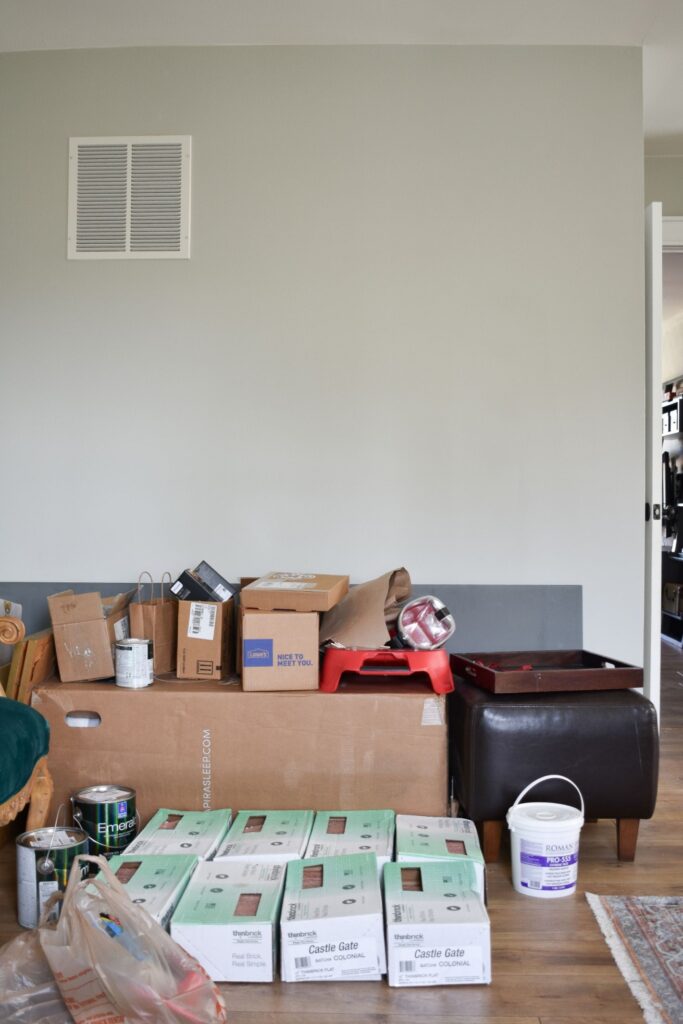
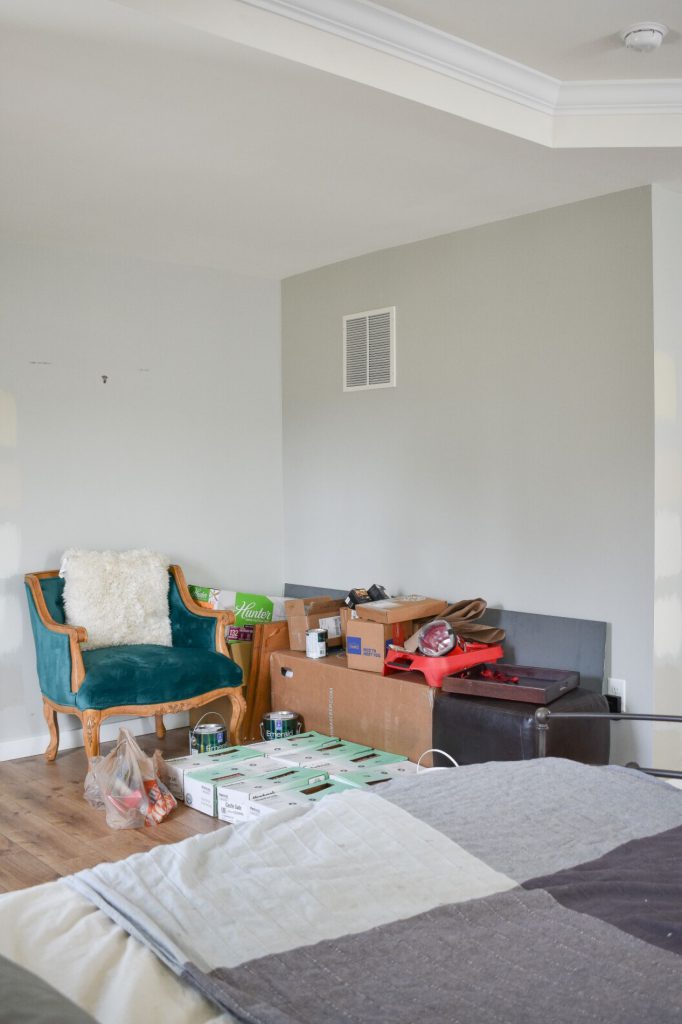
Before 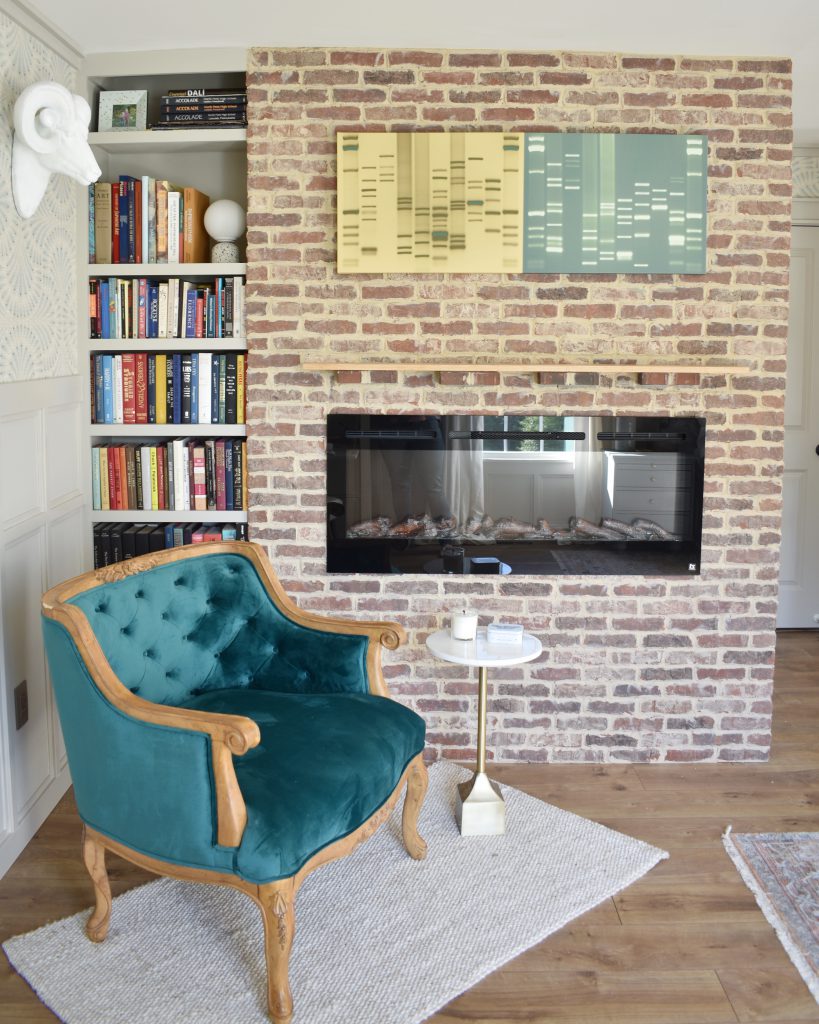
After