
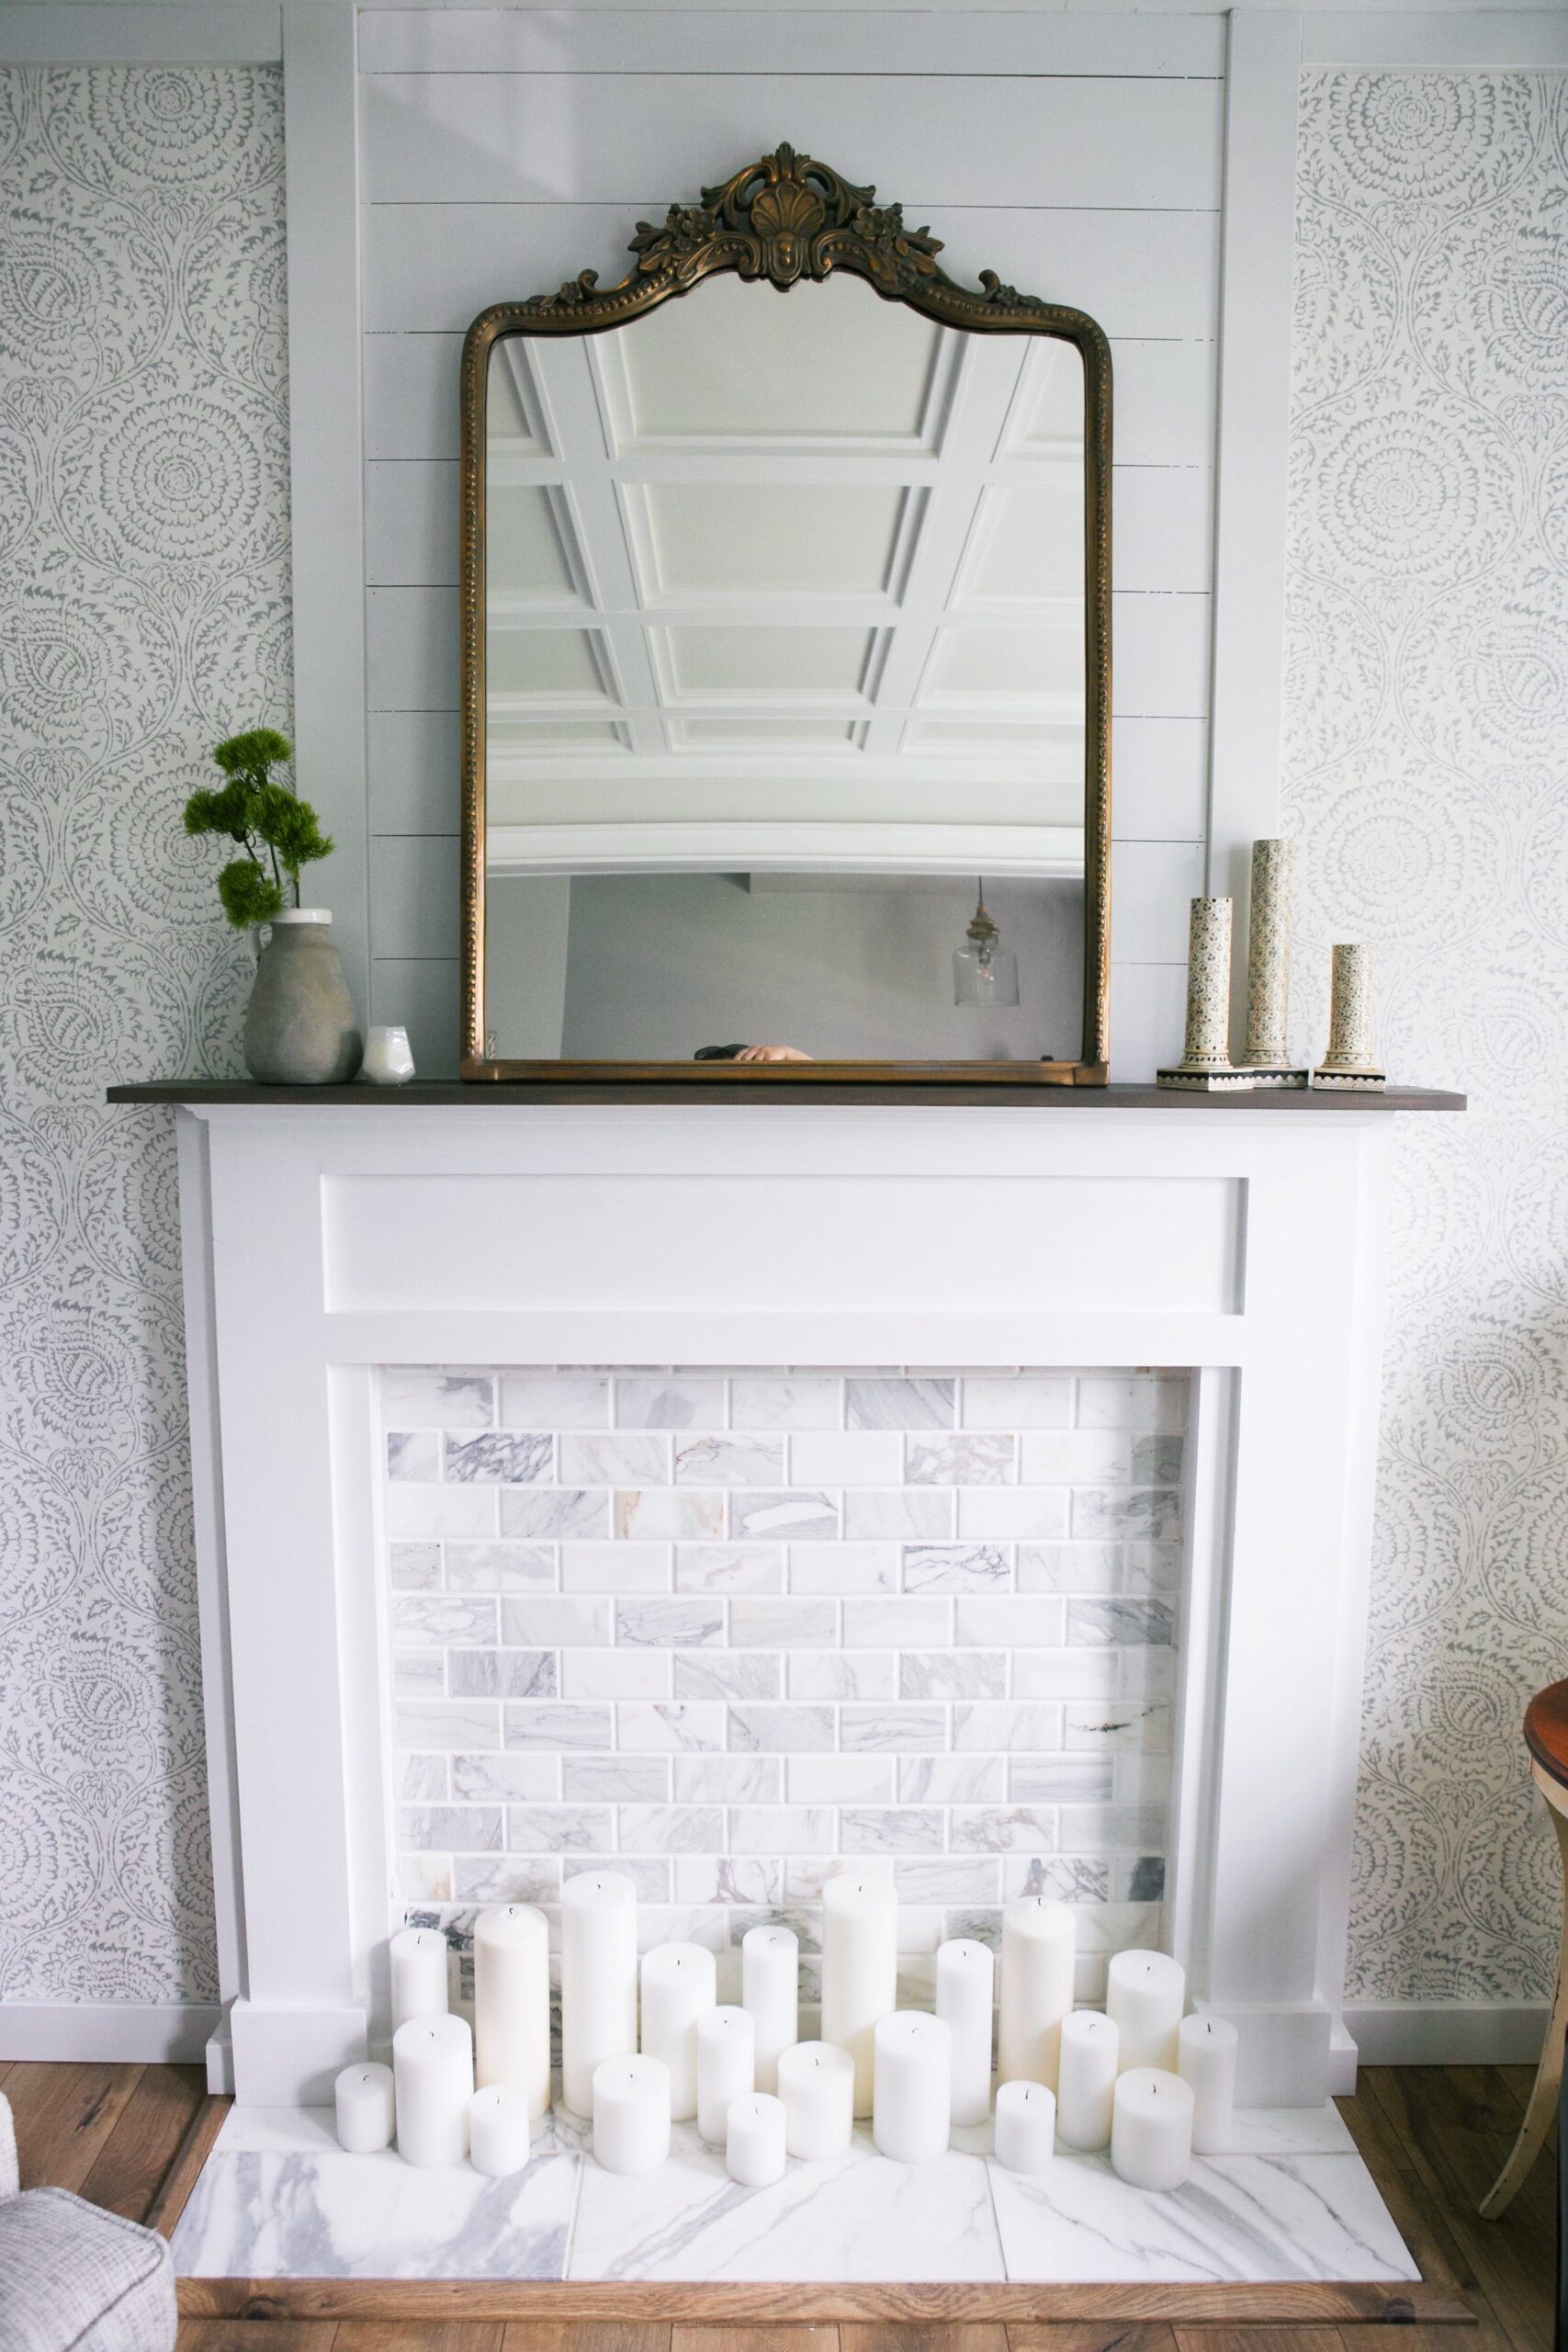
How to build a Faux Fireplace – and make it glow!
Disclosure: This post contains affiliate links, meaning, at no additional cost to you, I will earn a commission if you click through and make a purchase. All opinions are my own.
I had a few questions pop up about how I went about installing the faux fireplace in our front room, so I decided to write a more detailed How To tutorial on my process. Unfortunately I did not take a ton of pictures while I was building, but I think I was still able to break it down for those that want to follow alone at home. If you’d like to check out the full reveal of this room, as well as all of the sources for the products, you can check out this post.
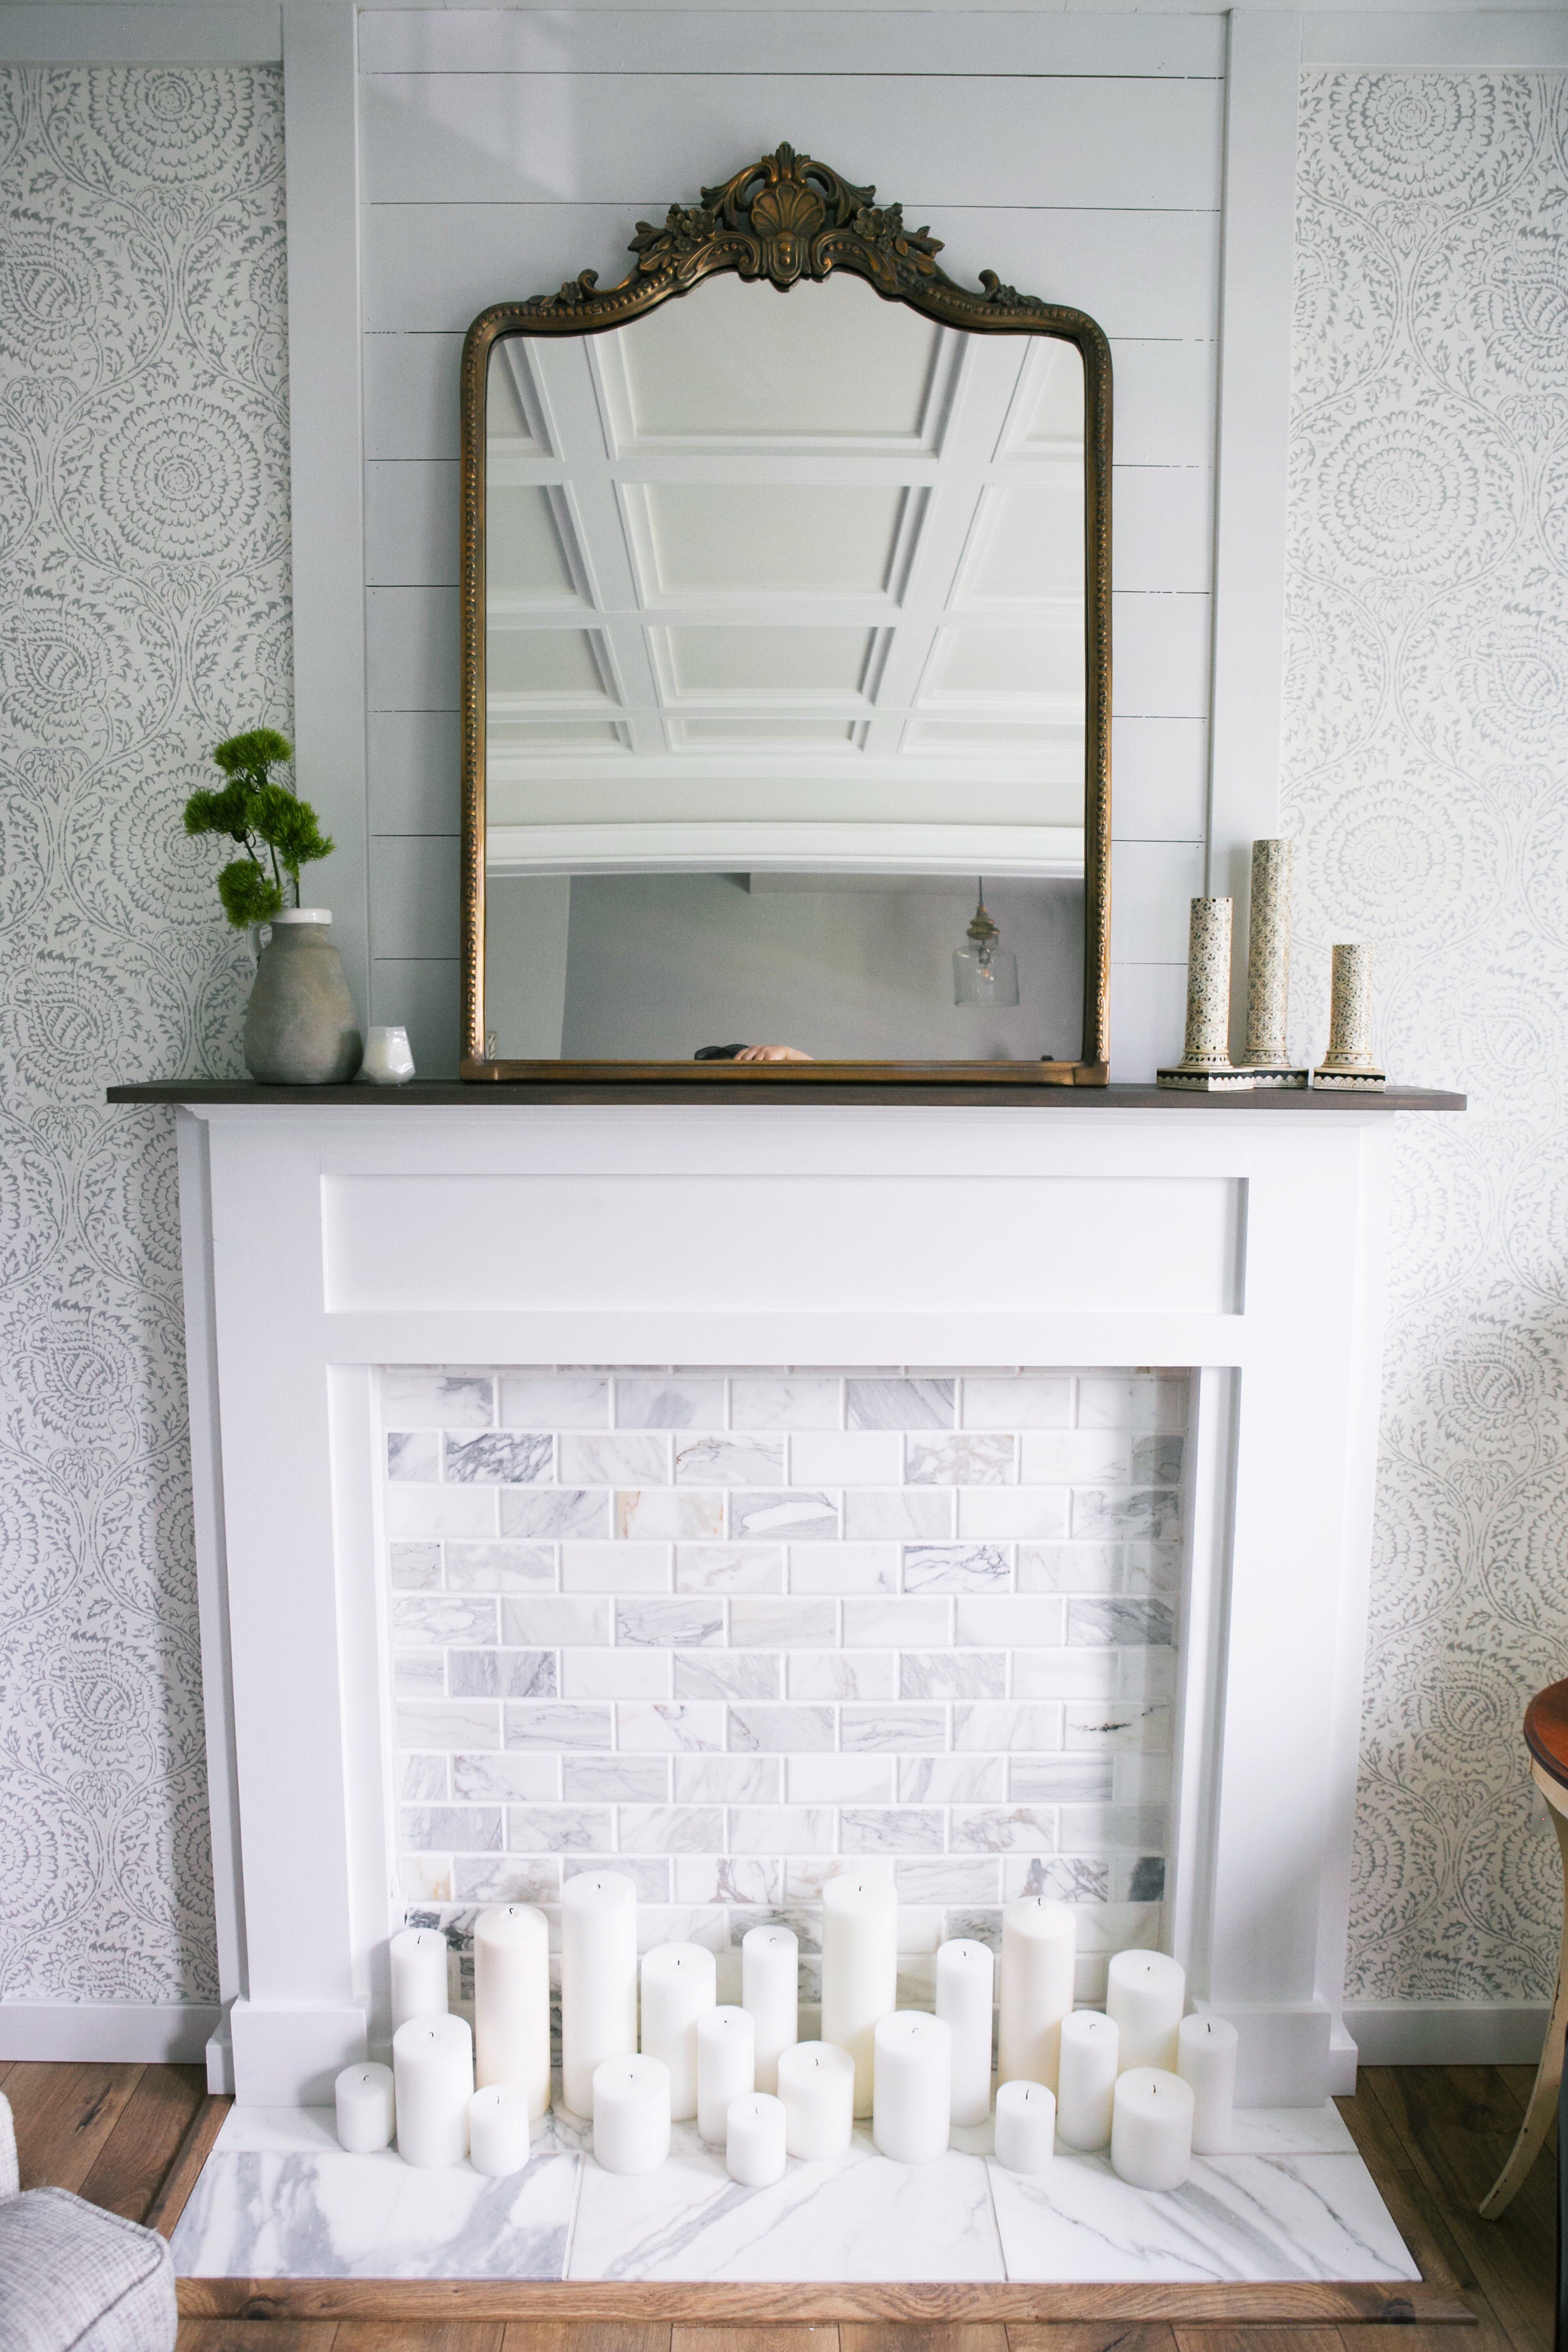
If you live in a new build, and your house is lacking architectural elements, this is a great way to create a focal point where there is none! And even better, when you create a fireplace from scratch you have the opportunity to customize it to the exact size that you want so before you start so take some time to plan out your measurements. In the pictures below you’ll see that I like to draw directly on the wall not only to visualize the rough height and width I want, but also to ensure that I am laying out my tile in the most cost effective way with no weird cuts and very little waste.
Step One – Install your Tile
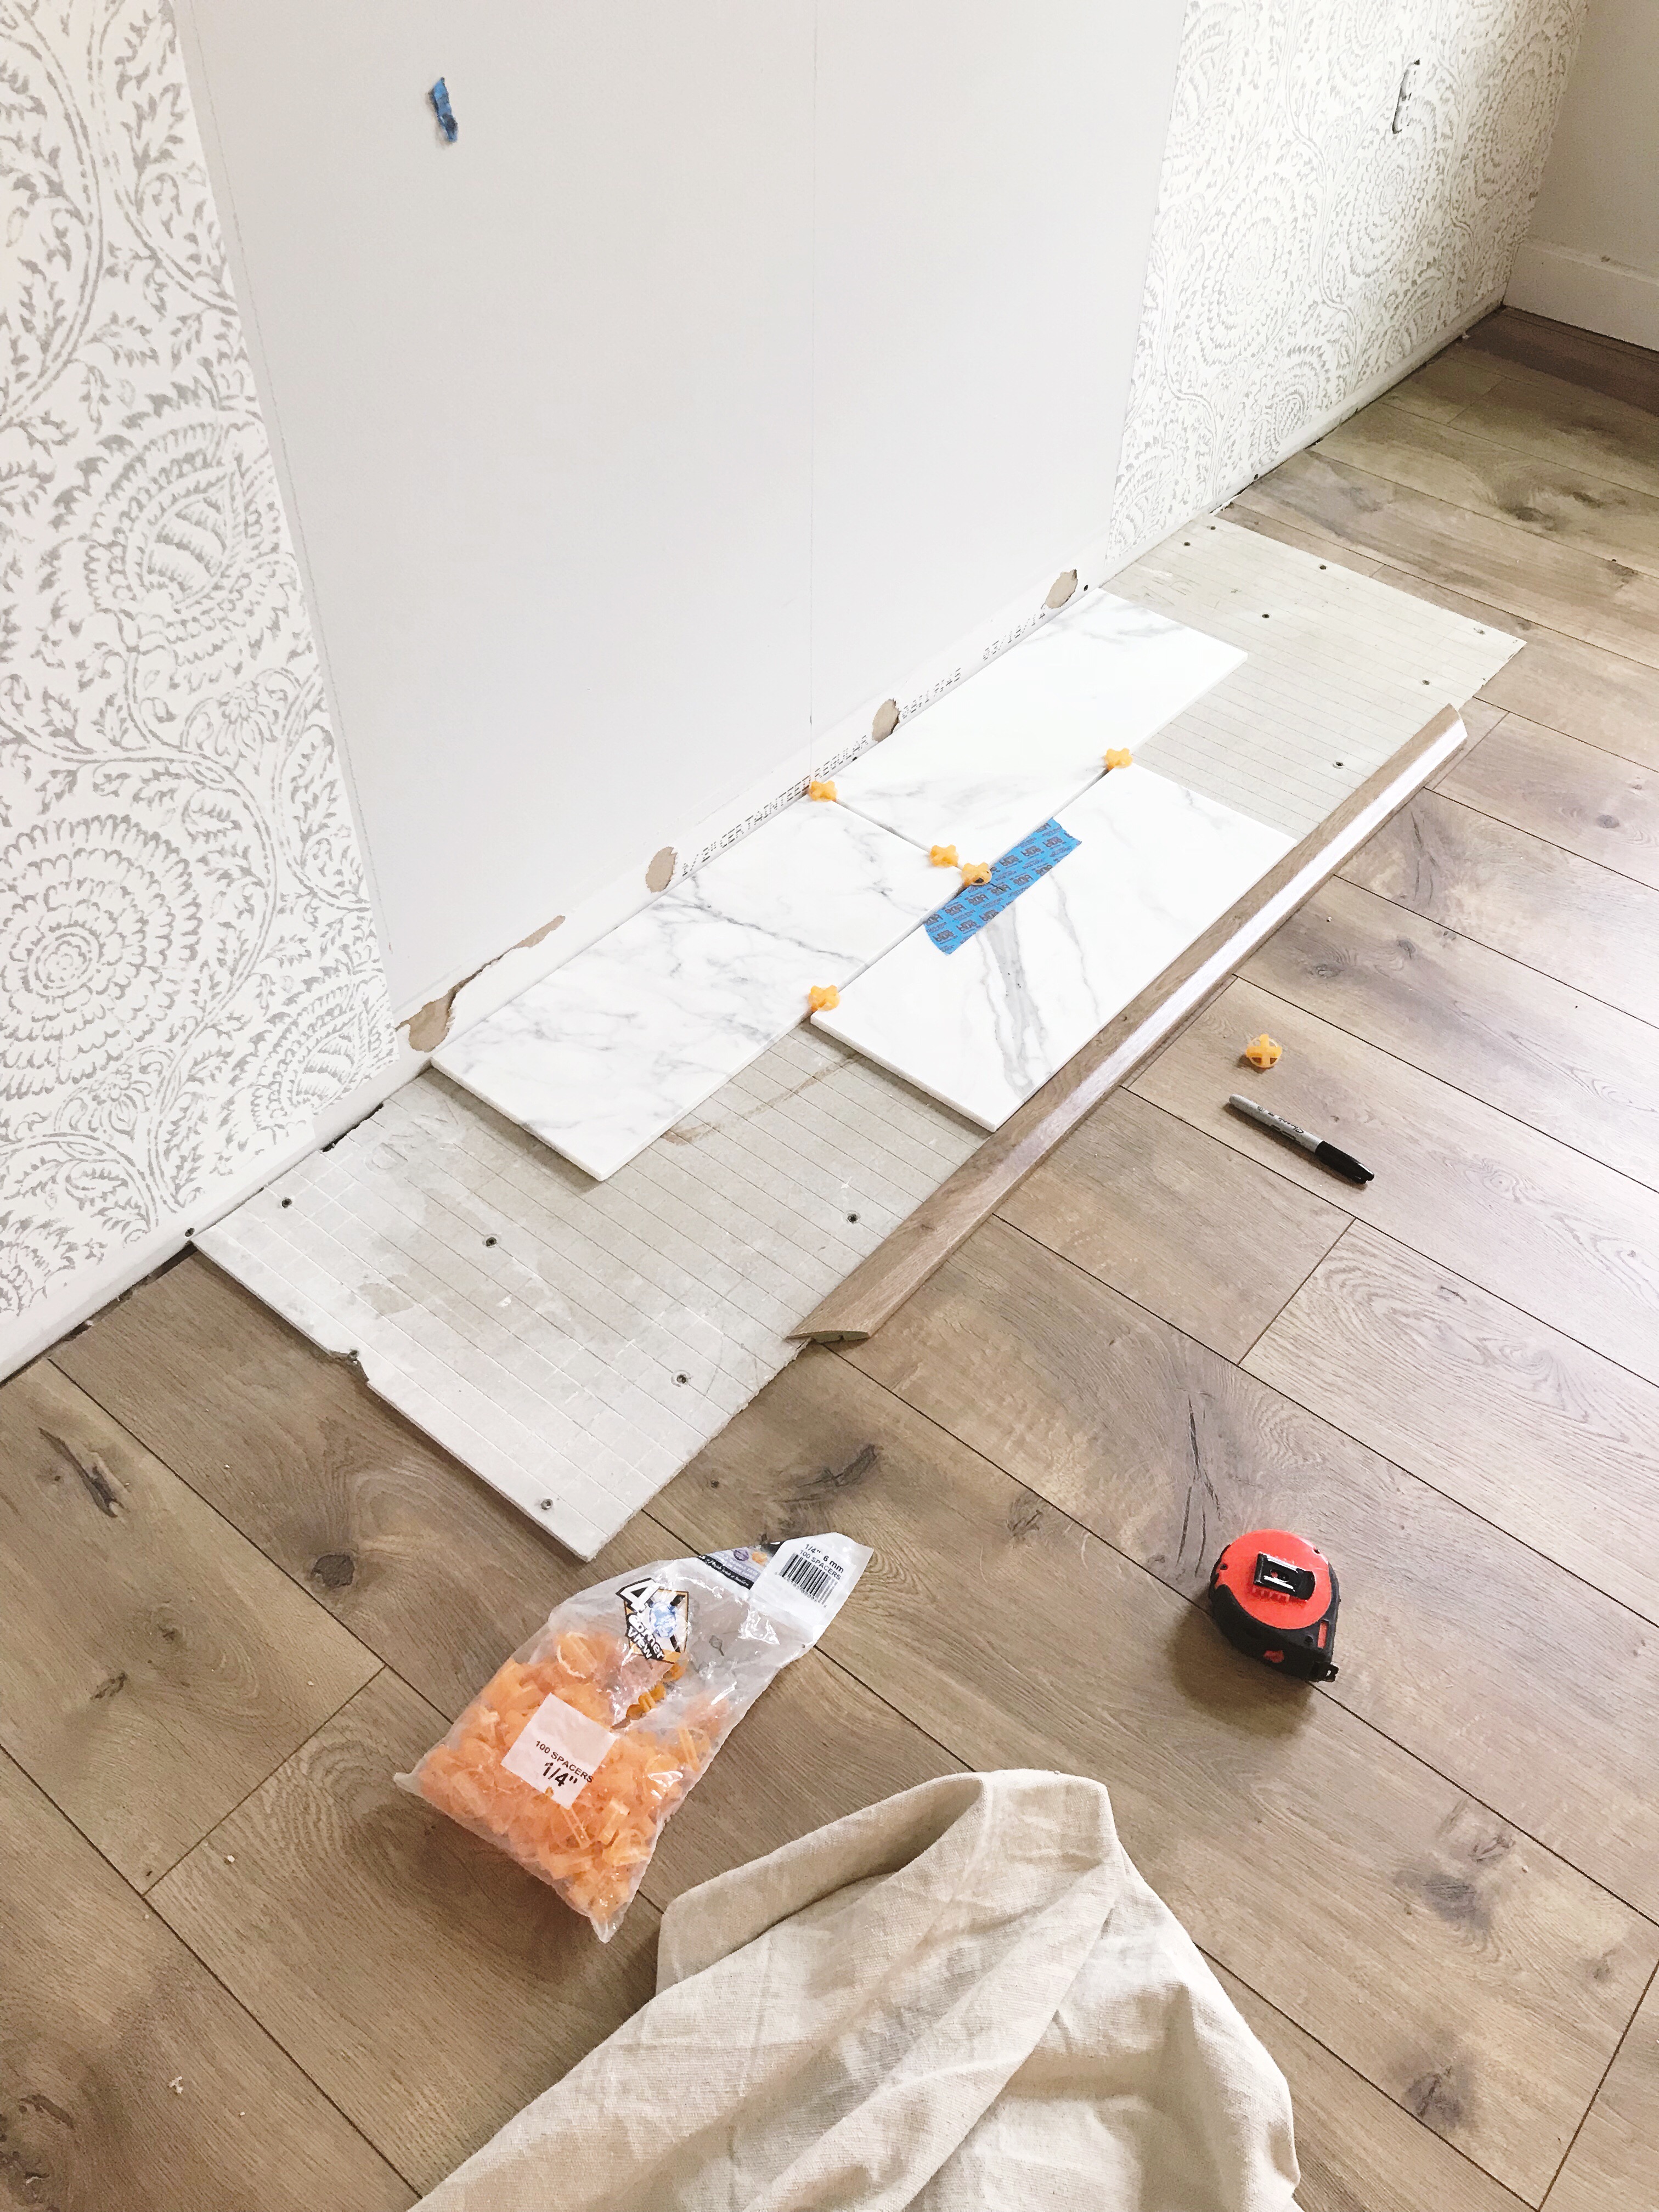
I started my design by determining the center of my wall and laying out the marble tile I selected for my hearth, keeping in mind the spacing between tiles and the trim I would eventually be adding to the border. With that total measurement, I cut a piece of backerboard to size and attached it directly to my floor using backerboard screws (it’s important to make sure that this underlayment is completely level before you begin tiling). Next, I installed my tile with thinset and let it dry before moving onto the wall tile.
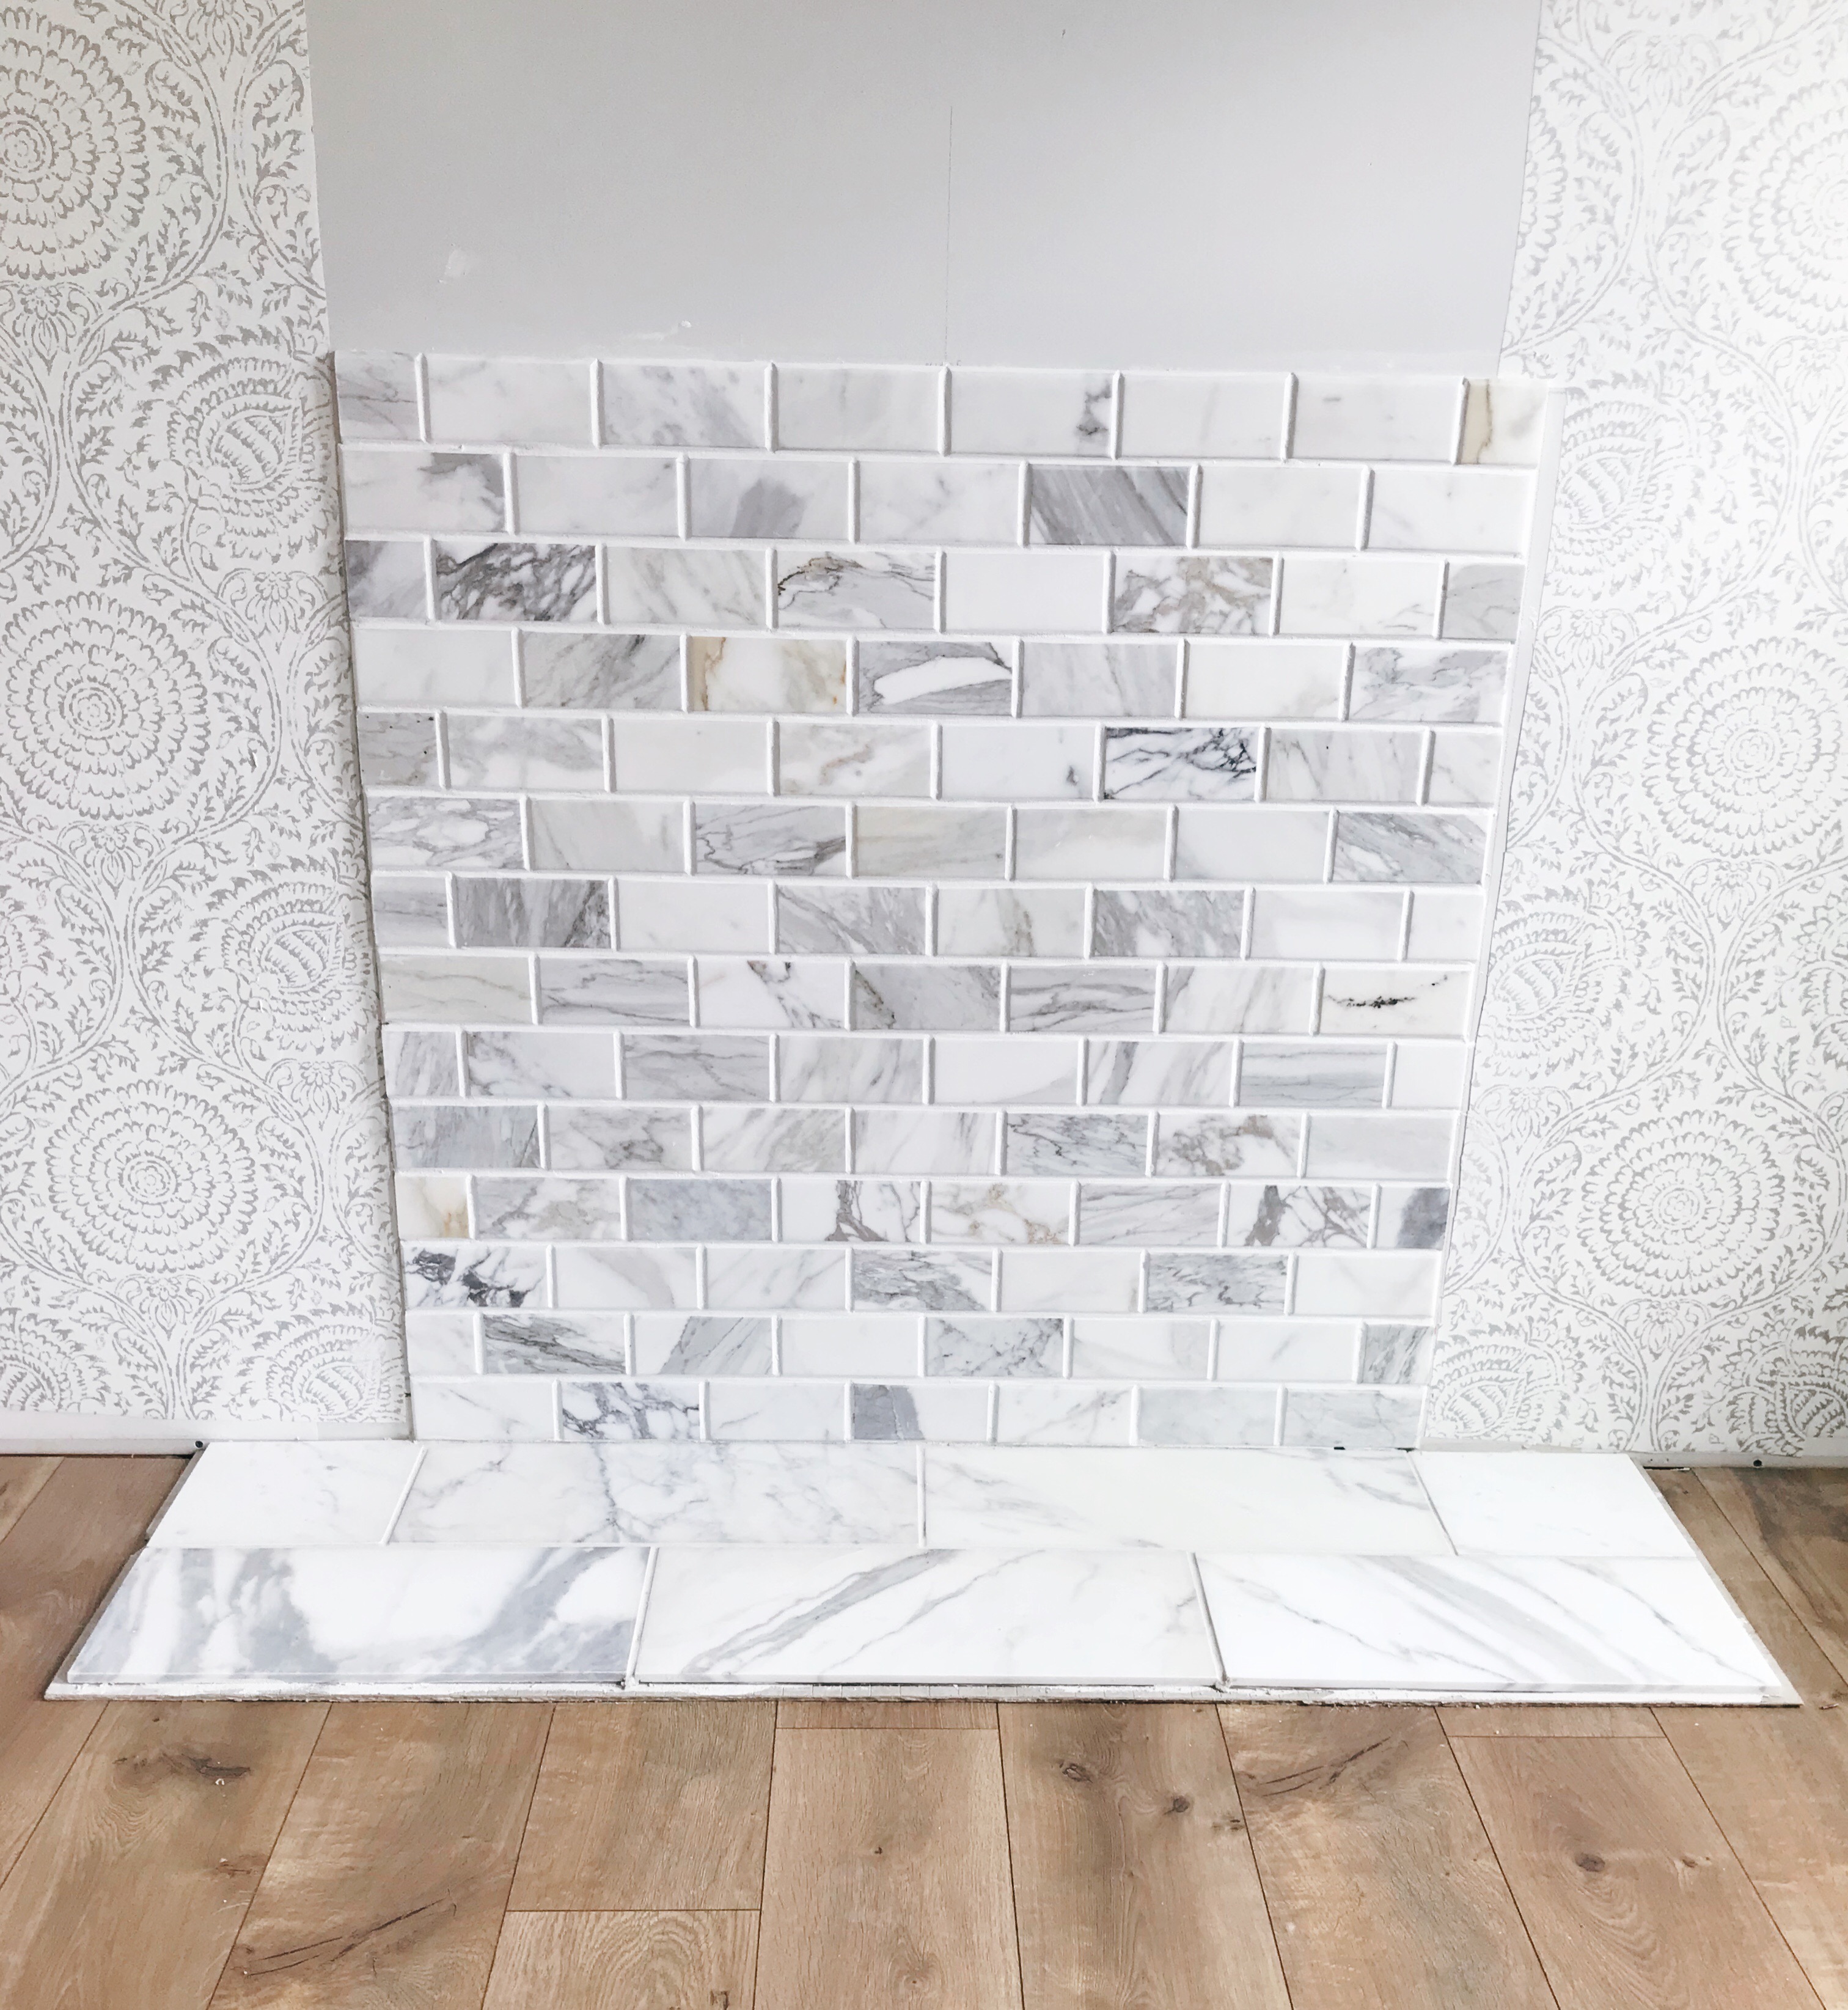
For the wall tile – I again laid it out in advance to determine my desired width and height (my tip: make it easy on yourself and design your final layout to only include full and half width tiles – it will involve a lot less cutting and looks better in the end!). For a heavy tile (like a stacked stone) you will also want to install some kind of backerboard to the wall to hold the weight, but my marble is pretty light and it’s not going to see a lot of use so I felt comfortable attaching directly to the drywall. I installed using my favorite pre-mixed mastic from the Tile Shop and carefully checked my rows for level as I went.
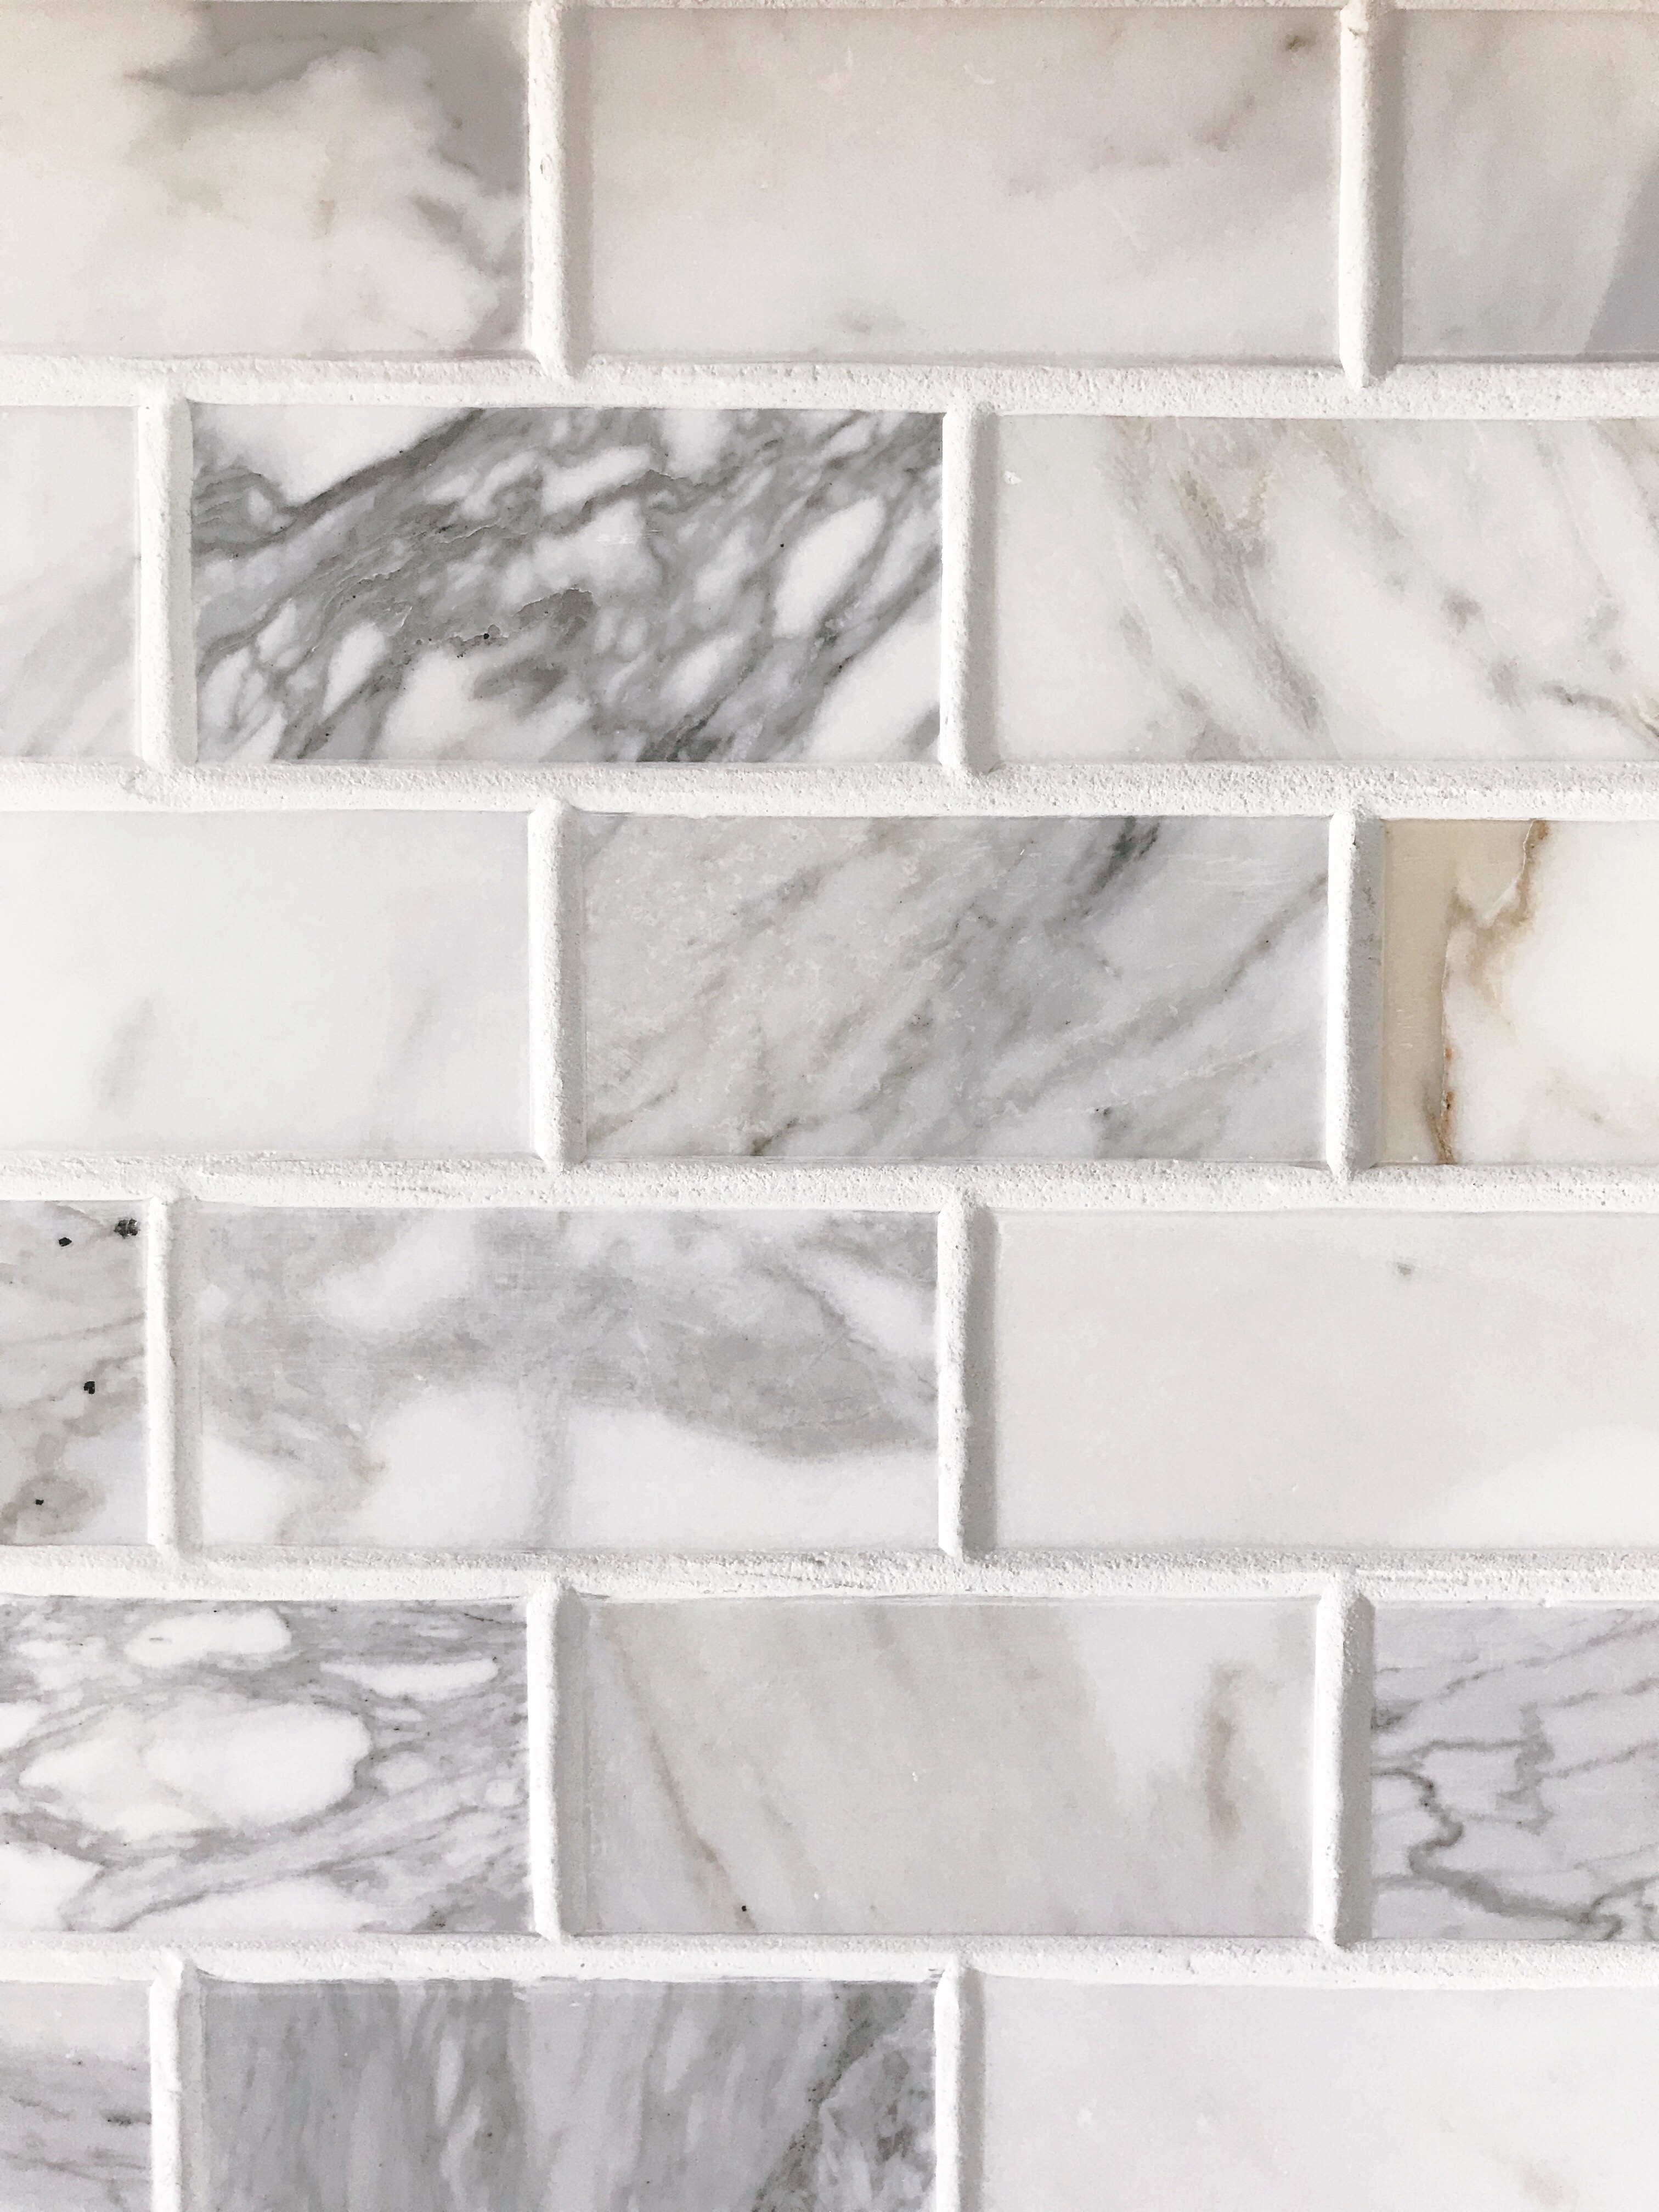
Once everything was set I used white grout for both the wall and the hearth; once the grout is set I like to go back with a cheesecloth and a very light abrasive pad to clean up my lines and polish each stone.
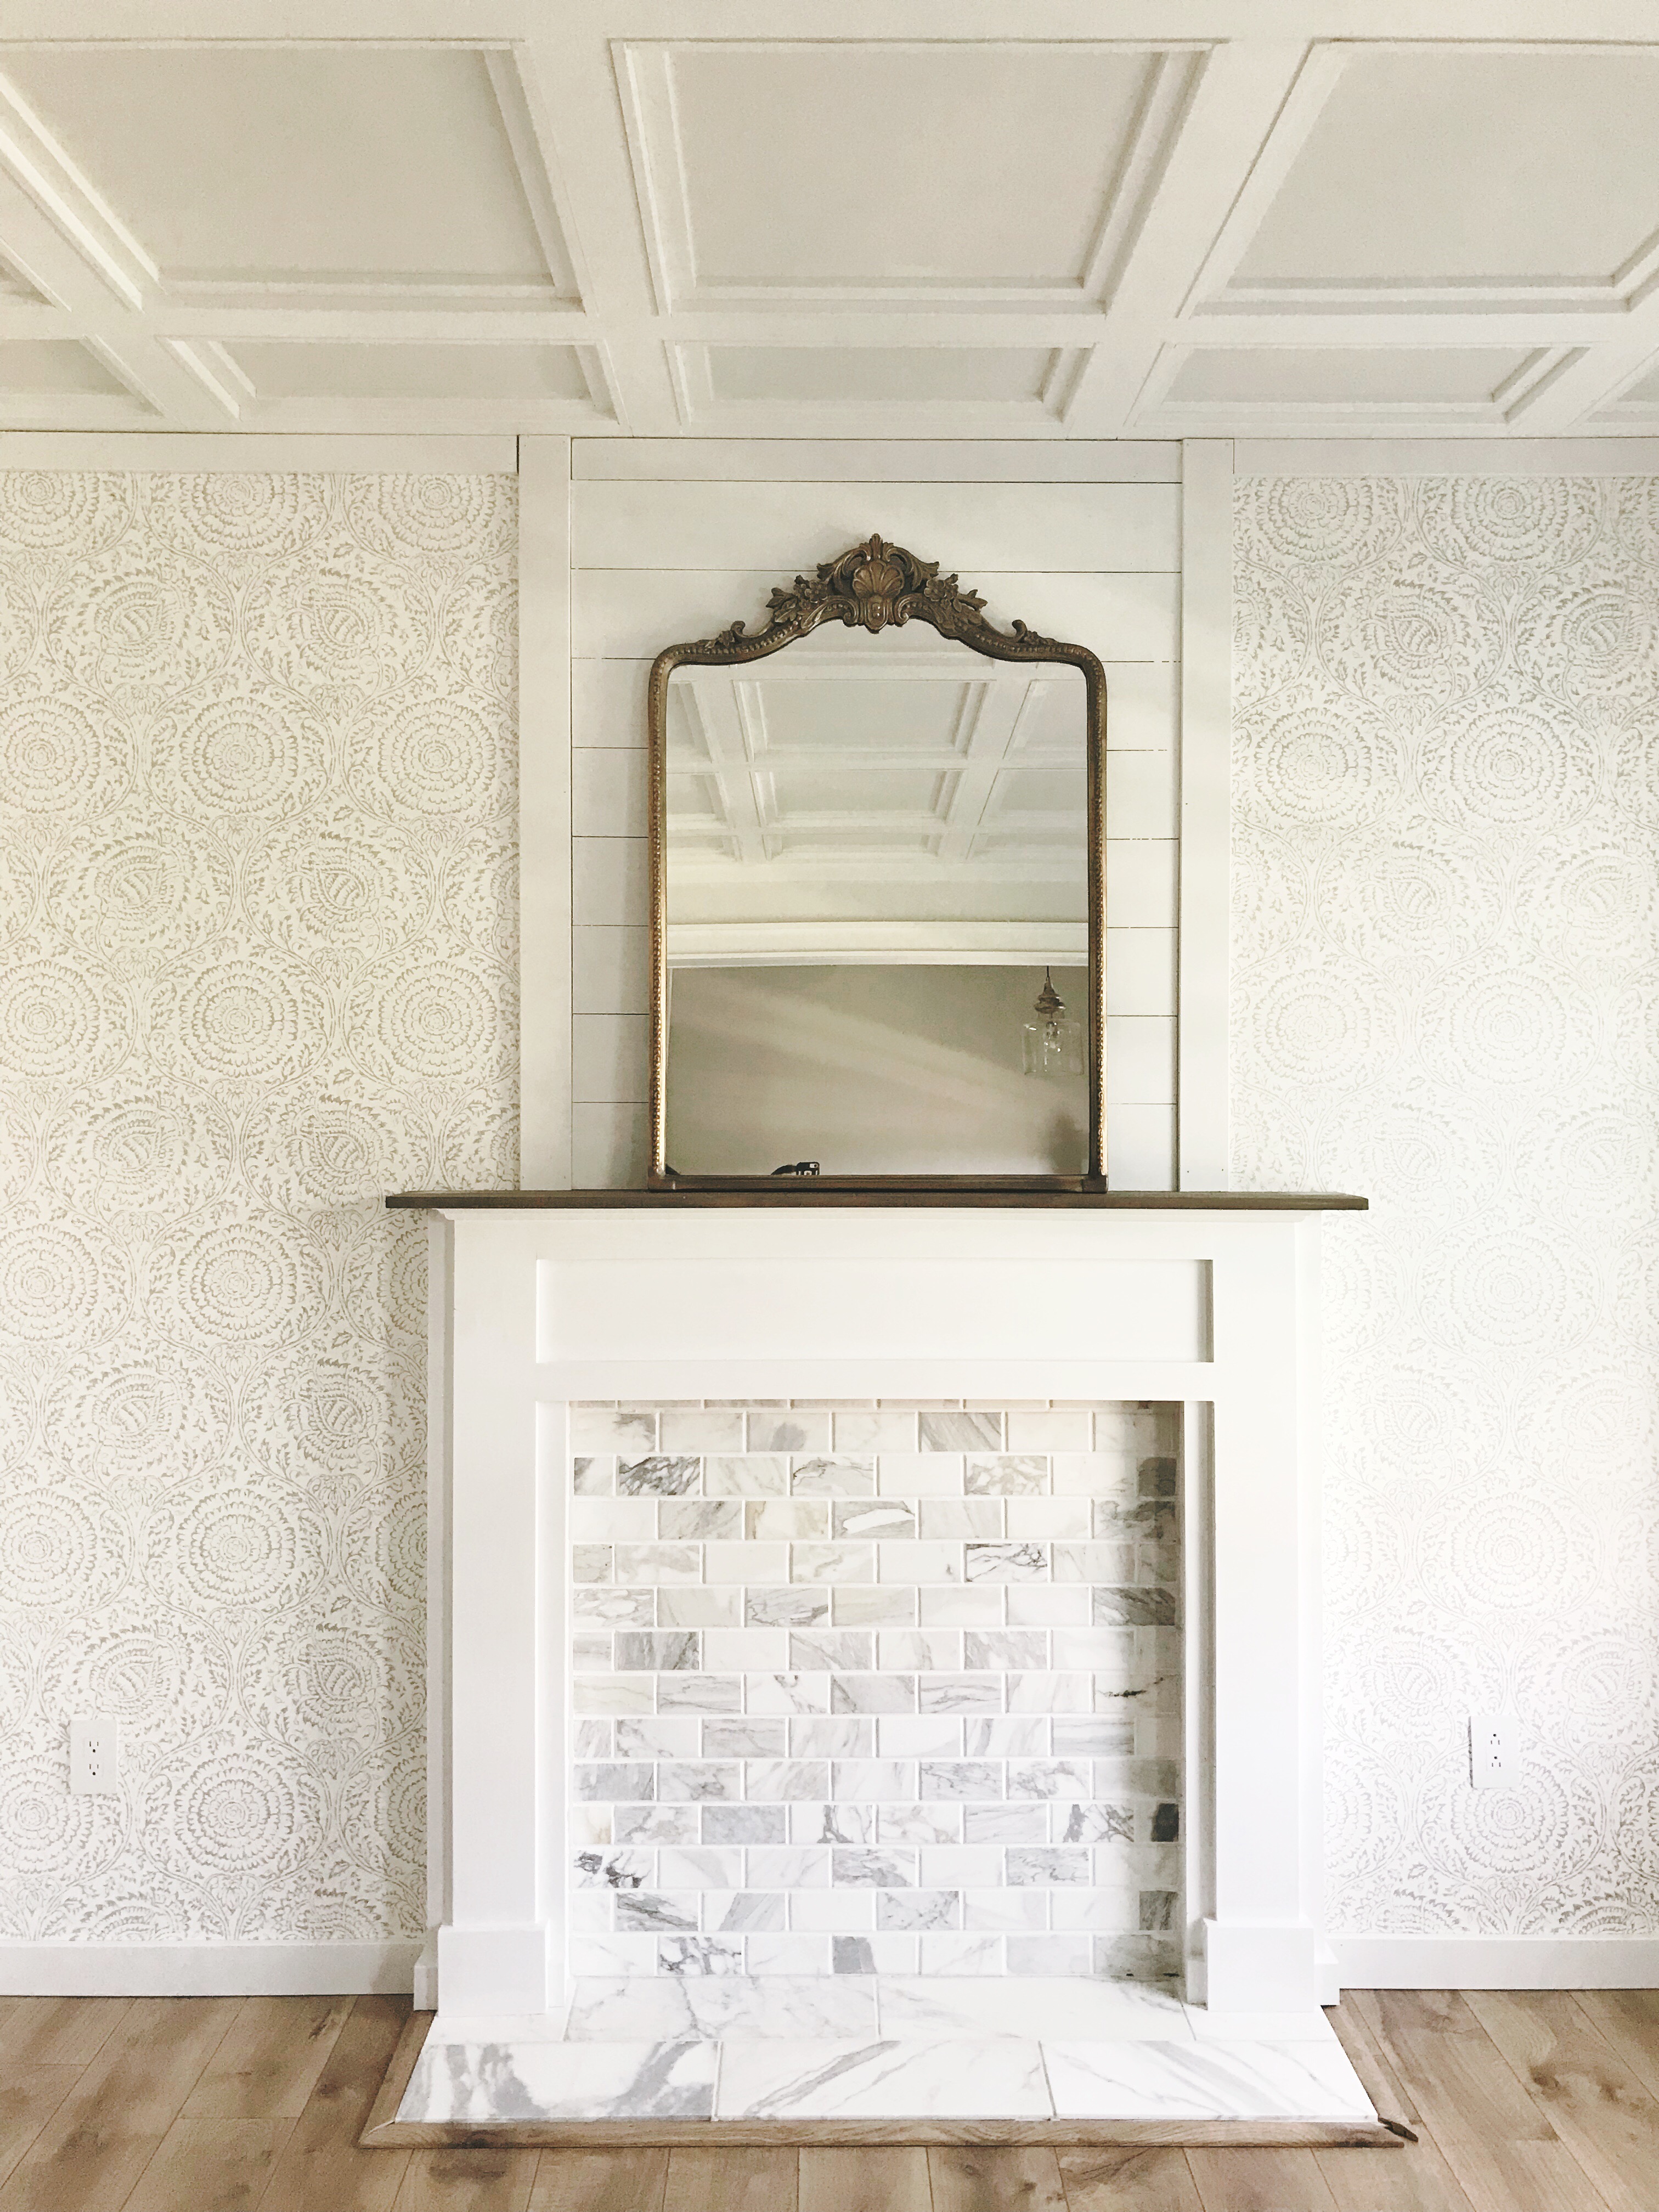
Step Two – Build the Fireplace Surround

Once my tile was in place, I used the resulting measurements to build my surround, which I built closely following these plans from Ana White. It’s a fairly straightforward process in which you stack two layers of pine boards on top of each other but I made a few adjustments as I went:
- I increased both the width and the height of the original plans to fit my space; if you are not familiar with adjusting dimensions I would suggest that you go step by step and measure as you go instead of cutting all of your wood in advance
- I did not add additional trim to the top and bottom but I did keep the crown detail to bridge the gap between the surround and the mantel and cover the screws I used to attach it to the wall.
- To make my surround feel more built in, I waited until I had installed it in place to add the final trim so that it could line up seamlessly with my baseboards.
To finish the surround, I filled the holes, sanded, caulked, and used a coat of oil based primer (which does stink, but is my go to for raw wood that I’m painting white) and 3 coats of Sherwin Williams Pro-Classic Extra White Semi Gloss (which is what I use for all of my trim). I used grout caulk along the edges of the tile, taping everything off to get really clean lines. Finally I added the mantel, which I stained Briarsmoke by Varathane.
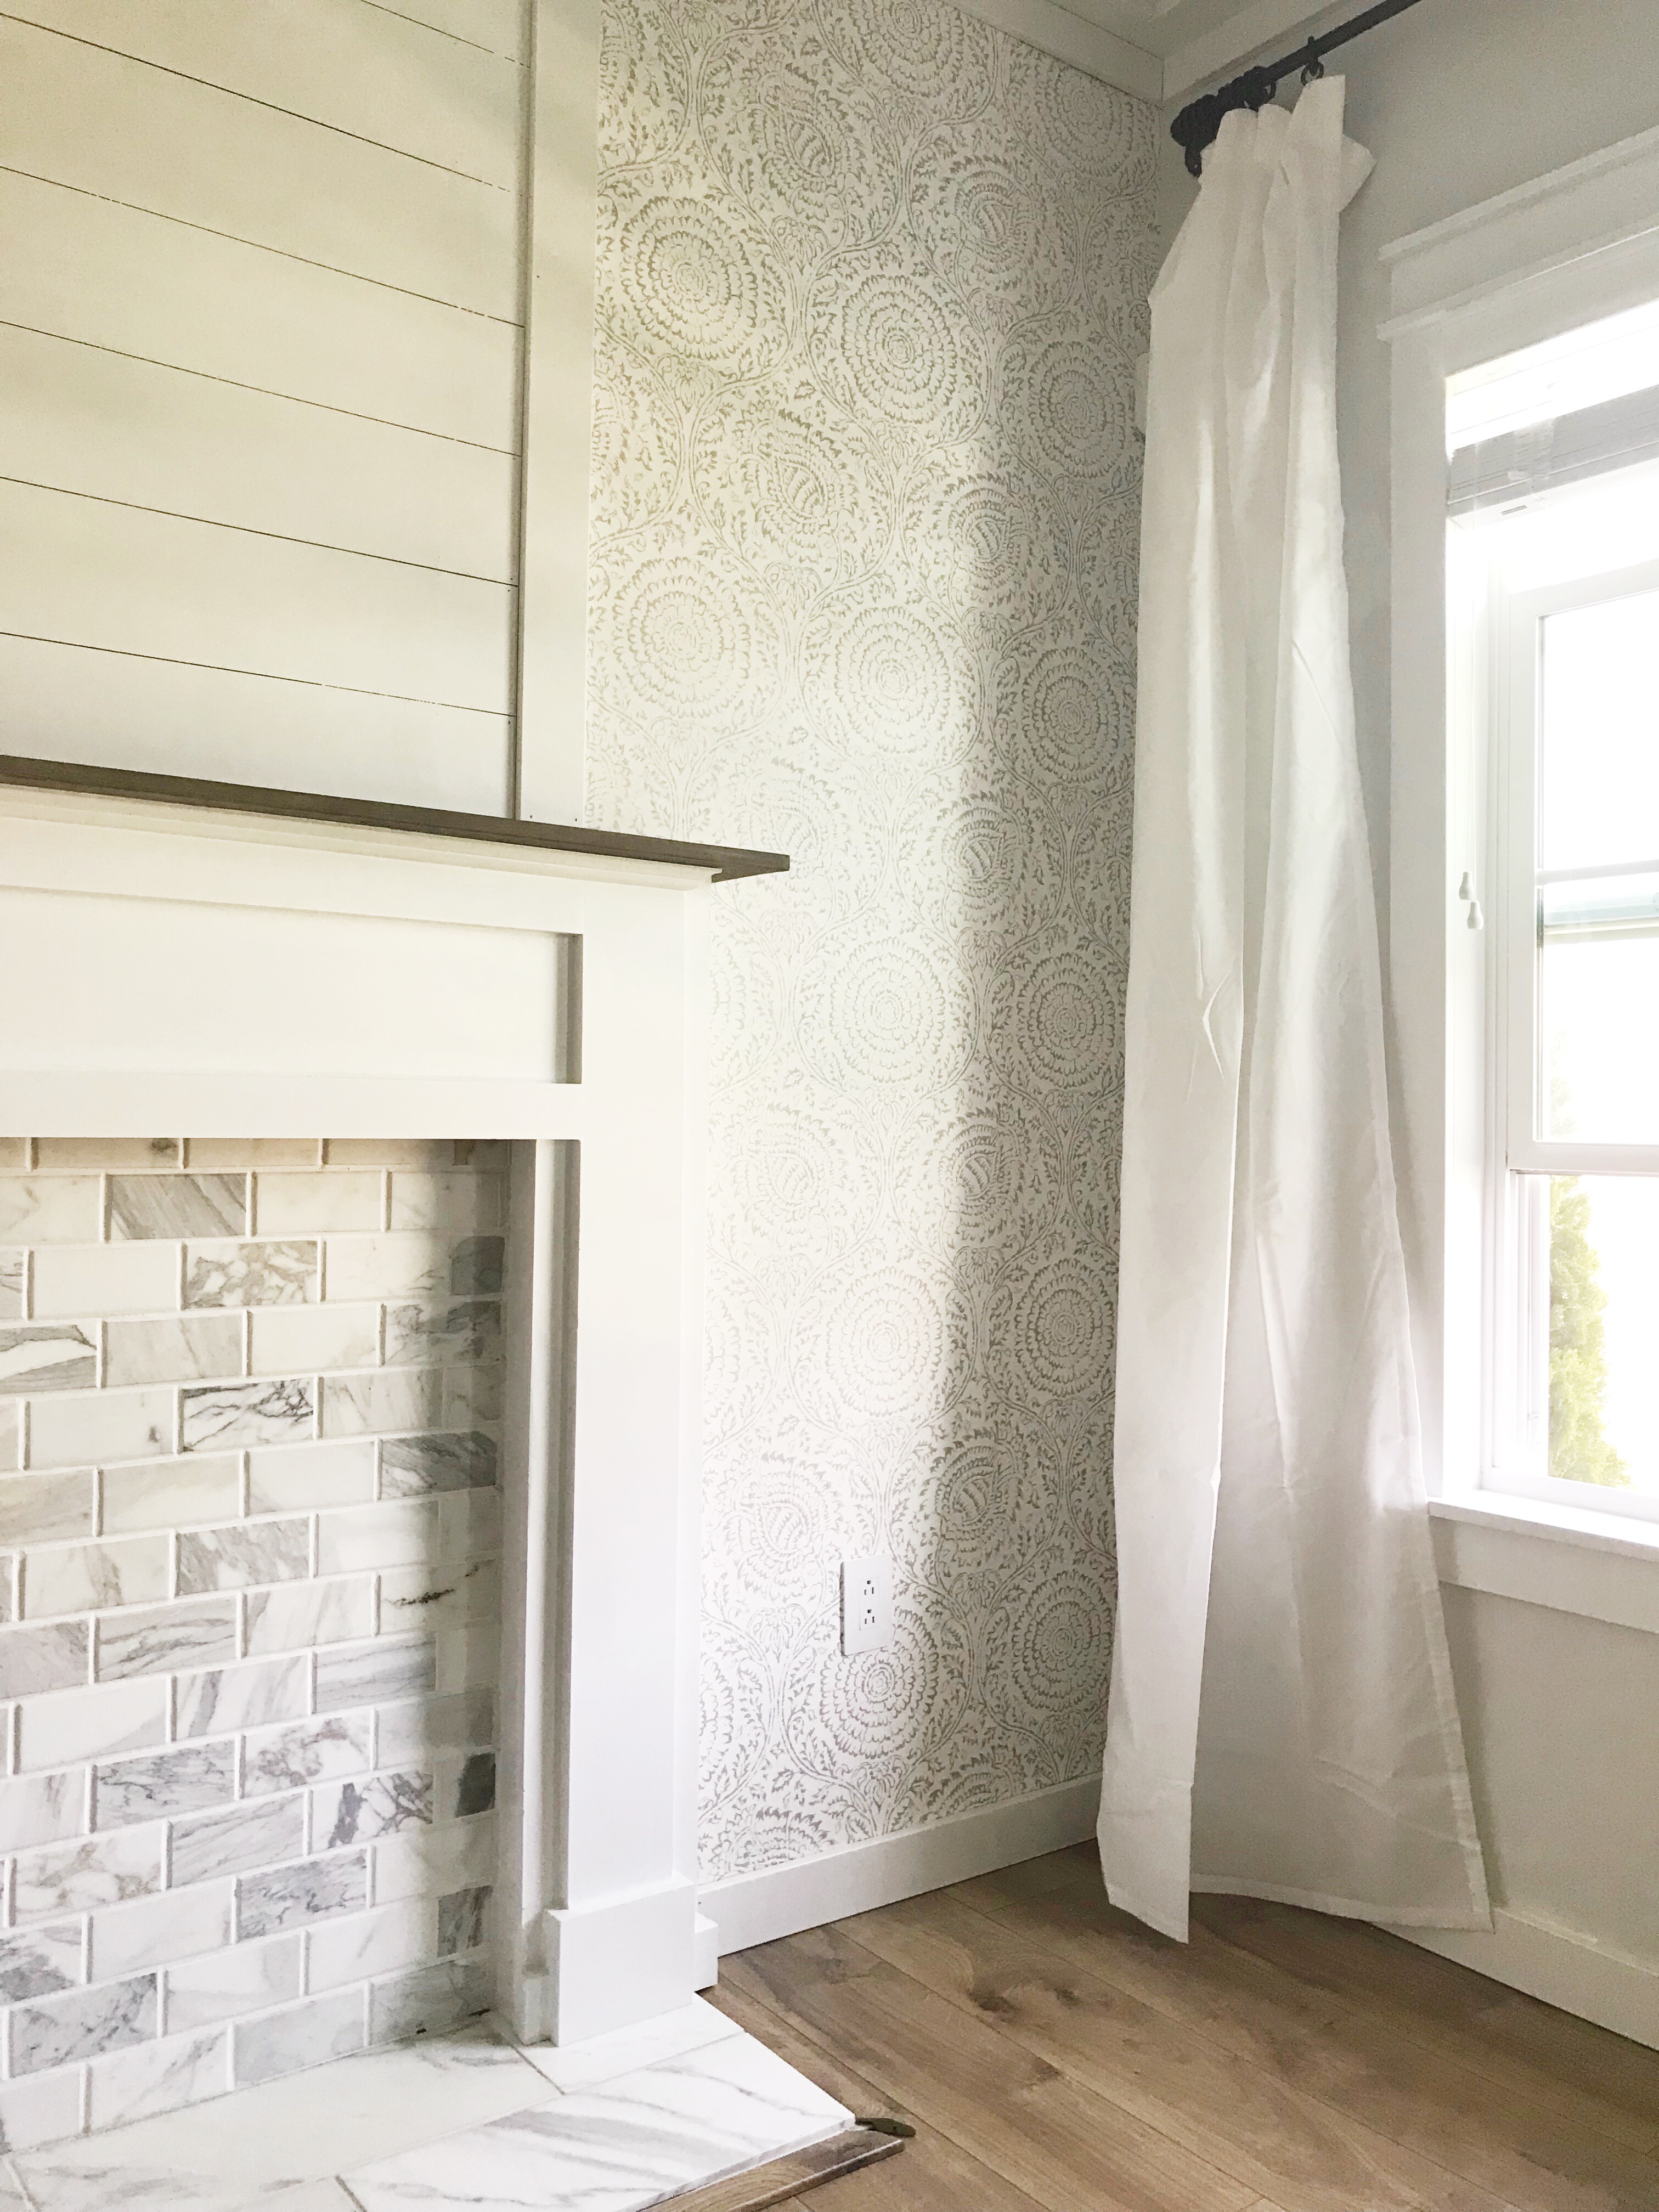
Step 3 – Adding Shiplap
I love adding extra height to rooms by taking a fireplace all the way up to the ceiling, and in this space I decided to add a stack of faux shiplap. I know everyone has their own technique, but this is the simplest way I have found for a small area:
- Rip 1/4″ MDF boards into 6″ strips and cut to your desired width
- Attach to the wall using liquid nails and a nail gun, attaching to the studs where you can; I line up the center on each piece and use pennies as spacers for each row
- Add flat stock MDF as a border on either side. I prefer to only fill in my nail holes on the flat stock, and not on the pieces of shiplap to keep a slightly rustic look.
- Caulk the sides and top, and finish everything off with a coat of primer, and 2 – 3 coats of white paint
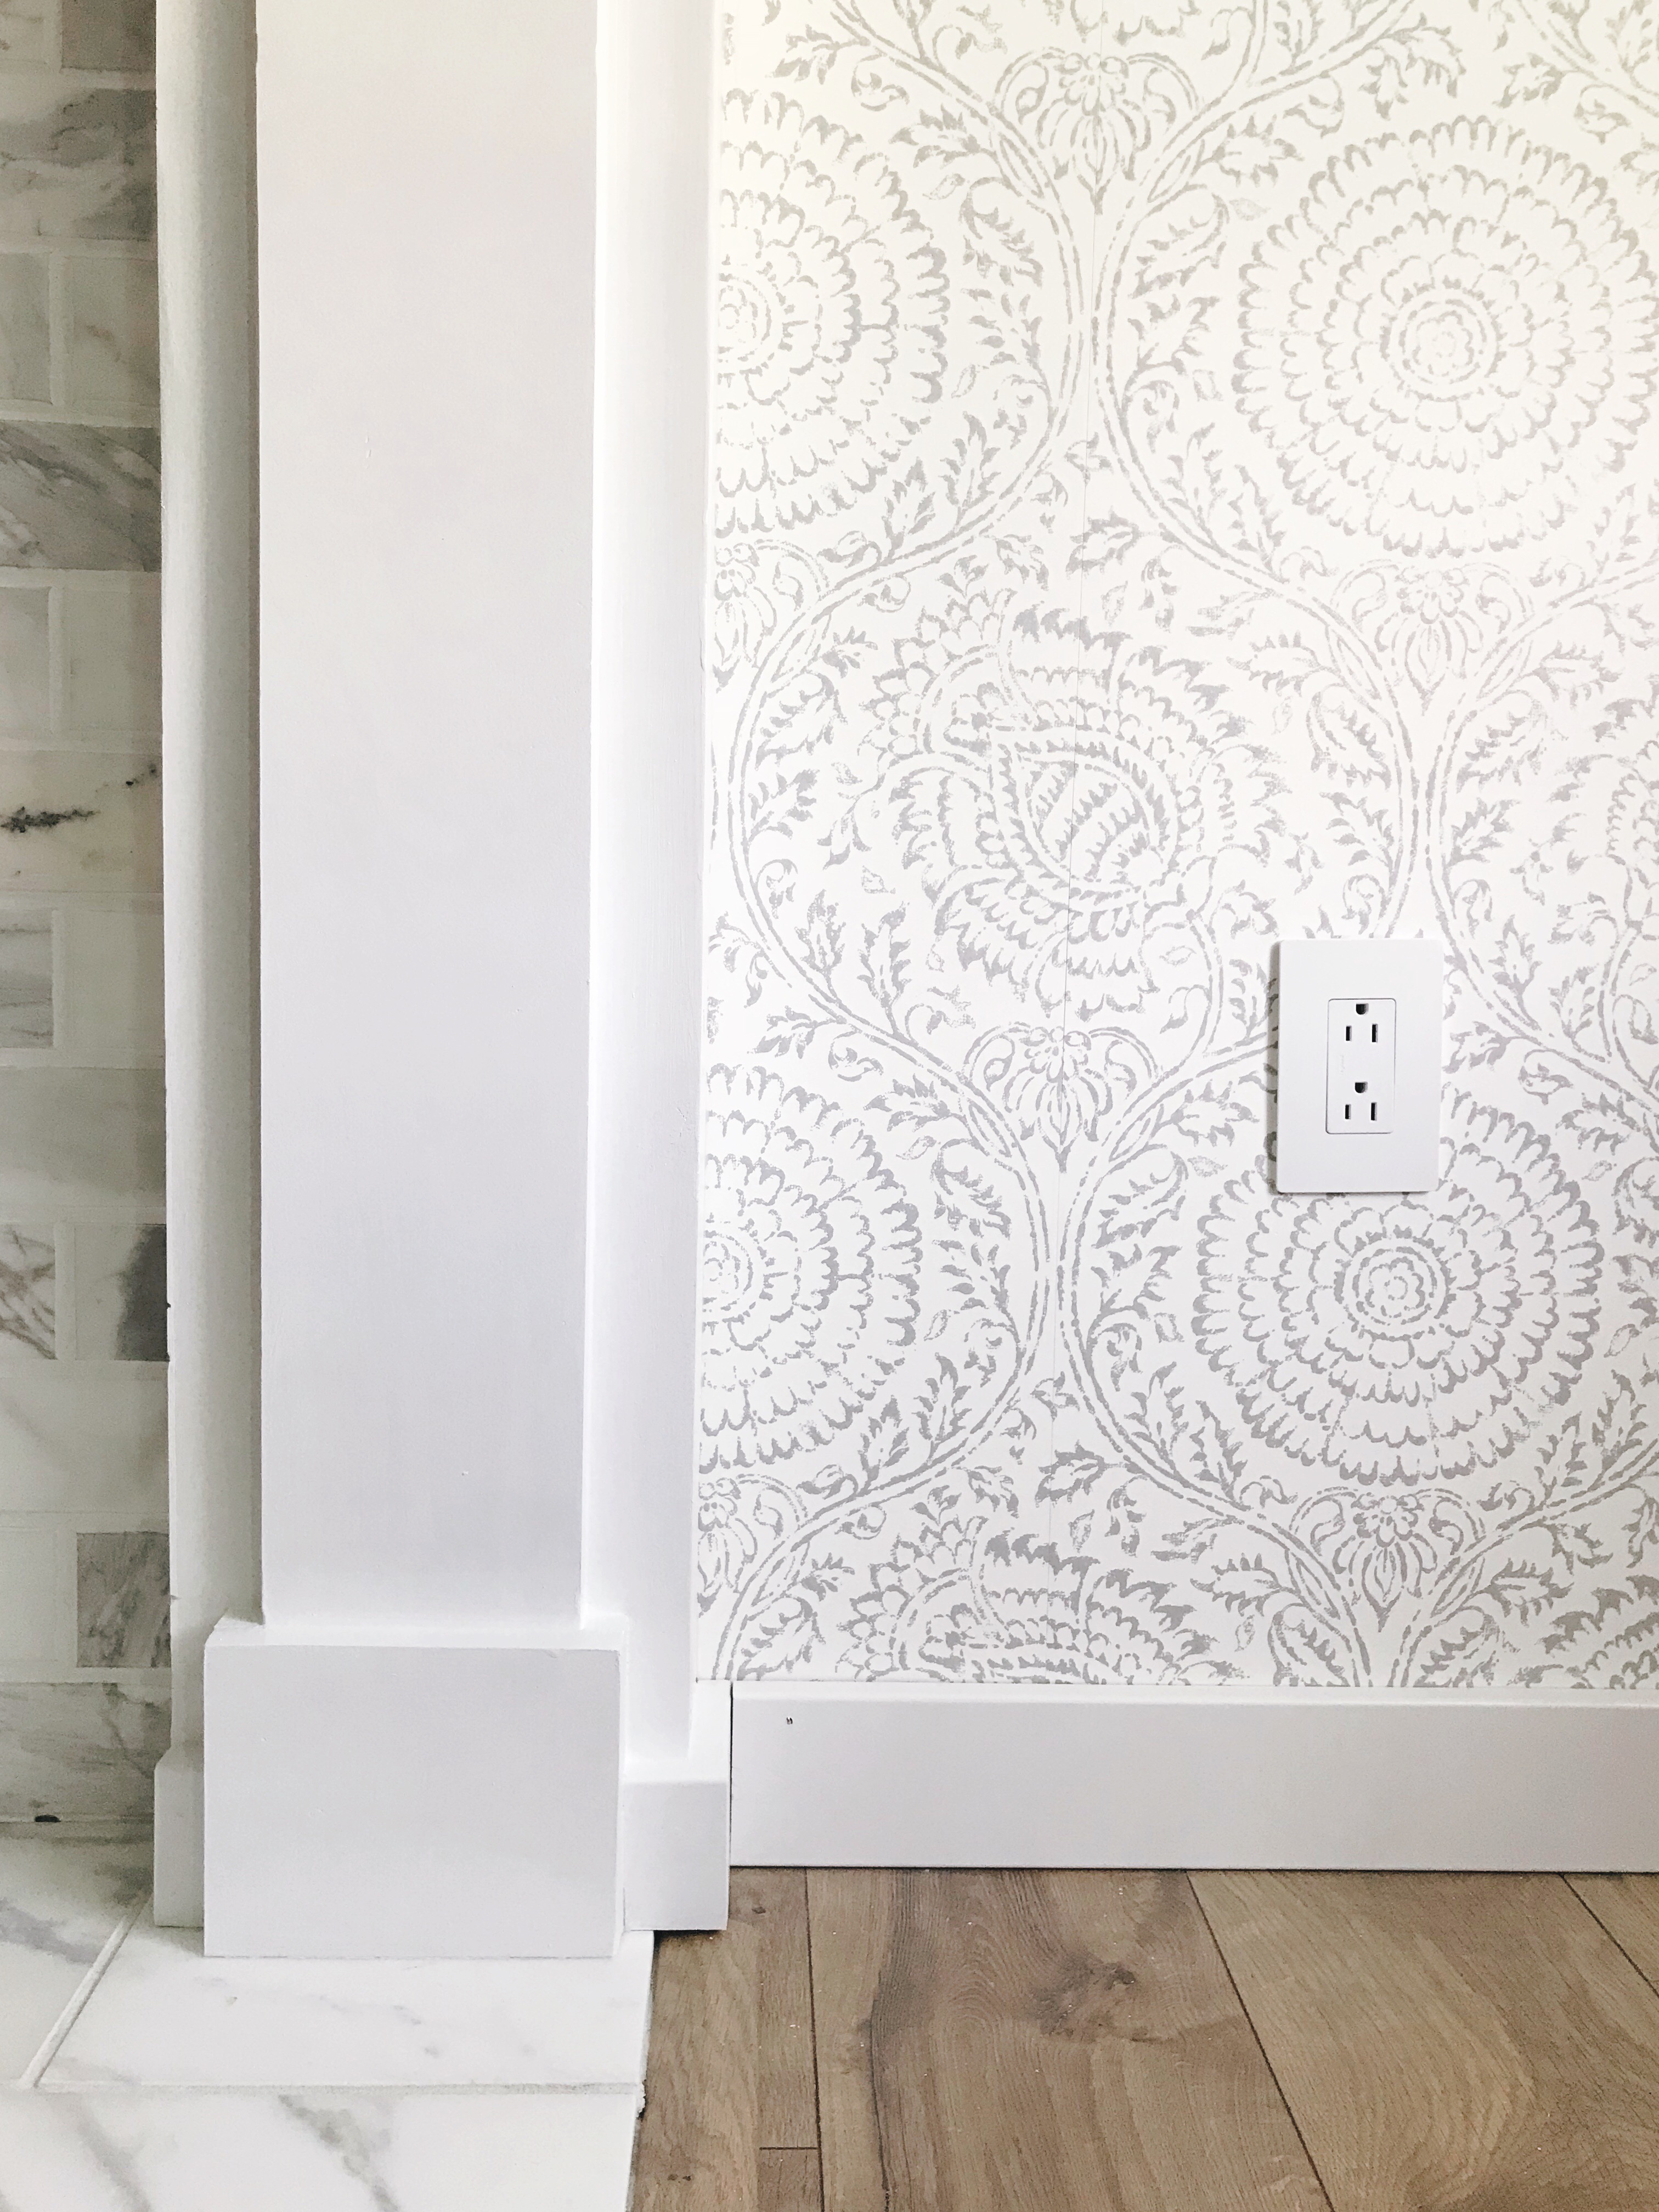
Step 4 – Add Floor Trim
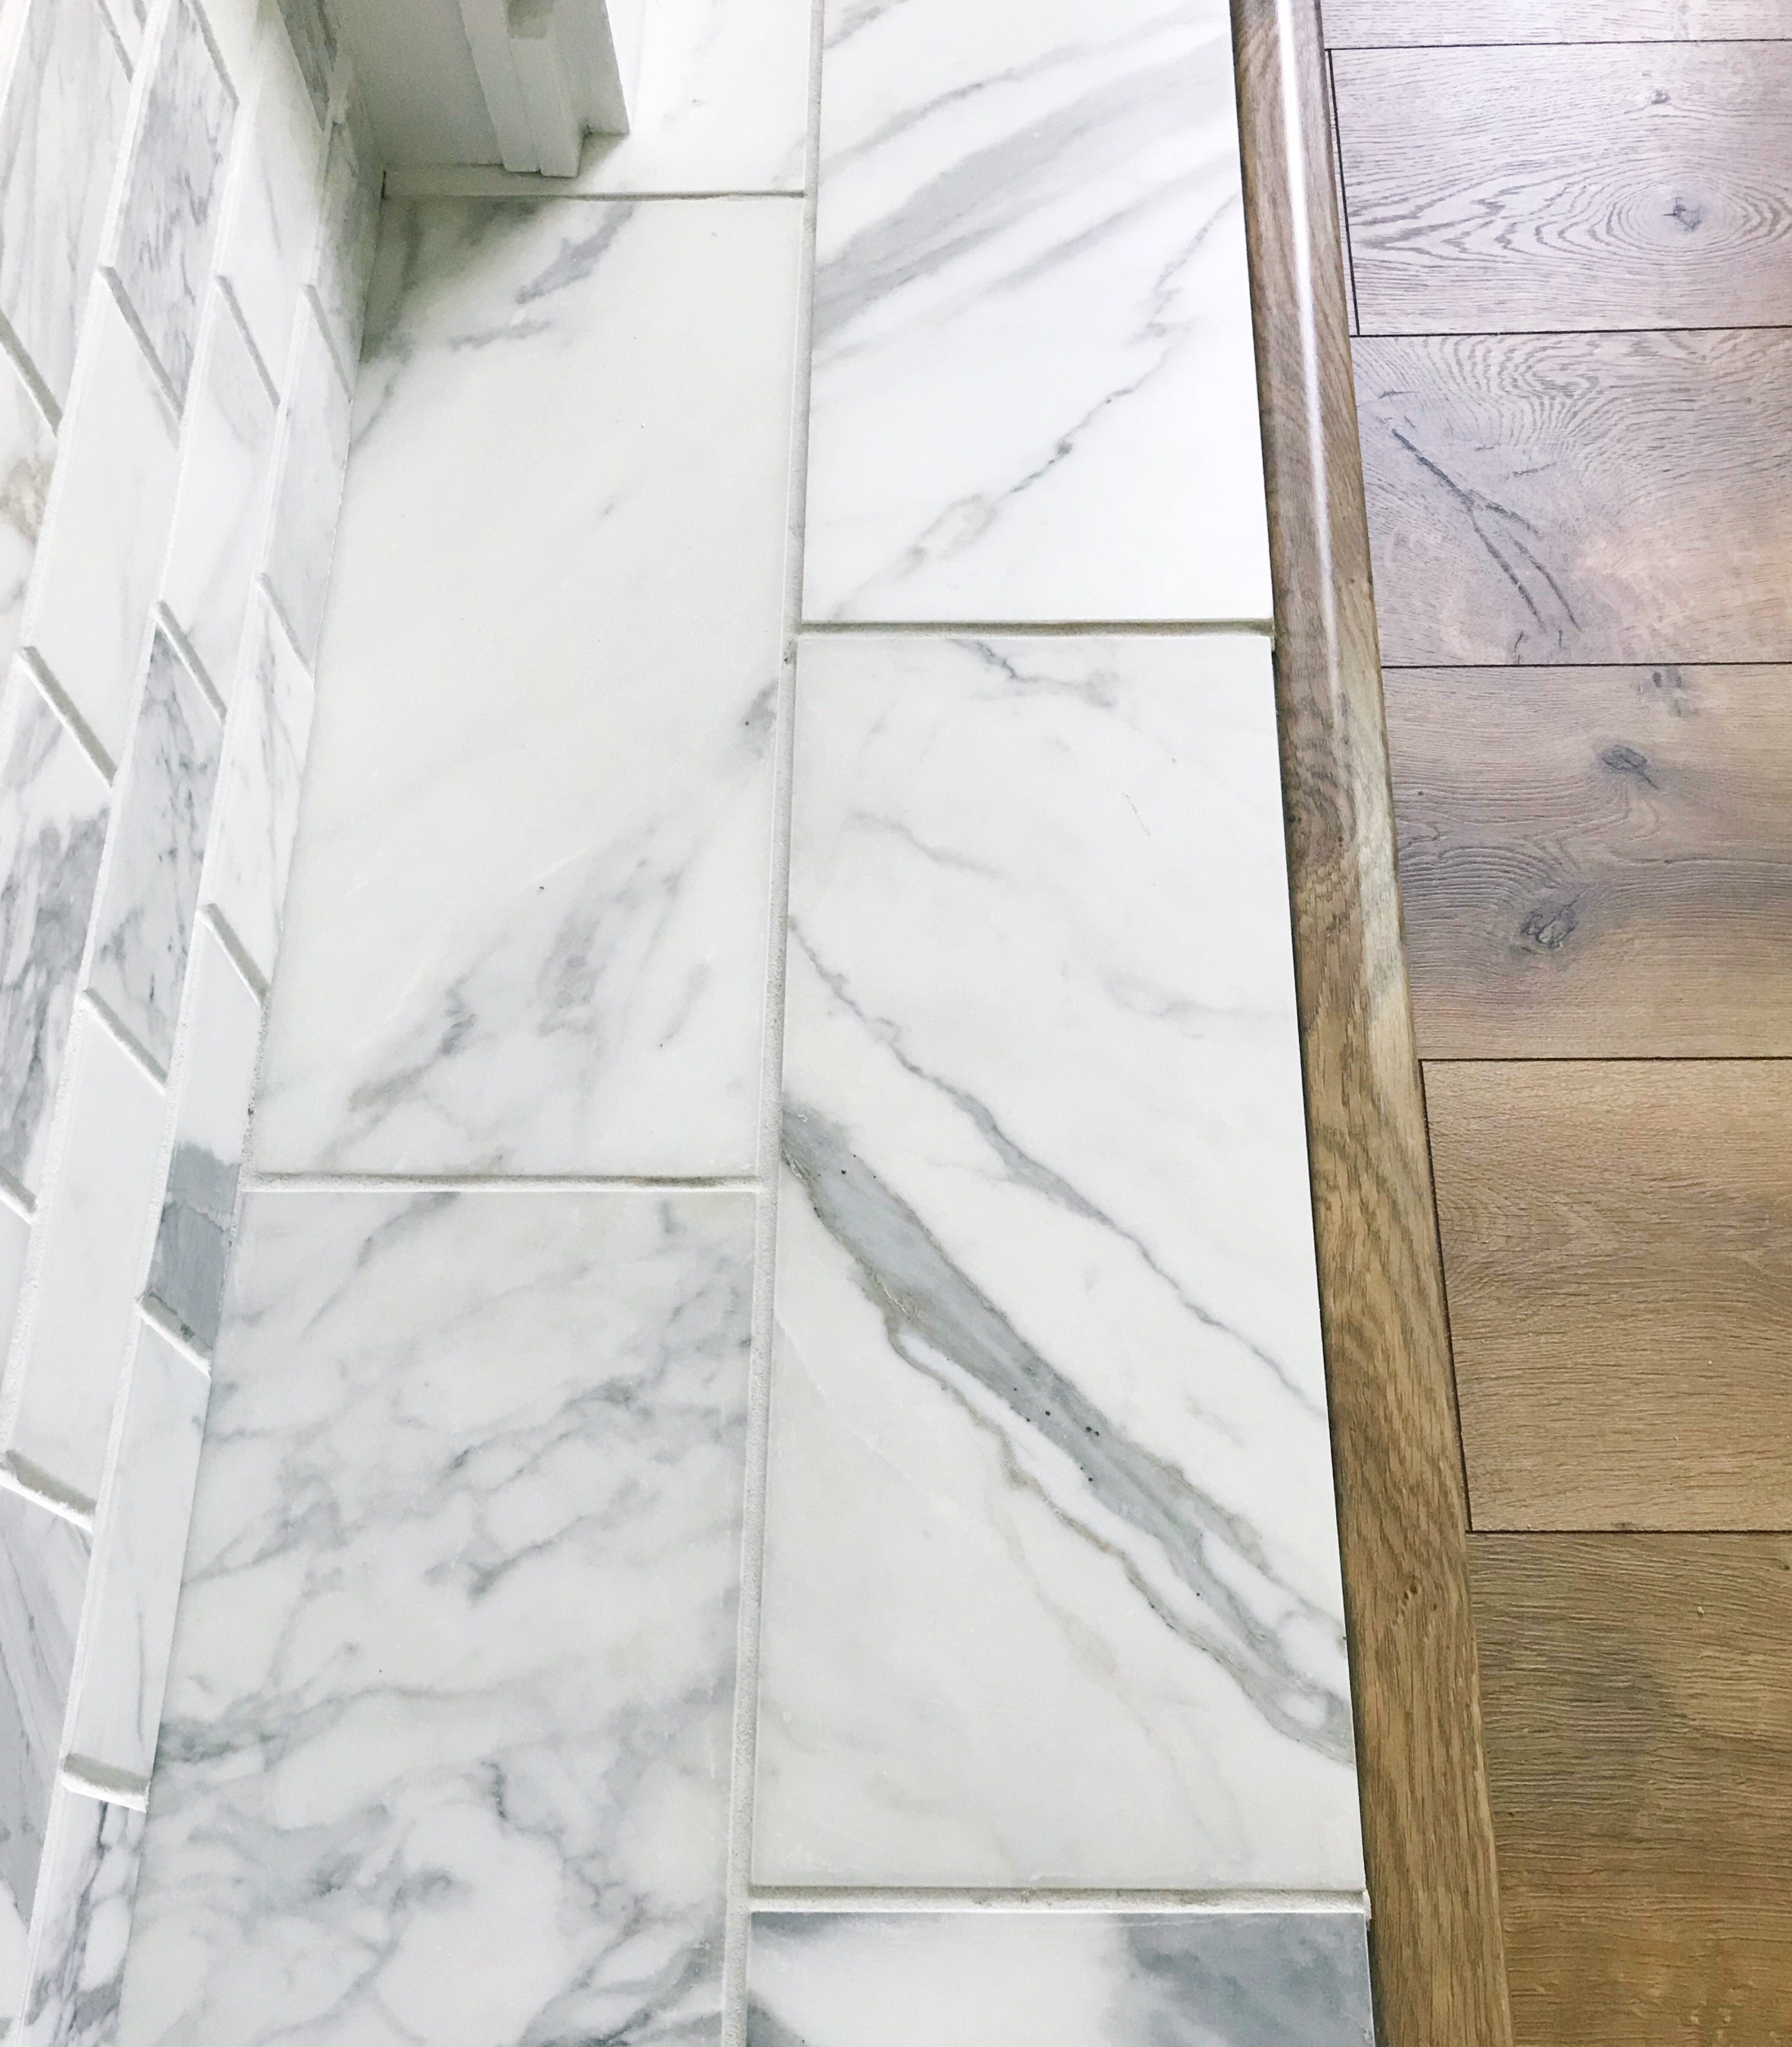
To bridge the gap between the hearth tile and the floor I used Reducer Molding that matches our floor (which is Pergo Laminate in Riverbend Oak). I played around with this a while to get it right, but what I ended up doing is butting the edge of the trim up against the bottom of tile, mitering the corners, and attaching it to the floor with my nail gun. Because of the angle, I had to use a little bit of wood filler to fill in some gaps on the corner, but since it matches the color of the floor so well it’s practically un-noticable. After I took this pic, I also ran a very small bead of grout caulk to fill in that small between the tile and the trim – make sure you tape off the edges of both to get a very clean edge.
Step 5 – Adding Lighting

This room was severely lacking in lighting, so I decided to take advantage of that fact and add a little extra feature to the faux fireplace by installing some up-lighting with the help of the Philips Hue light-strip. We have Philips Hue smart bulbs in almost our whole house, which we love because we can control them from our smart phones and our Amazon Alexa, but you could accomplish something similar with any other type of LED light strip or even battery operated puck lights.
To start I ran the light strip along the back of the hearth and attached it in place with the tack strips that come attached. The electric pack also came with some handy sticky tape so I was able to easily tuck it against the side.
Next, I made some small holes through the side of the surround and fed the cord through to the outlet (btw if you missed my last post, these beautiful outlets are from the Legrand radiant® collection). I used some small cord clips from a previous project to attach the cord against the baseboard and keep things nice and neat.

To hide everything I used a variety of white unscented candles, most are from World Market but I picked up a few at IKEA and Homegoods to add a little bit of variety.
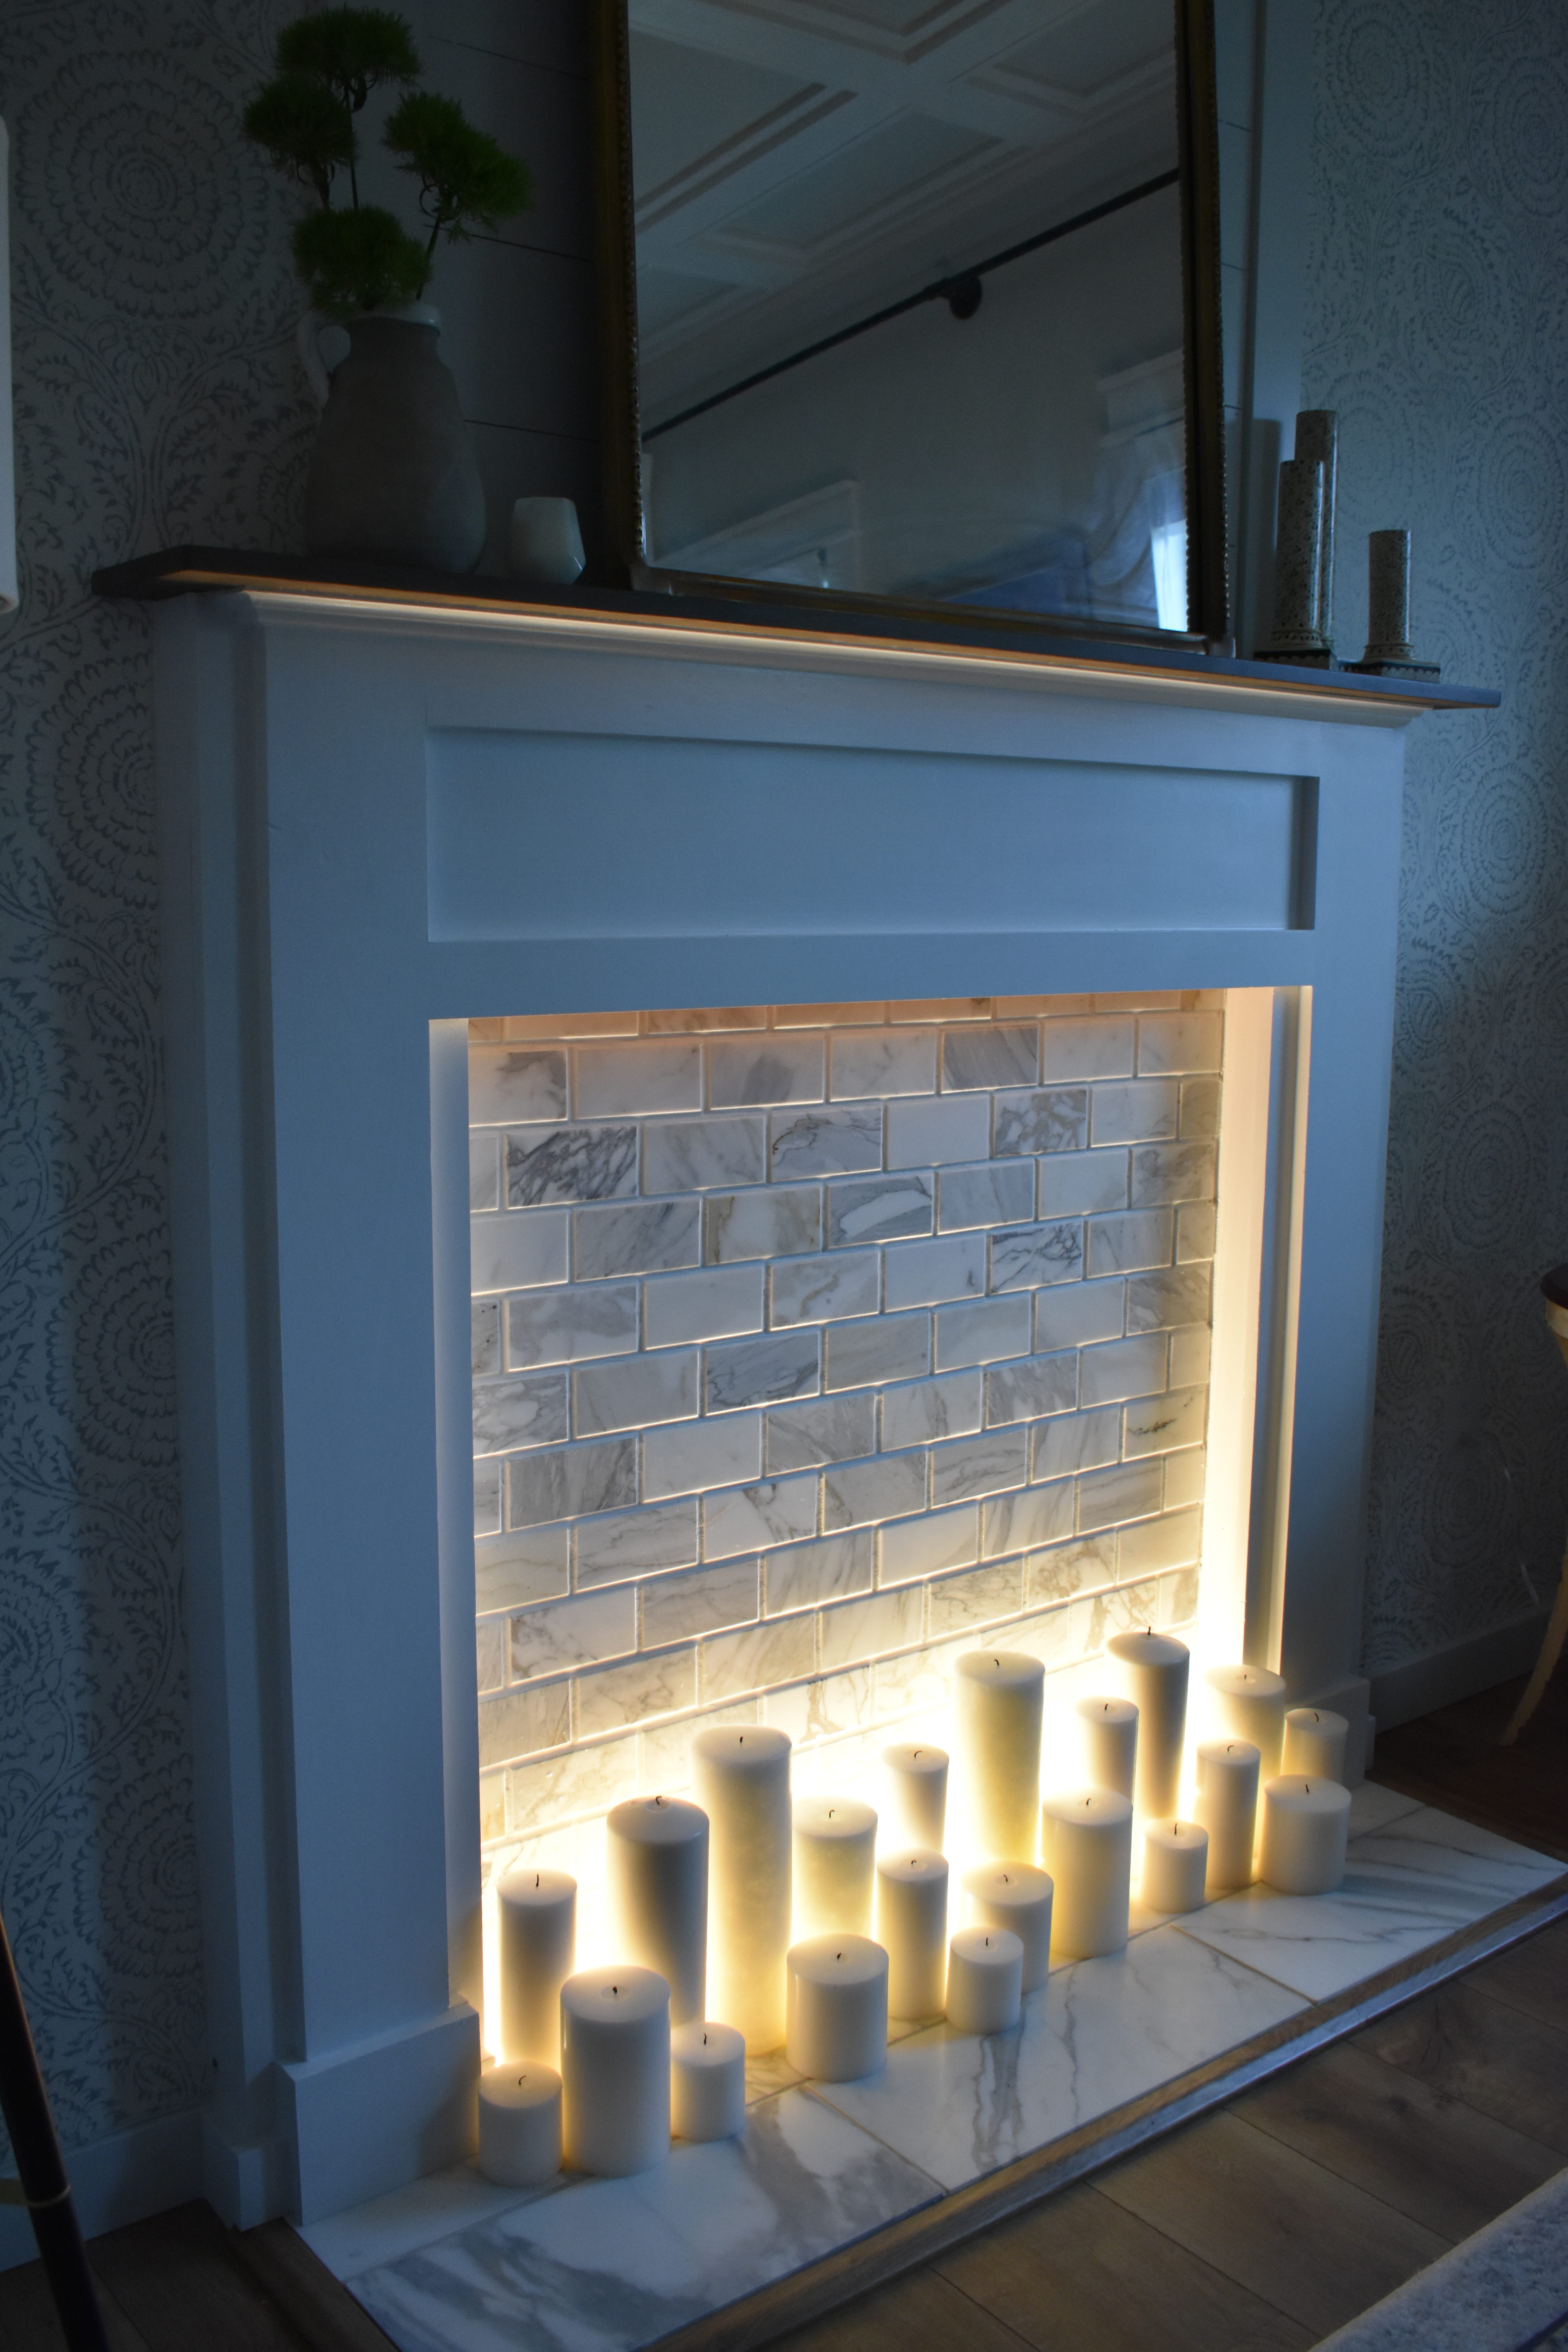
Now, without having to light all of the candles, we have a glow from the fireplace every evening thanks to automatic timer that we can set on the Philips Hue app (in case you were wondering, this isn’t a sponsored post – we just really love these light bulbs!). As much as I’m starting to get used to the transformation this room went through, the time it still really hits me is at night when I walk down the staircase at night and see this formally dark room bathed in the softest, most beautiful light.

-
-
11 months
Tagged backyard, better homes and gardens, one room challenge, patio