
One Week Challenge Week 3 – Halfway there!
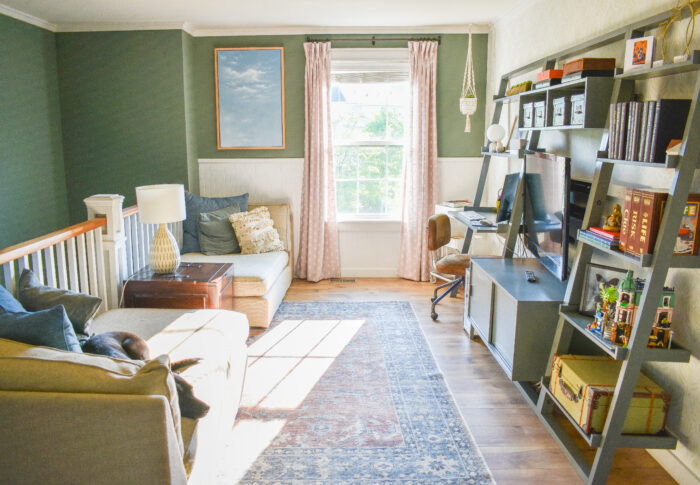
3 weeks down – 3 to go! I am so happy to report that the “bones” of the room are finally complete (apart from some final punch-list items) so now I can spend the second half of this project filling in the space and hopefully give my sore muscles some rest.
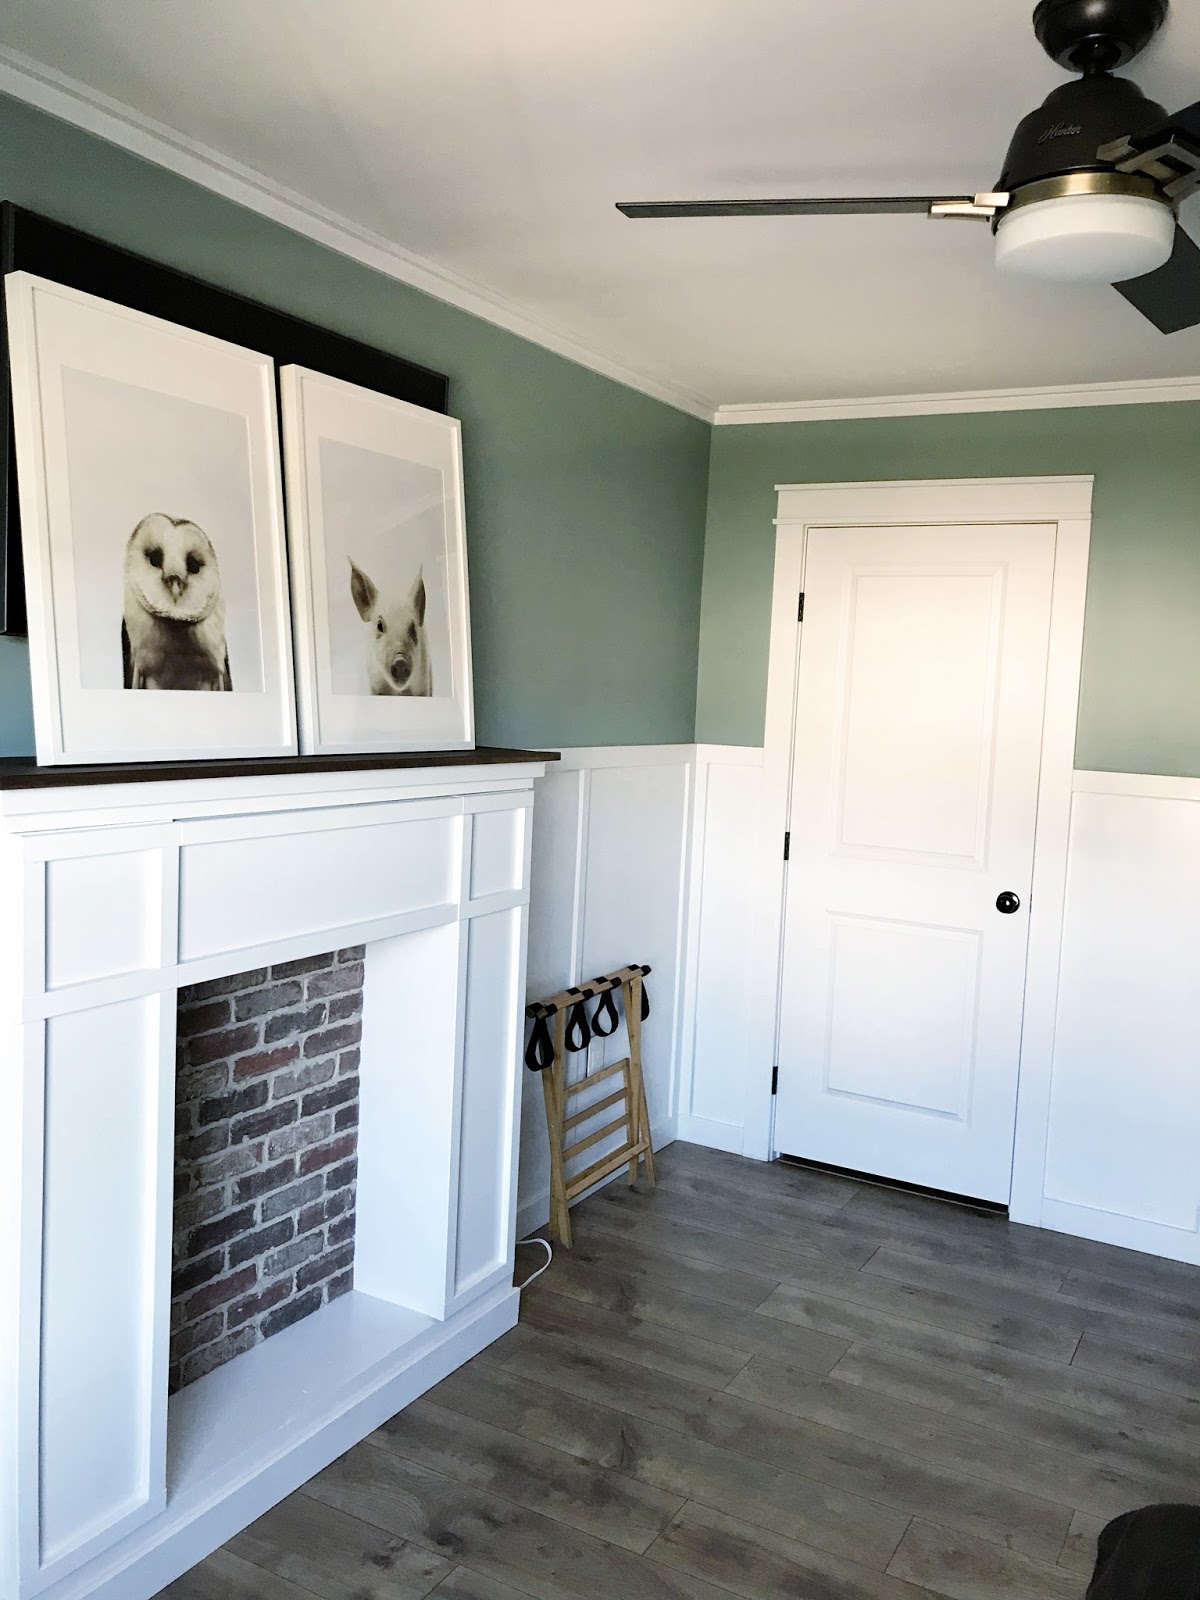
The wall trim ended up taking 4 coats (!!) of paint but is now shiny and bright and the perfect compliment to the bright green paint. The last bit of trim I finished up this week was the crown molding, or my take on crown molding.

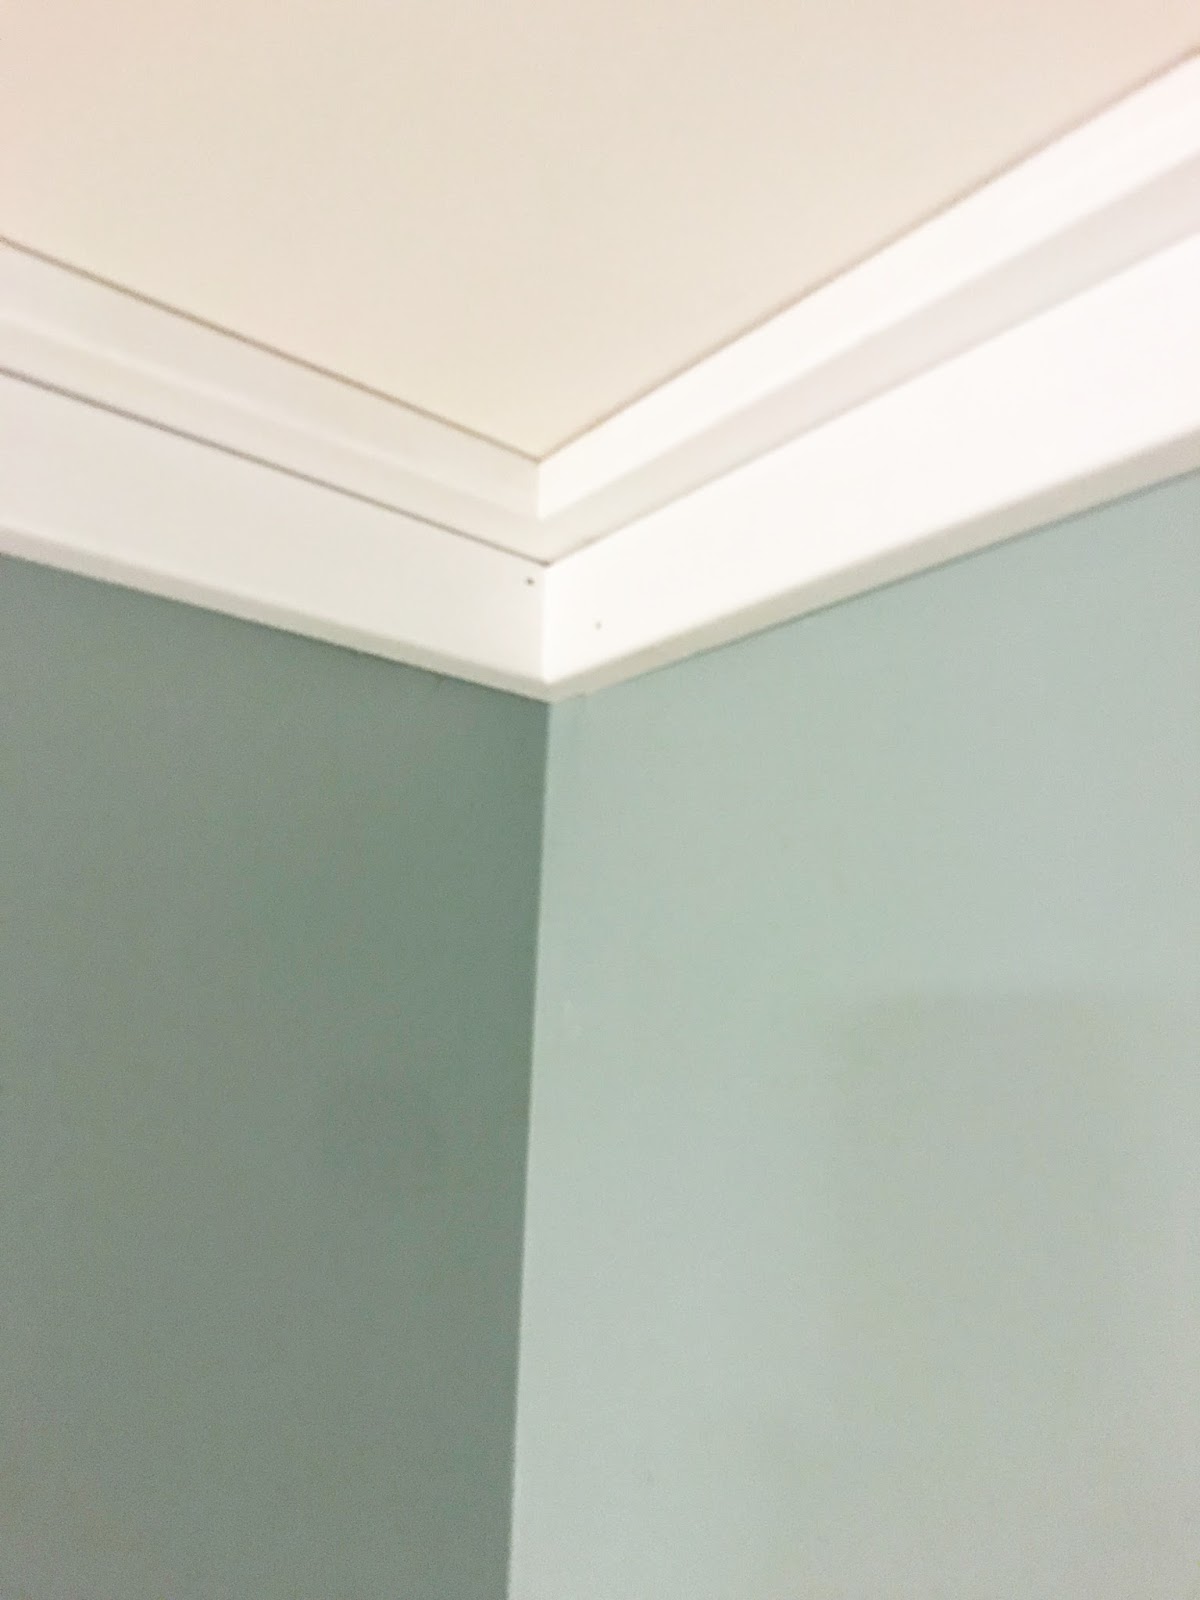
As I’ve been finishing rooms in my house I’ve been adding ceiling trim and after a few spaces I’ve finally nailed down my installation method. To keep in line with the straight trim that we have in the baseboards, window, and door casings we have kept the crown very simple. I use two pieces of pre-primed MDF boards (for the upstairs rooms I use 2″ pieces since the ceilings are a foot shorter) and I pre-paint everything before installation. Then I attach one horizontal piece directly to the ceiling, and another piece vertically underneath it. This gives me much better control at dealing with any imperfections in the ceiling and I end up with a clean, simple but finished look.

Another small addition to this room are these new super chic outlets from the LeGrande Adorne collection. I just installed them in my latest kitchen refresh, and what I realized is that you do not need to use outlet extender boxes with them when you are installing over trim! If you’re not familiar with electrical work I recommend getting someone involved who is because not every outlet or light-switch is a simple “black wire/white wire” situation. The one that is suppose to be connected to the light-switch is not working currently (whoops) but for now that will go on the “not needed for a pretty picture” to-do list.
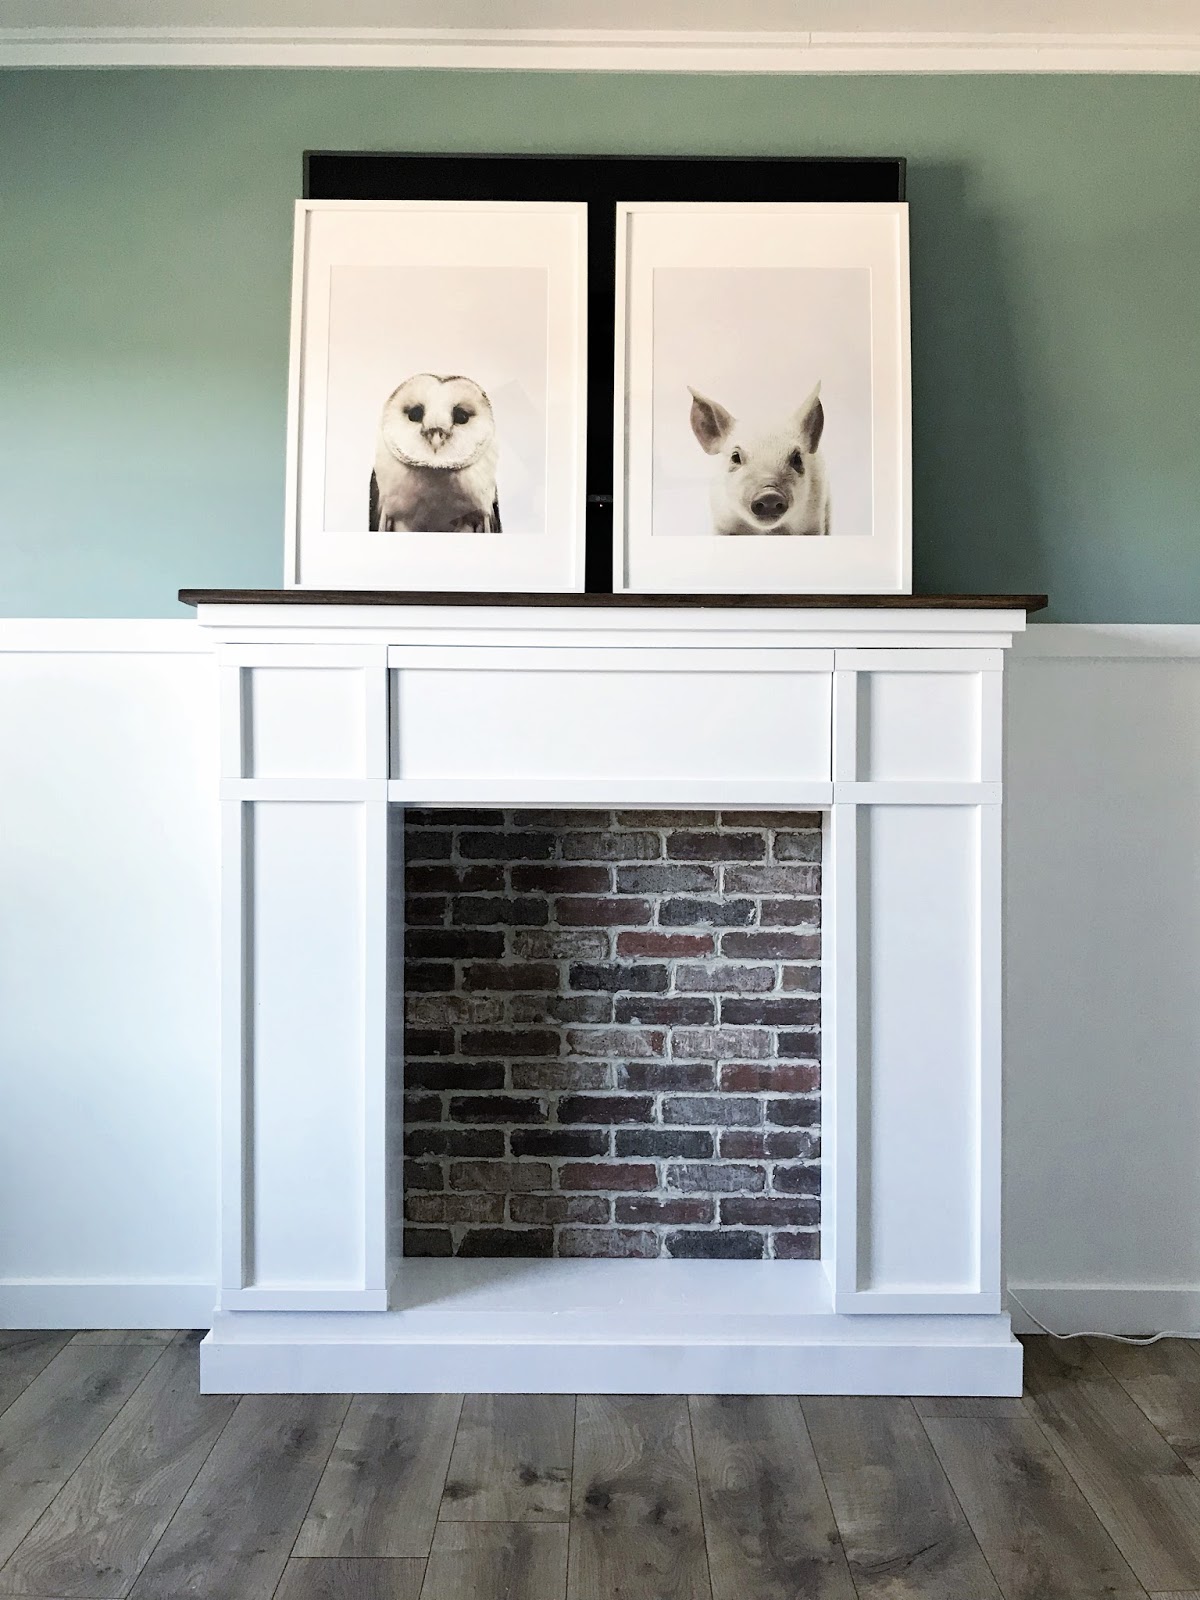
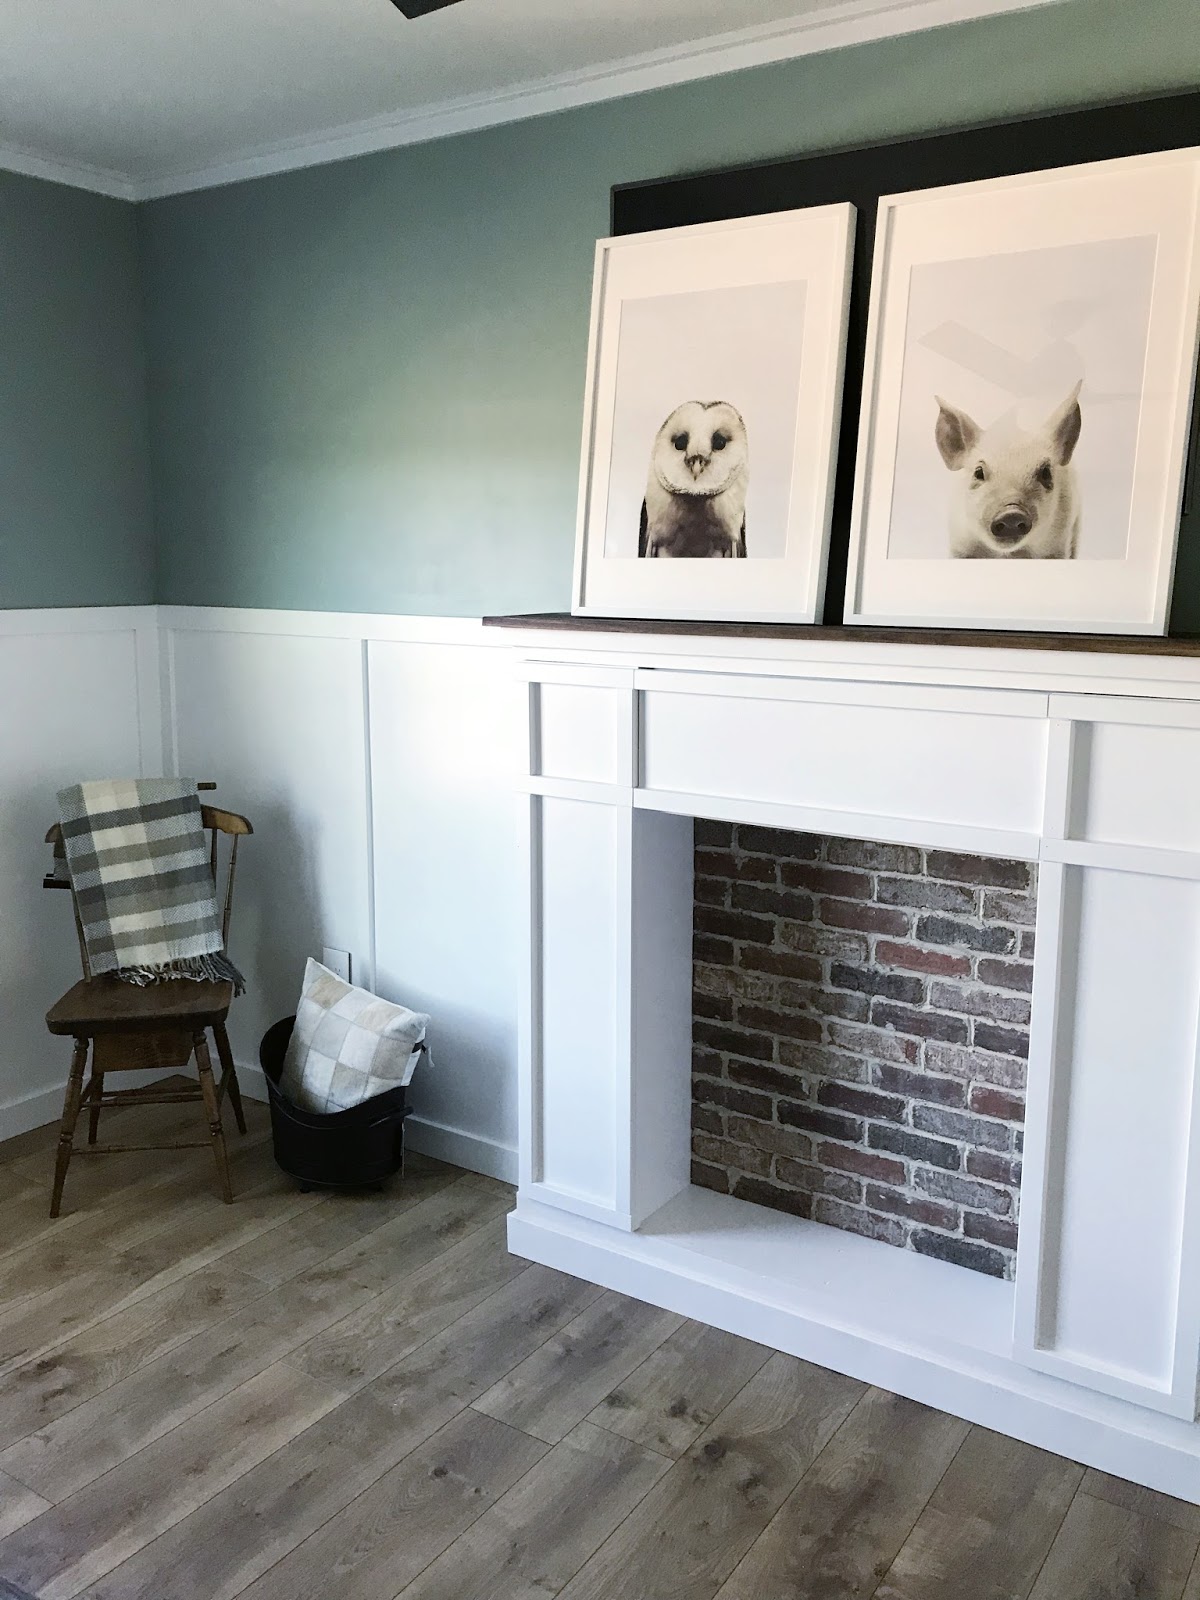
Onto the main event – THIS FIREPLACE! I cannot believe how beautiful this turned out. It’s exactly how I pictured it in my mind and I honestly cannot stop starring at it! I originally wanted the have the whole thing white, but changed my mind and stained the top ledge in Dark Walnut and it was 100% the right choice. I also had originally settled on a much simpler facade trim, but at the very last minute I stupidly wisely changed courses and added a more complicated treatment – again…100% the right (if a somewhat stressful) choice.
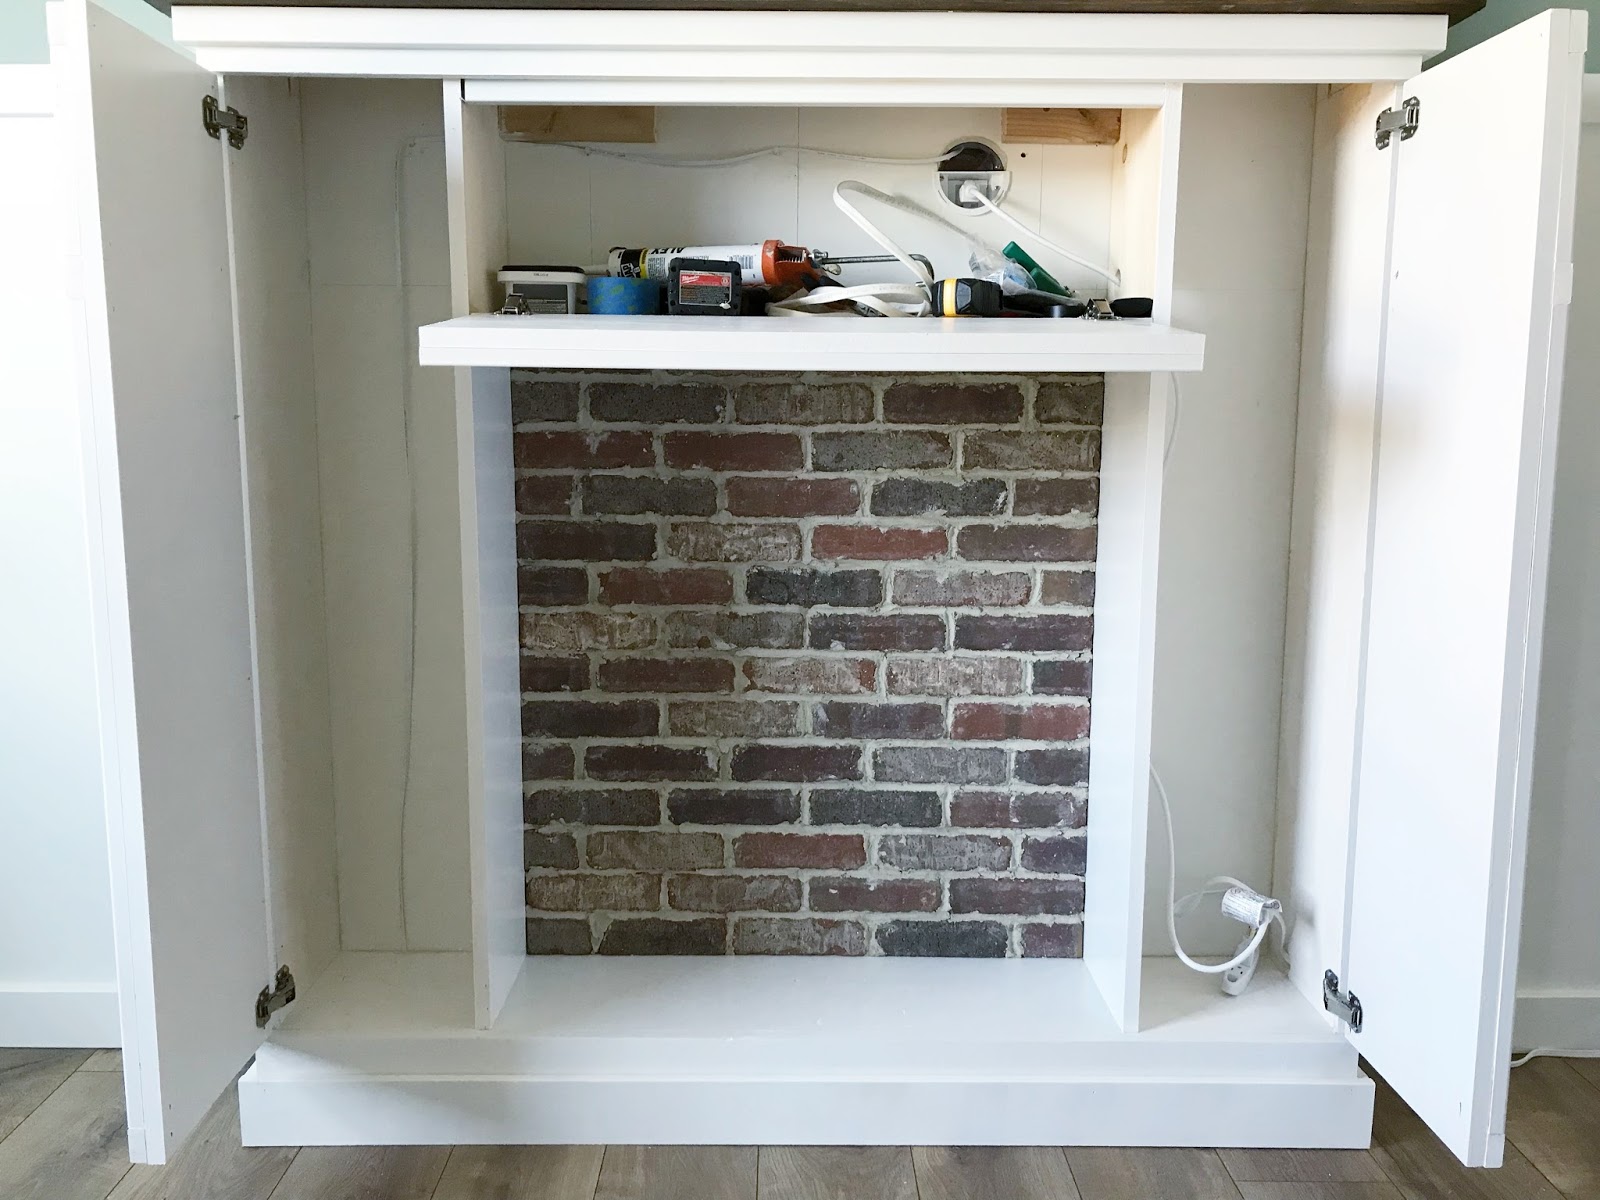
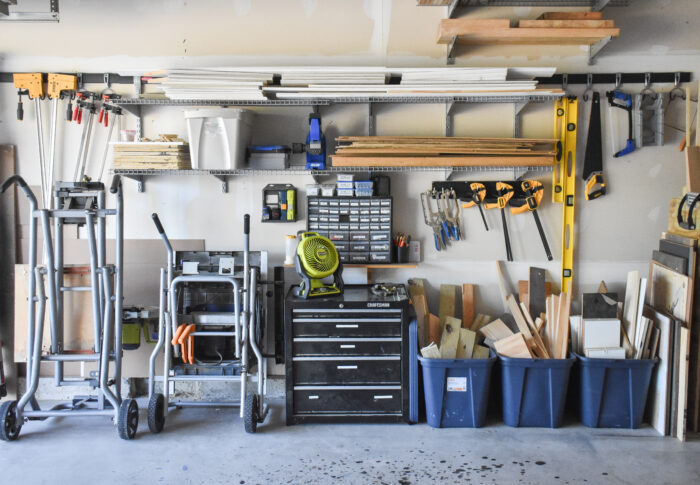
To build the frame I used these plans from Ana White and then adjusted the height and width. As I mentioned earlier, I had originally wanted to find an antique mantel, but decided to build this one for the hidden storage compartments. The sides help hide the cords for the TV (eventually I may add some small shelves as well) and the top is holding my tools right now but will have room to store any additional TV equipment we may add on. **Side note, we do not have cable access in this room, but we purchased this LG smart TV which allows us to access our streaming apps directly on the TV by connecting to our LAN line, which we ran right under the baseboards**

I wanted to make this feature really special as it will be the main focus of the room – so I chose to add a brick backsplach to the faux firebox. After a long search, I settled on the Colonial Collection Castle Gate Thin Brick from Old Mill Brick which had just the touch of red and the rustic quality I really wanted. Now if you’ve read my blog before you know the one DIY task that I absolutely hate is grouting – but don’t worry…I found something much worse – pointing brick! It combines everything I hate about grouting with everything I hate about using a pastry bag!
Ok, I’m being super dramatic, but I will say that this is not something I would recommend to a first time tiler (or someone who has no patience for mess). The brick actually went out very easy, but the grouting took me a while to get the hang of. I had studied this tutorial from Shanty 2 Chic many times so I had a general idea of what I needed – a grout bag and a brick jointer. Since this was such a small space I decided just to use sanded grout in a tannish color that I already had. To apply, you basically have to pipe the grout into the open spaces and then spread with the jointer – I think most of my problem with the process was that I was worried about running out of grout so I didn’t use enough at first and ended up having to try to spread with my finger. Once I was confident I had enough I started to put it on thicker and the process became A LOT easier. Eventually I plan on adding this brick to two large walls in my house so I’m really glad I did this trial run on a much more manageable space.
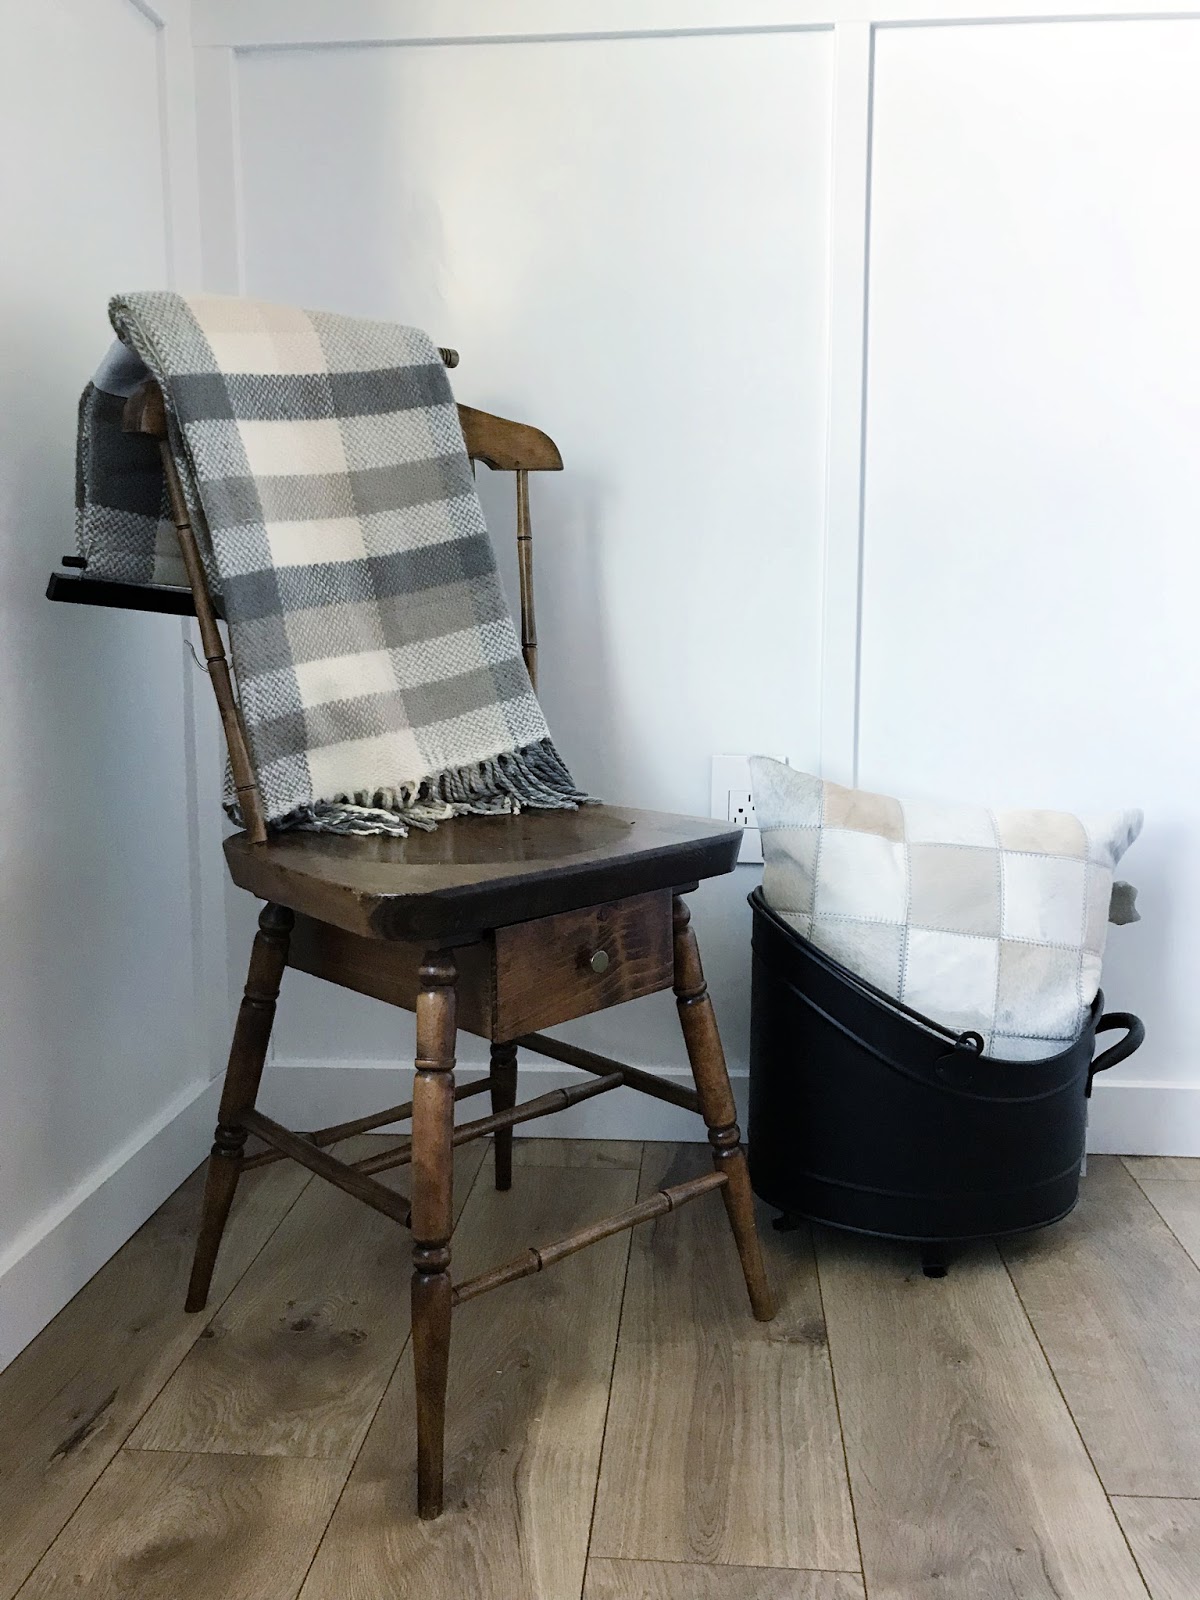
I ended up taking a little pit-stop at Homegoods yesterday and found this awesome black fire pail, a cowhide pillow which is something I’ve always secretly pinned over, and a plaid throw – although I may return the throw because it matches a little too much??
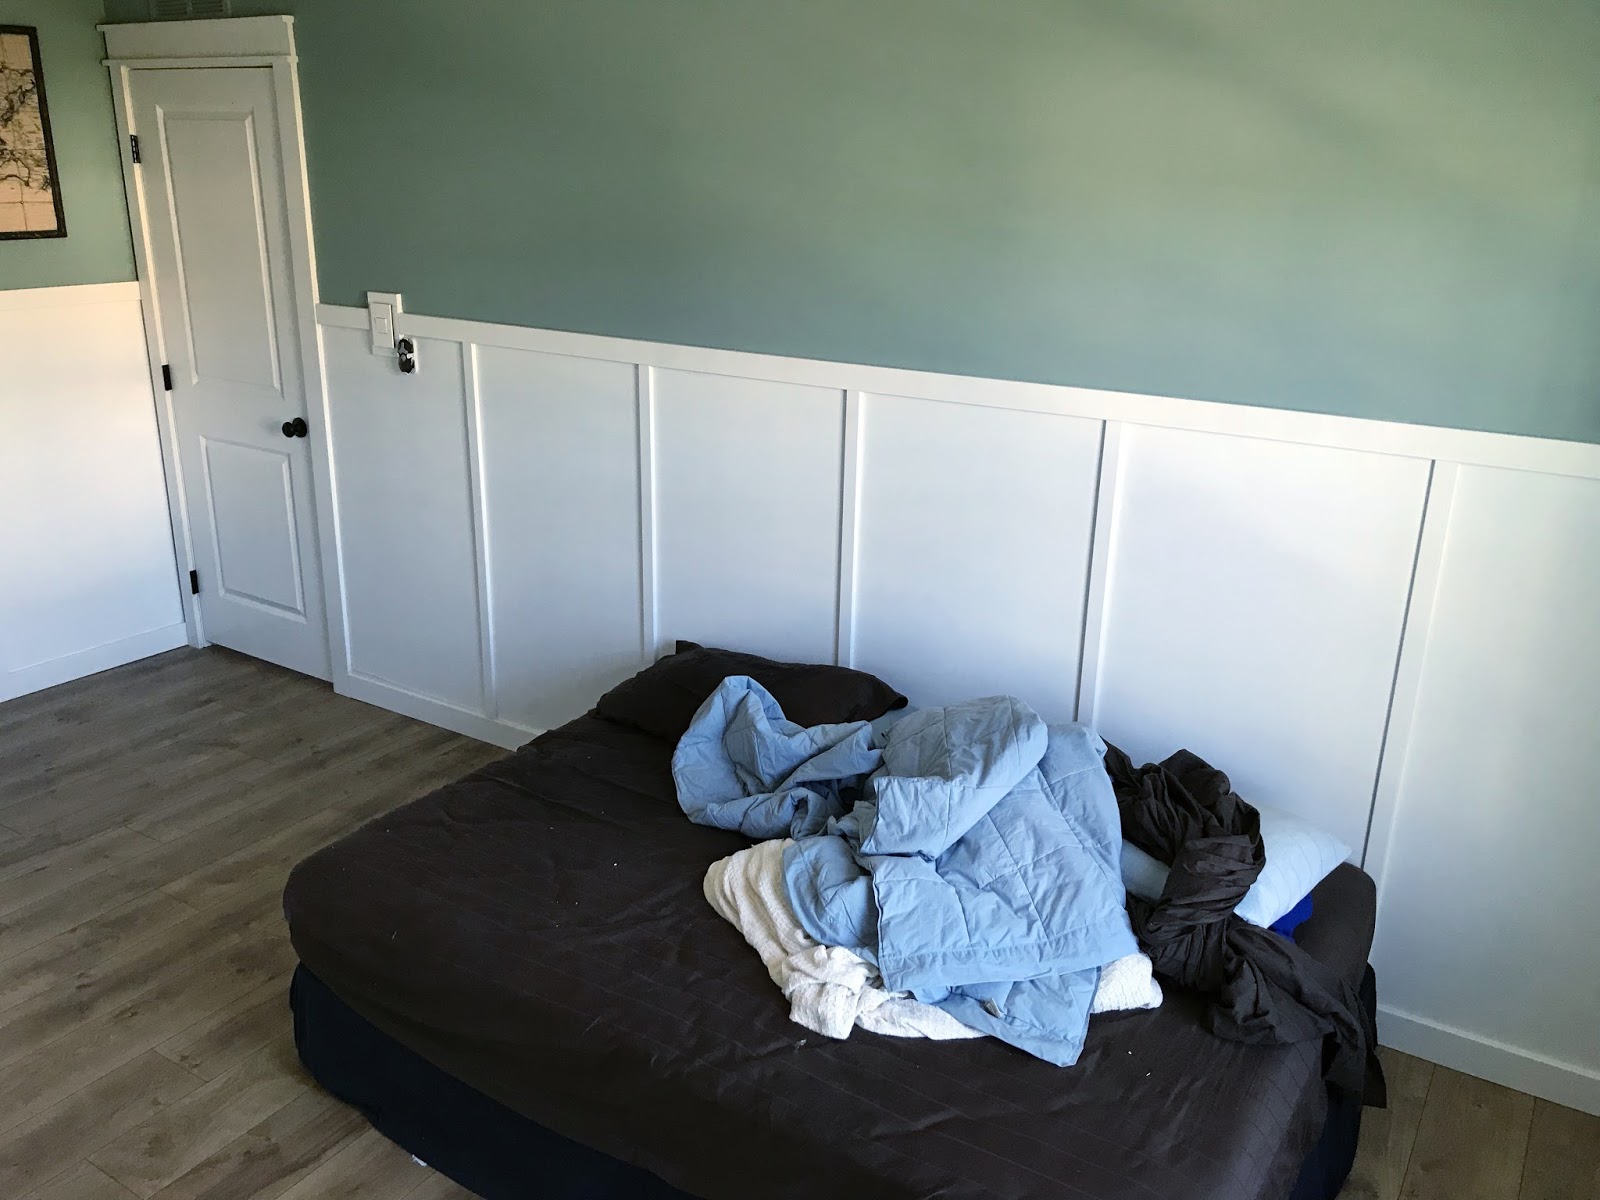
So as good as this side of the room is looking, I’ve deliberately been avoiding showing the opposite side of the room and the giant elephant that I keep moving around the space to work – the mattress! So up next is to build the bed frame – which I’m going to try to get done in 3 days…EEK. I feel like I’m right on track with where I wanted to be, but I’d be lying if I said I wasn’t getting a little nervous about the upcoming deadline and the items still left on my to do list. If I can get the bed at least built by the time I check in next week I’ll feel a lot better…wish me luck!
And as always be sure to visit the http://www.callingithome.com/blog/2017/10/fall-2017-one-room-challenge-guest-participants-week-3One Room Challenge Blog at Calling it Home to follow everyone else’s progress!


Comments
I LOVE Ana White! I have used her plans to build several things in our house too. This mantel and fireplace surround is perfection! And the walnut stain was definitely the right choice, it is so lovely with the white. And can we talk for a sec about that brick?! It looks like it was always there, stunning! And I HATE tiling, may not ever do it again. lol
That was me! Sorry tech issues.