
Powder Room 2.0

One more room scratched off the list before the New Year! I had finally had it with the Nutella smeared walls and slowly worked my way through the Powder Room between Thanksgiving and Christmas and am finally ready to share. Since this wasn’t such a huge job I decided not to post on each stage of the project but just share some of my favorite updates – so without further ado…

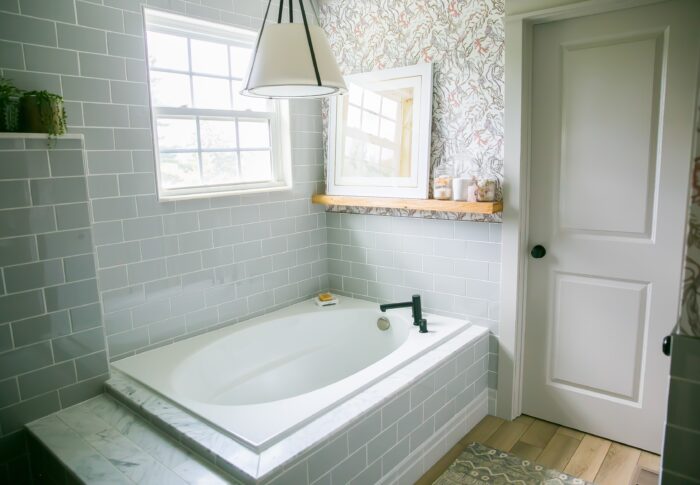
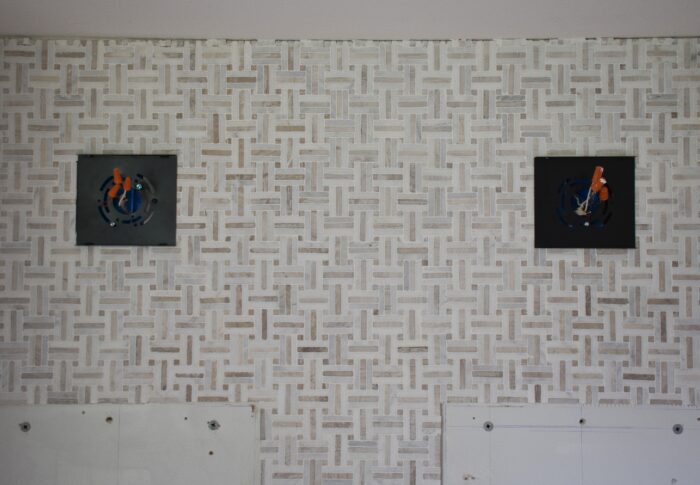
Thankfully Eaphis trusted that I had an end goal in mind because there were no examples that I could show him for what I was going for. I knew I wanted a mix of hard/soft and wanted it to have a little something special to it because this is the bathroom in the house that everyone will see…..so I had my mind set on adding a pattern above the beadboard. The last time we tried to put wallpaper in a bathroom it was a complete DISASTER so I did the next best thing and stenciled the walls. I am obsessed with how it came out and am already looking for what else I can stencil!!! If you like the look, go check out Royal Design Studios…they have so many amazing patterns to choose from. One word of advice, make sure you read the tips and I totally recommend using the paint they suggest. I used the Creme Stencil paint to get the translucent look, but am planning on trying out the Chalk Paint in another room…makes all the difference.

I ended up building pretty much everything for this room, including the mirror (which I finished with Chalk Paint), the Shelves, and the vanity. If you’re interested on any of these plans here are the links to the tutorials that I followed – Mirror / Shelves / Vanity


I tweaked the vanity from a nightstand and added a Vessel Sink from Ikea and a cool faucet that I picked up at Home Depot. I had very specific things that I wanted and I managed to get them all by building it myself – open storage underneath the sink, a small drawer to store the boys toothbrushes (we keep one set downstairs because sometimes it’s just easier!), and a towel bar on the front which I once again made out of pipes from the hardware store. The fact that thing sits level, has a working drawer, and functional plumbing is honestly one of my proudest accomplishments!

Once the hard stuff was done I added some final touches including these beautiful antique bird prints, some monogram towels I picked up at Target, and a new tissue box cover with fabric from Ikea.

I love that this room is done and came together so well from all of these random ideas that I had. I tried to tie it into the guest bathroom and I think I was able to accomplish that without making them too similiar.
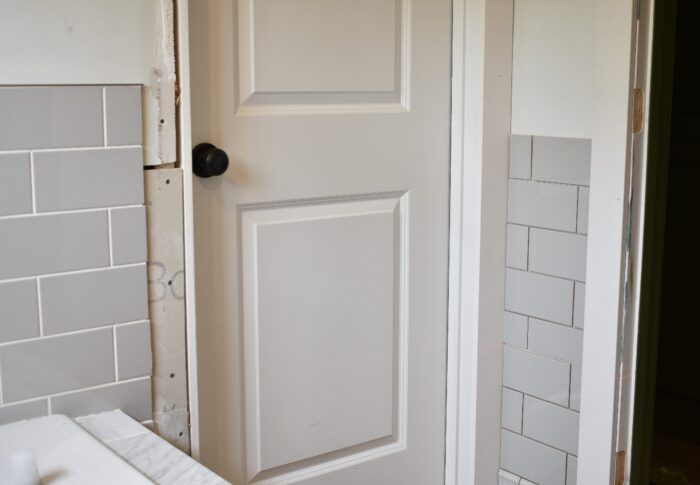
Oh – and I have to give one big shout out to my dad for changing out the light fixture for me. He is my go to for quick electric work that I’m still a little too timid to take on.
I hope everyone has had a wonderful holiday season and is looking forward to 2016 as much as I am. Me and Eaphis already have a really big project ready to kickoff as soon as it arrives….all I’ll say is that it’s something I’ve wanted to do since we moved in and I CANNOT WAIT to get started.
-
-
3 years
Tagged bathroom makeover, closet makeover, one room challenge