Welcome to Week Three of the $100 Room Challenge – the brainchild of Erin from Lemons, Lavender, and Laundry where bloggers are given one month and only $100 to makeover a room in their home! After two weeks of teasing you with my plan for my Guest Bathroom this week is about showing you actual progress in the space — which includes lots and lots of painting.
Week 1 | Week 2 | Week 3 | Week 4 | Week 5
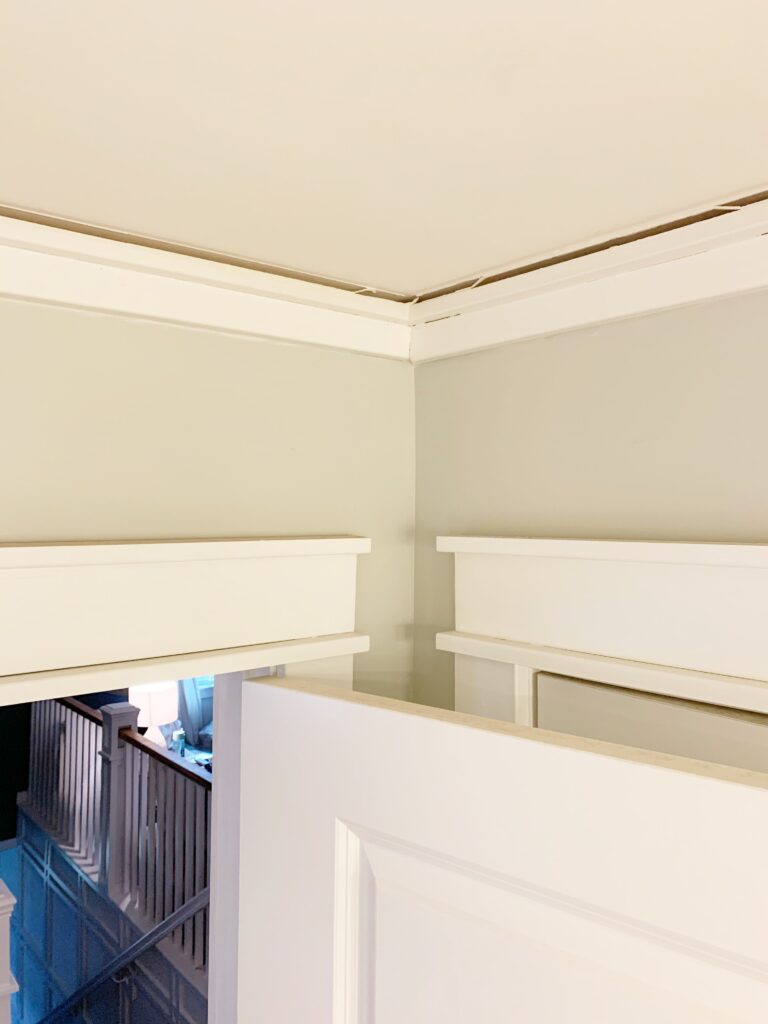
As I mentioned last week, one of the reasons I decided to makeover this bathroom for this challenge is that the crown trim was really in need of repair (just FYI – I use the term “Crown Trim” loosely because I don’t use traditional crown in my house, but have made my own design using two pieces of MDF for a squared off style, but you get the idea). This room was the first place I ever tried to add this trim to and I made the mistake of combing the two pieces together before I installed it – which didn’t give the walls and ceiling room to expand which they do like crazy in this room! So my first major task was to remove all of the trim with damaging it so I could separate and re-attach it without having to spend additional money. Thank goodness it all went according to plan and now it’s looking good as new – and hopefully it will help solve the expansion issue (will let you know about that one come summer time.)
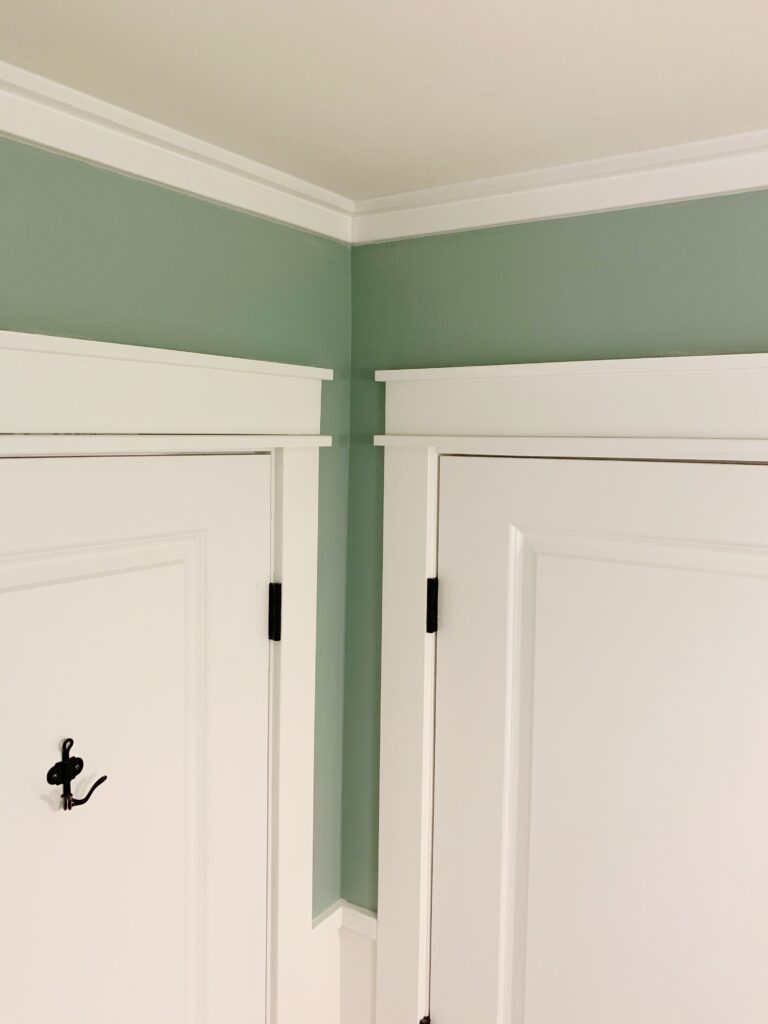
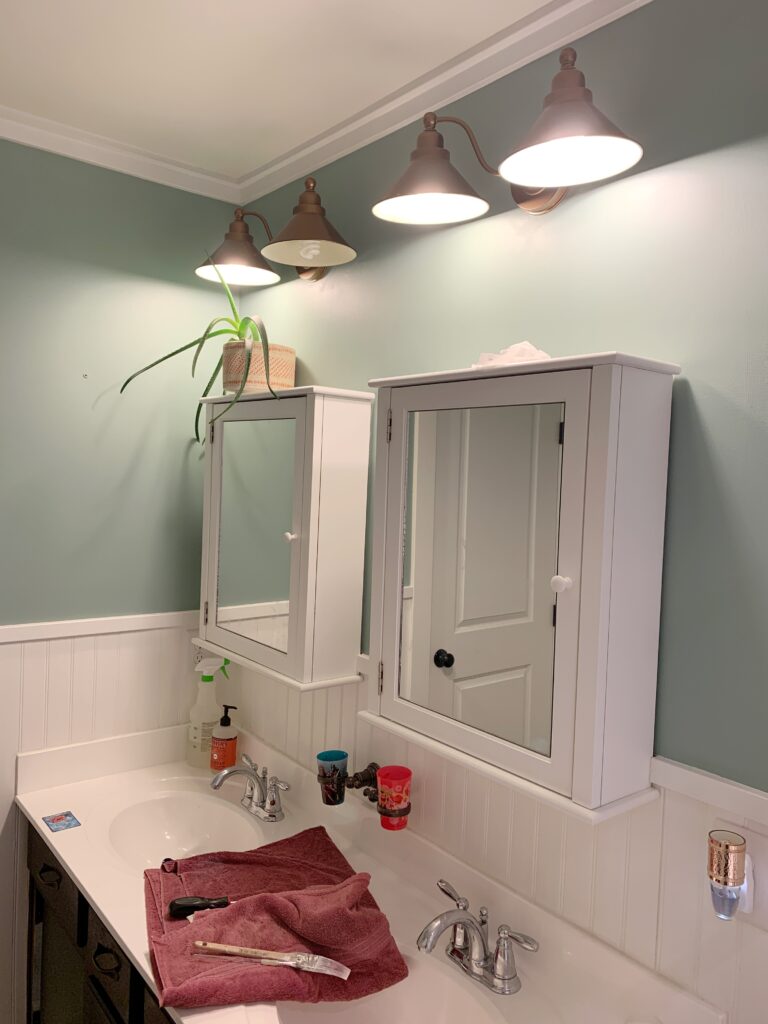
To make my life easier I actually painted before I put the trim back up. The new color (Sherwin Williams Halcyon Green, leftover from the Guest Room) makes me ridiculously happy. This space has definitely taught me that when you lack a window, a lighter color isn’t always the solution — sometimes a brighter, more saturated color will do a much better job of lightening things up.
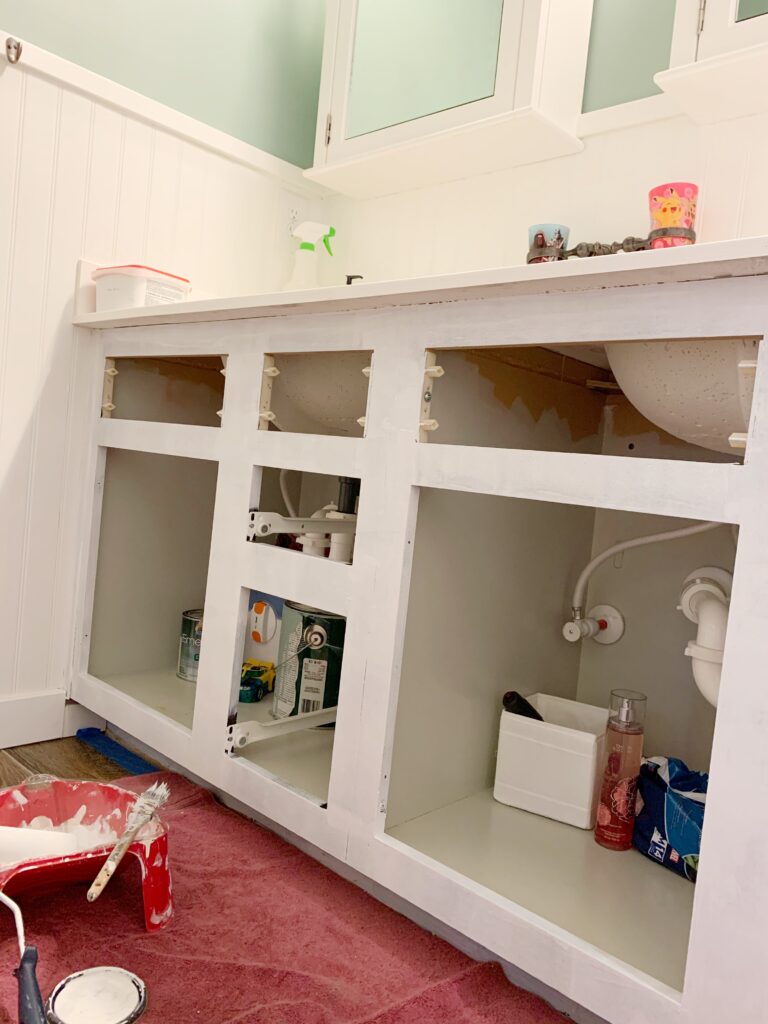
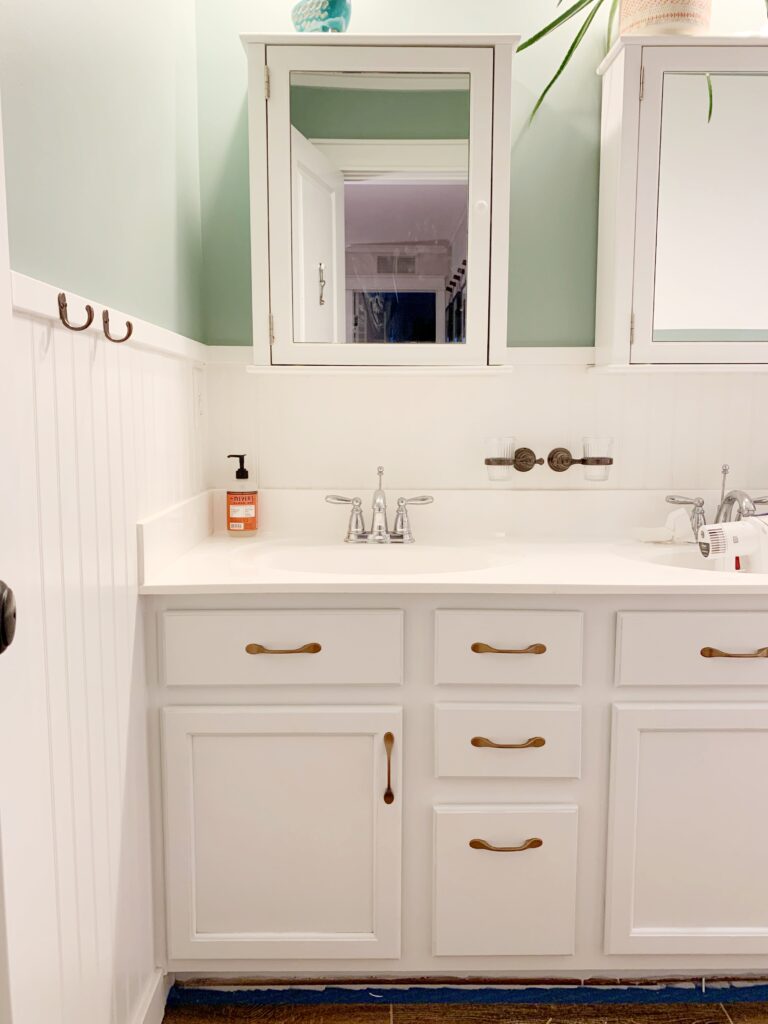
Up next was changing the vanity from dark brown to white. The biggest part of my budget (30%!) went towards the paint for this vanity (Sherwin Williams Urethane Trim Enamel) but for a good reason – it covers amazingly well, it self levels itself which eliminates streak marks, and it dries to an enamel finish so it doesn’t chip even after heavy use. I used this same paint over a heavy coat of Extreme Bond Primer on my staircase railing last spring and it’s held up AMAZING so I’m confident it will hold up on the vanity as well (and BONUS I had enough Primer leftover to finish this job!) Even with just the primer coat on I was in love with the change.
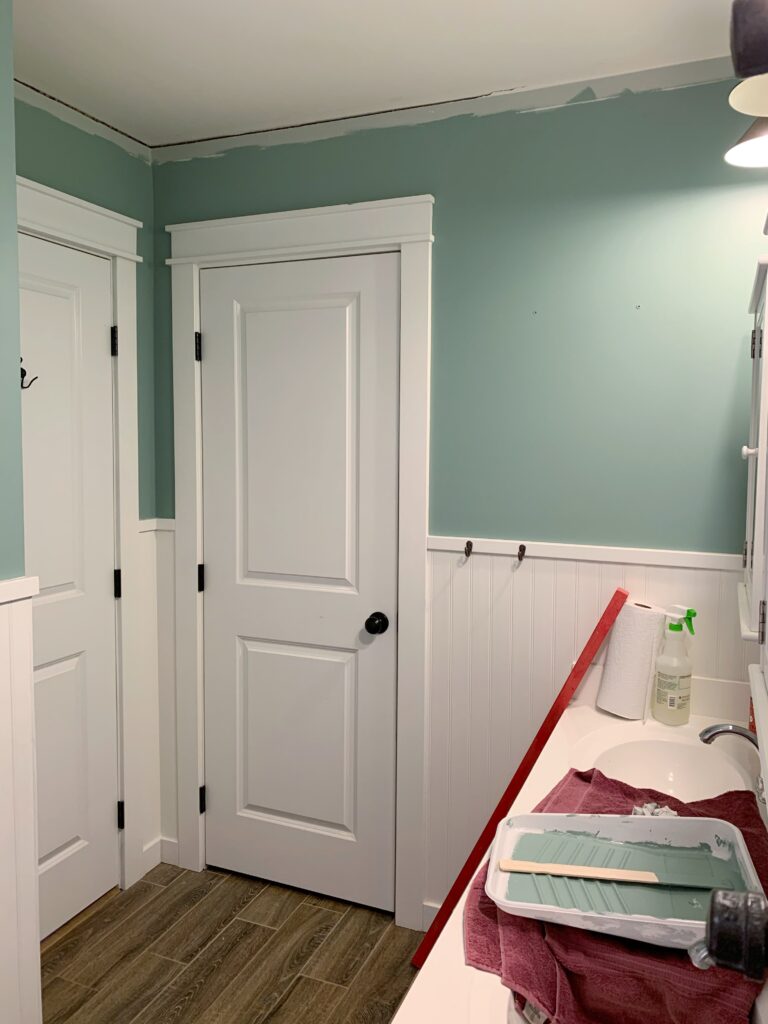
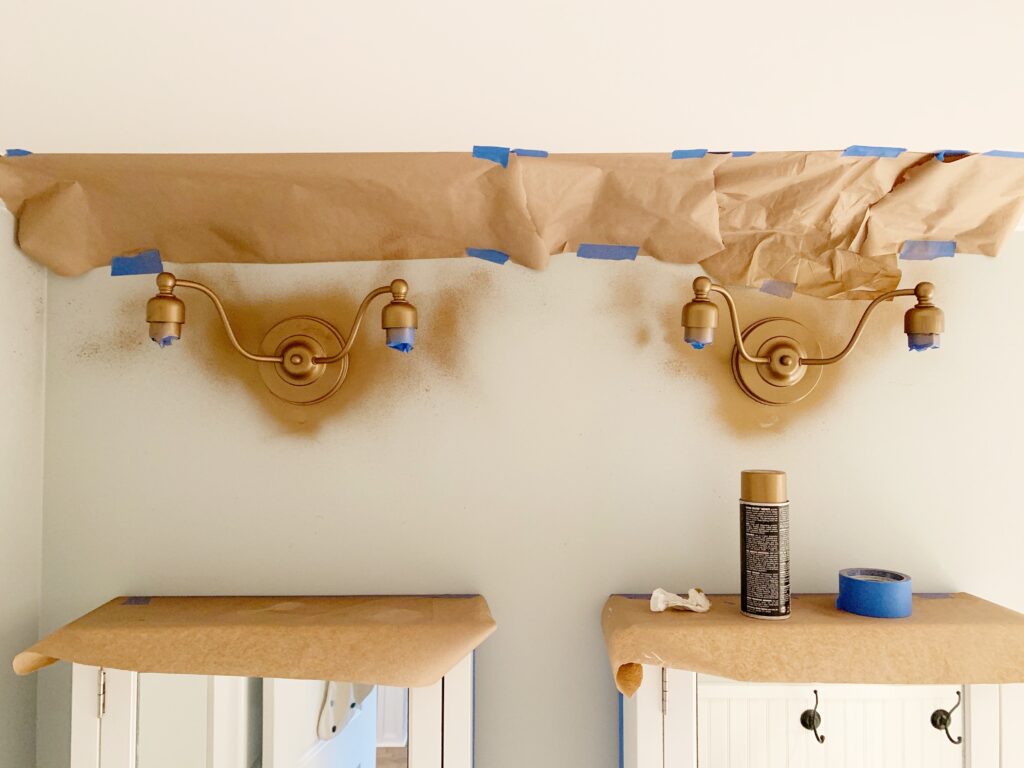
The last big painting job in this room was to replace the Oil-Rubbed Bronze light fixtures and the cabinet hardware. I actually have a TON of bronze spray paint leftover from when I got married over a decade ago – and hallelujah it still worked! I spray painted the light fixtures directly on the wall before I painted the walls (covering up the outlets with painters tape and the ceiling with some brown paper to protect it from over spray) and gave the hardware a few quick coats before I re-attached it. Even though it’s bronze paint, it definitely takes on a more copper color when against the green paint and I am all about that.
This is one of those times that I wish I could invite you all over to my house to see this room in person because I don’t think pictures adequately show how much brighter this room seems! And WOW does it photographer so much better now which is a great added bonus. I’m feeling good about getting the rest of this room put together over the next two weeks – but I definitely need to keep up the pace if I want to get everything done.
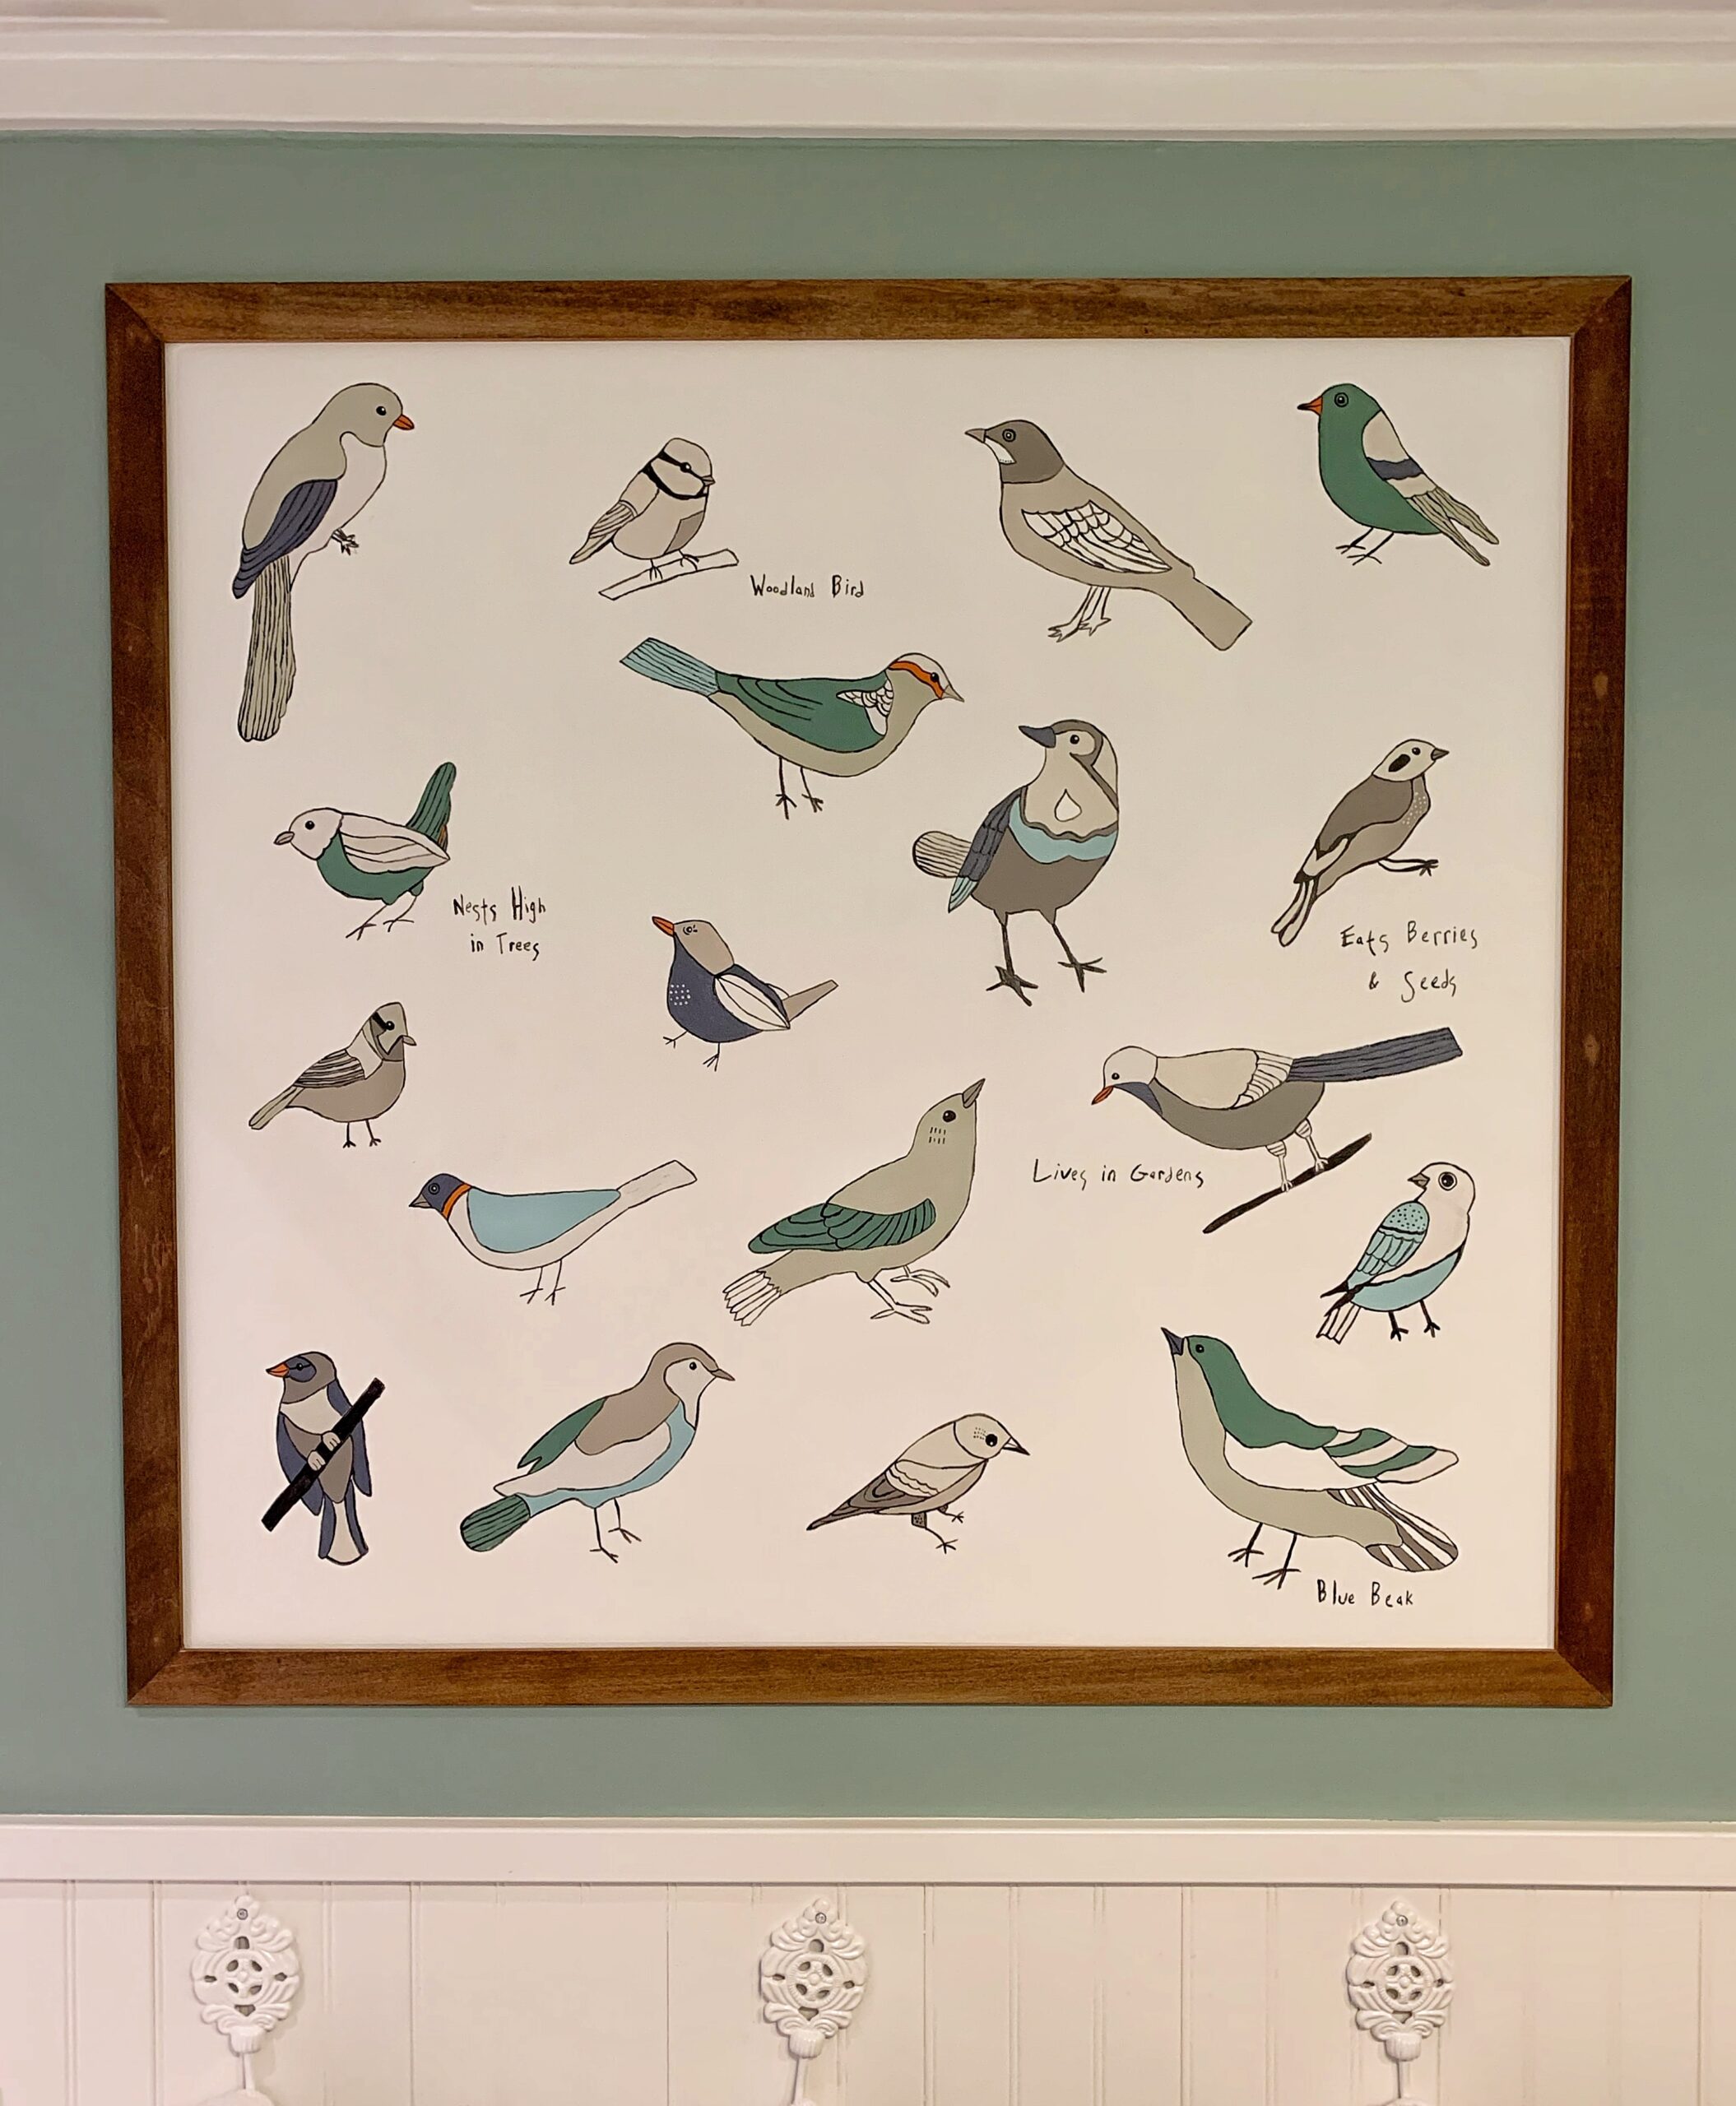
When I painted the room I used a small sample of white paint from Home Depot to create the “canvas” for the mural, which I’m starting next week and I can hardly wait! Until then, here’s a little breakdown of how I’m doing money wise for those curious how things are adding up:
Money Spent – $43.77
Paint for Vanity (Sherwin Williams Urethane Trim Enamel in Extra White) – $30.15 (used 30% off coupon)
2 Pack of Foam Rollers – $4.97
1 1/2″ Brad Nails – $4.67
White Paint Sample – $3.98
Left to Spend – $56.23
Supplies On Hand
Painting Supplies –
- Large Paint Roller for Walls
- Paint Trays (large and small)
- Small paint roller
- Painters Tape
- Brown Paper
- Angled Brush
- Sherwin Williams Extreme Bond Primer
- Bronze Spray Paint
- Paint for the room – Sherwin Williams Halcyon Green
Misc Home Improvement Supplies –
- Liquid Nails
- White Caulk
- 3M Spackle
- Sanding Block
Tools –
- Pry Bar
- Nail Gun
- Caulking Gun
- Putty Knife
- Level w/Ruler
The bathroom is looking great already! One thing I love about these challenges is seeing new colors that I can keep in mind for a future date. My daugther’s (who no longer lives at home) bedroom really could use a new coat of paint and I’m thinking this Halcyon Green may be just the color.
It’s such a wonderful color! It’s not a super bright green but it is such a saturated color that it just warms up the walls so much.
It looks so much better! Great progress!
Thank you – I think so too!
Love that copper look… this bathroom is beautiful!
Thank you so much Tammy! It was such a luck that that spray paint came out looking more copper than bronze!
Love that paint color with the bronze light fixtures! And the ceiling trim looks fab now too. 😉 Excited to see how it comes together in the next few weeks!
Thank you so much Rachel! The color of the light fixture came out so much better than I was hoping!
LOVE LOVE LOVE how fresh your bath is looking that green is beautiful and those fixture look so expensive now.
Isn’t it crazy how much more expensive they look! And they were actually really inexpensive outdoor lights to start with – I may just use this trick again!
WOW! You accomplished so much this week. Love all of the new paint colors. You are a genius to spray paint the light fixtures while they are still attached to the wall! So smart. Can’t wait to see more!
I just hate detaching them and re-attaching those lights so much that I thought it was worth a shot! It actually worked out even better than I was hoping LOL
That is a smart idea to paint the trim before installing. Your lighting is gorgeous!!
Thanks! I always like to get ceiling trim painted before hand because it’s just such a pain to paint once it’s up!